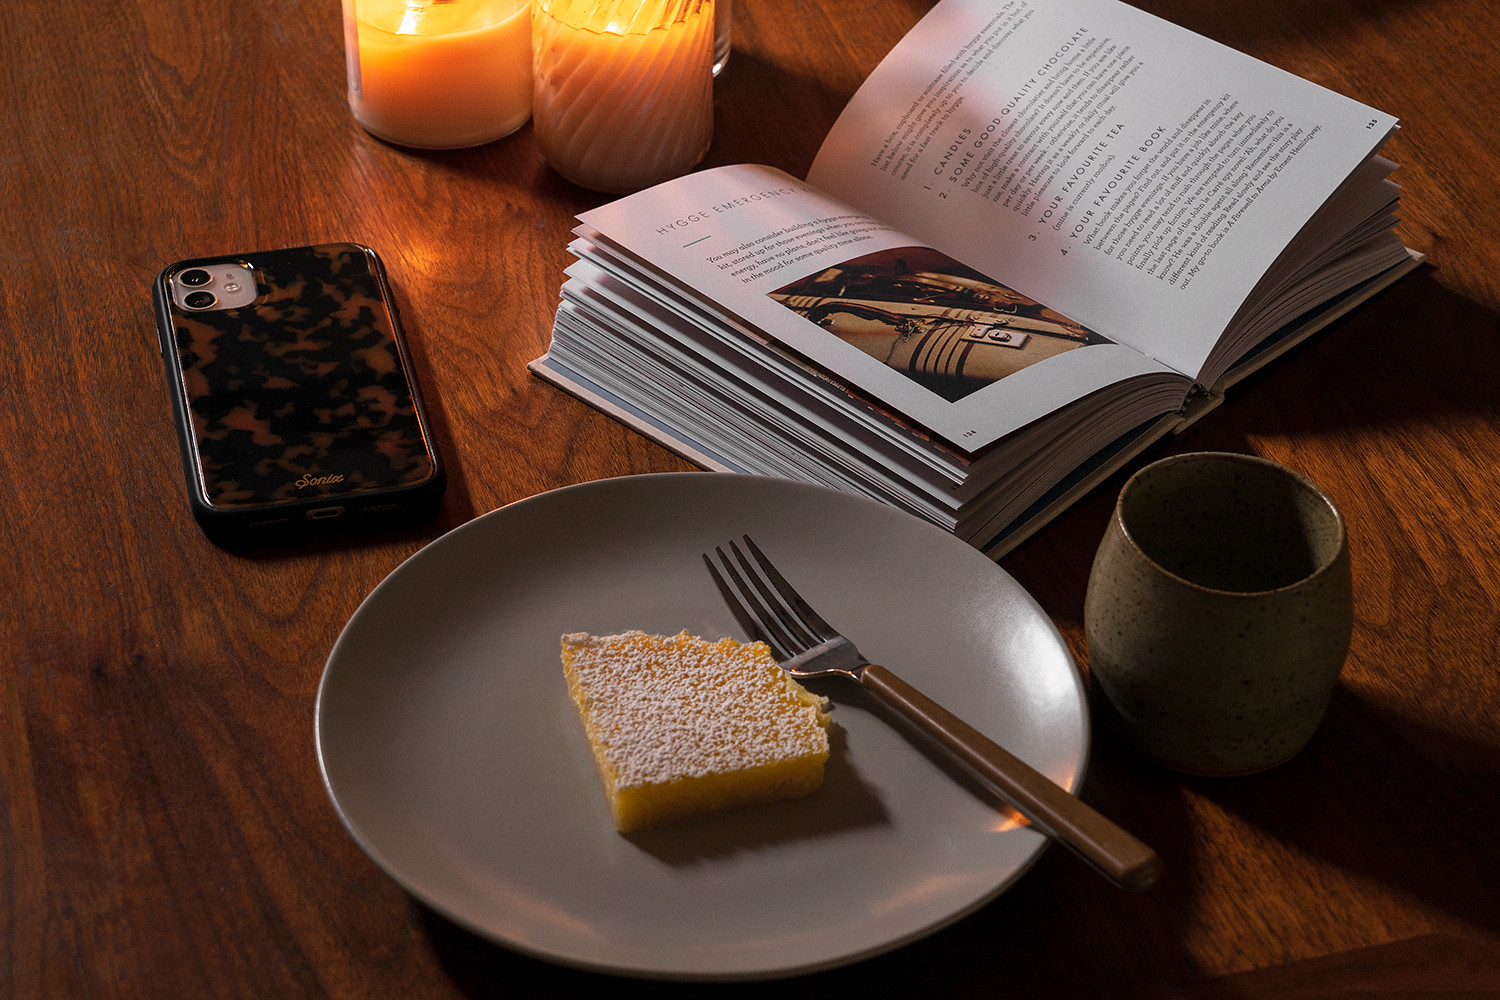
December is in full force, have you done any holiday baking yet? If not, I've got a delicious recipe for you to try! Forget the typical holiday baked goods like gingerbread cookies and peppermint barks, make lemon bars instead! I cook quiet often but I'm not much of a baker, however I can't stop baking lately. Perhaps the cooler weather makes me want to use the oven more. I really love the lemon bars from Viktor Benes Bakery (buttery shortbread crust and lemon zests) and the lemon bites from Trader Joe's (chewy and tart) so I decided to make my own! I researched and read through several recipes, combined and tweaked them, to give you the best lemon bars ever!

Shortbread crust ingredients:
- 1 cup unsalted butter (melted)
- 1/2 cup granulated sugar
- 2 tsp vanilla extract
- 1/2 tsp salt
- 2 cups all-purpose flour
Lemon filling ingredients:
- 5 lemons (juiced)
- 1 tbsp lemon zest
- 6 eggs
- 2 cup granulated sugar
- 6 tbsp all-purpose flour
Additional ingredient:
- Powder sugar
Directions:
1. Preheat oven to 325°F.
2. Line a 9"x13" baking dish/pan with parchment paper and set aside.
3. First, let's make the crust!
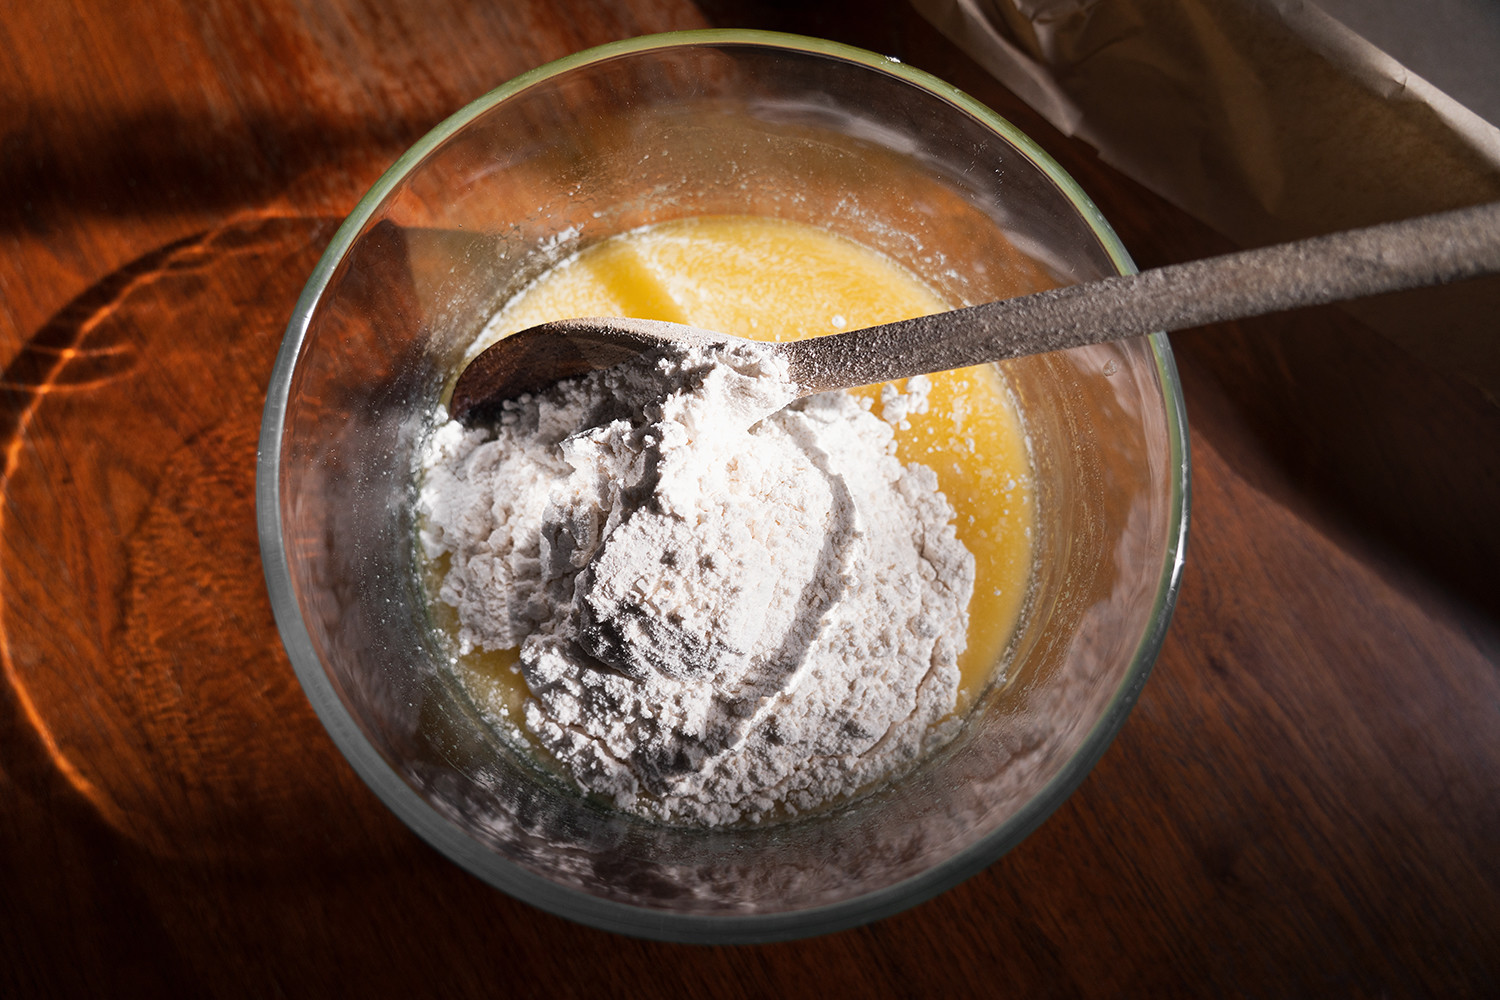
4. Mix the melted butter, sugar, vanilla extract, and salt in a bowl.
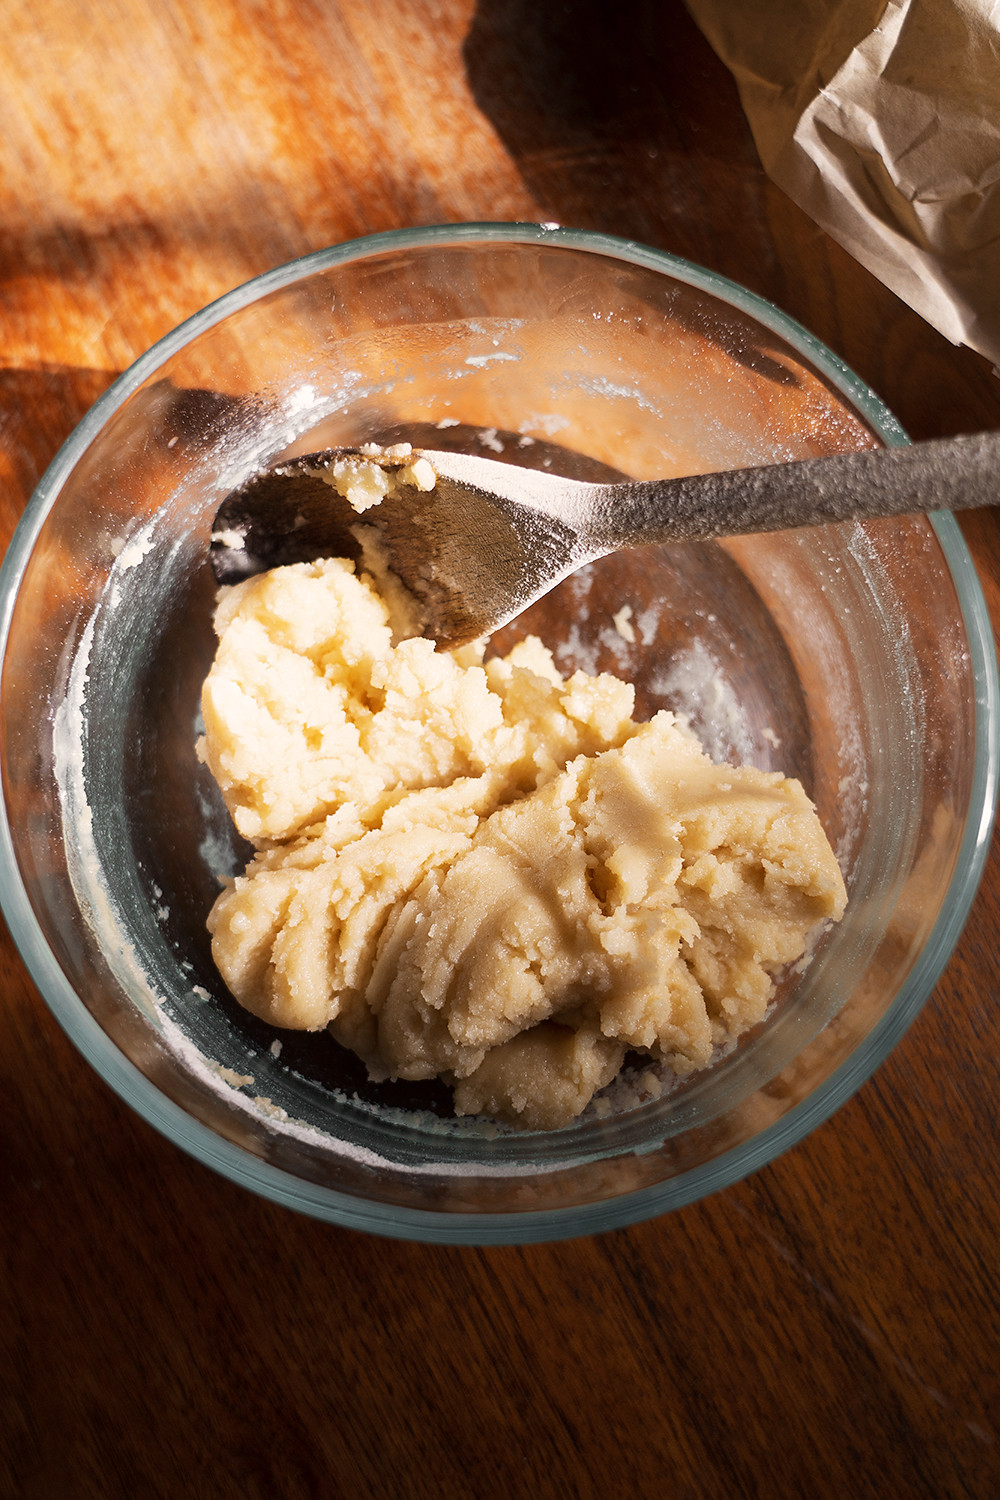
5. Add the flour and stir to completely combine.
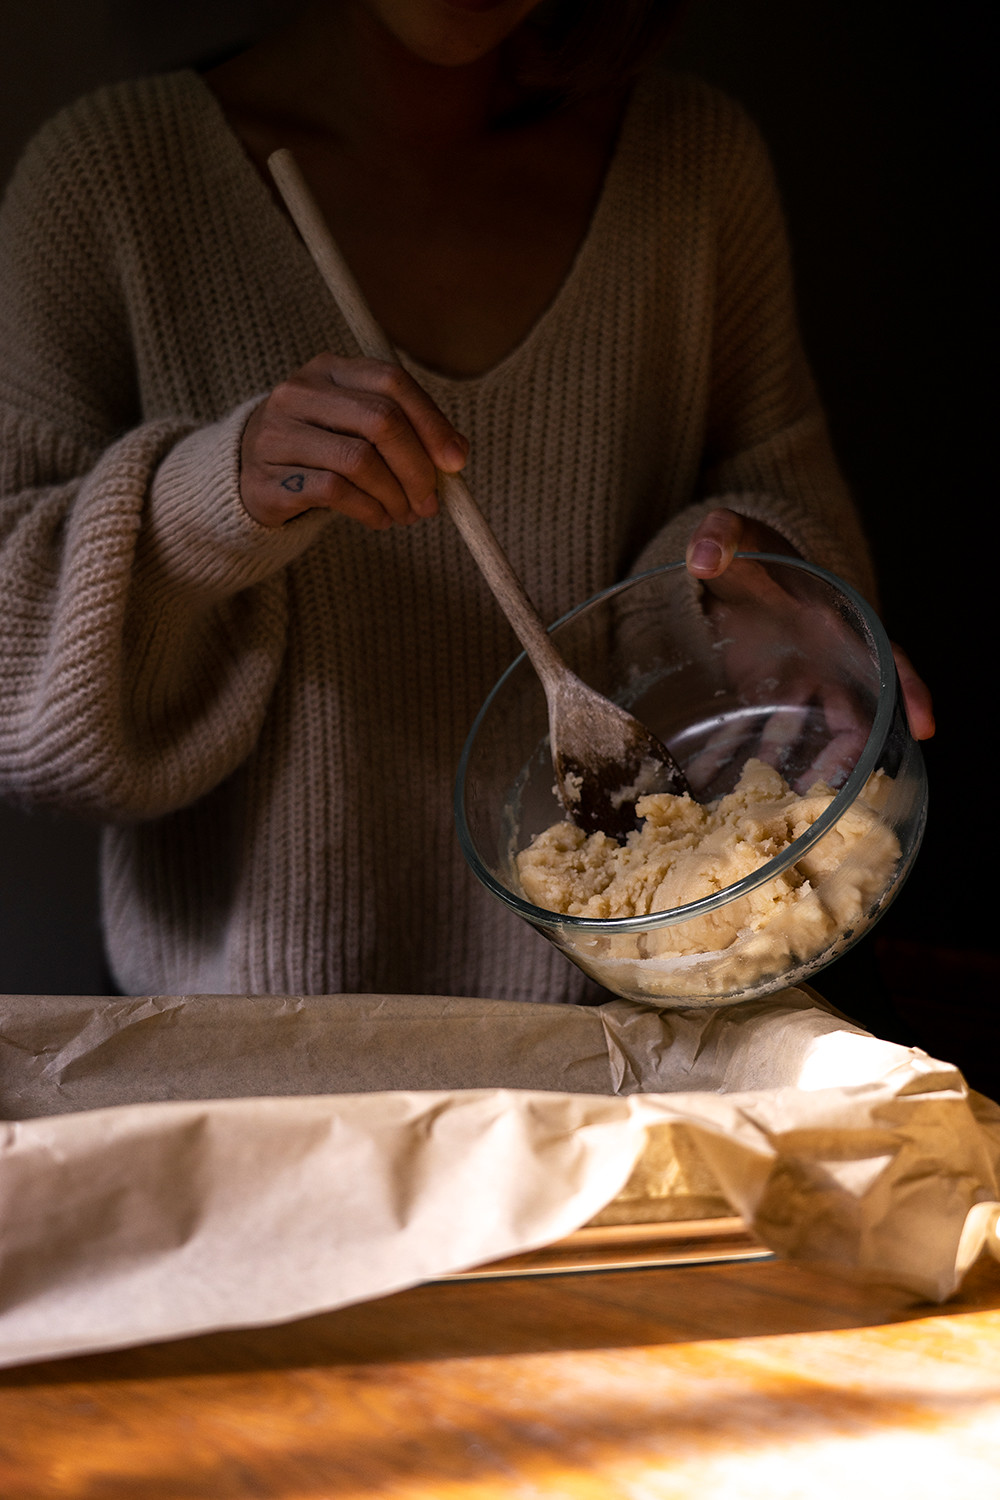
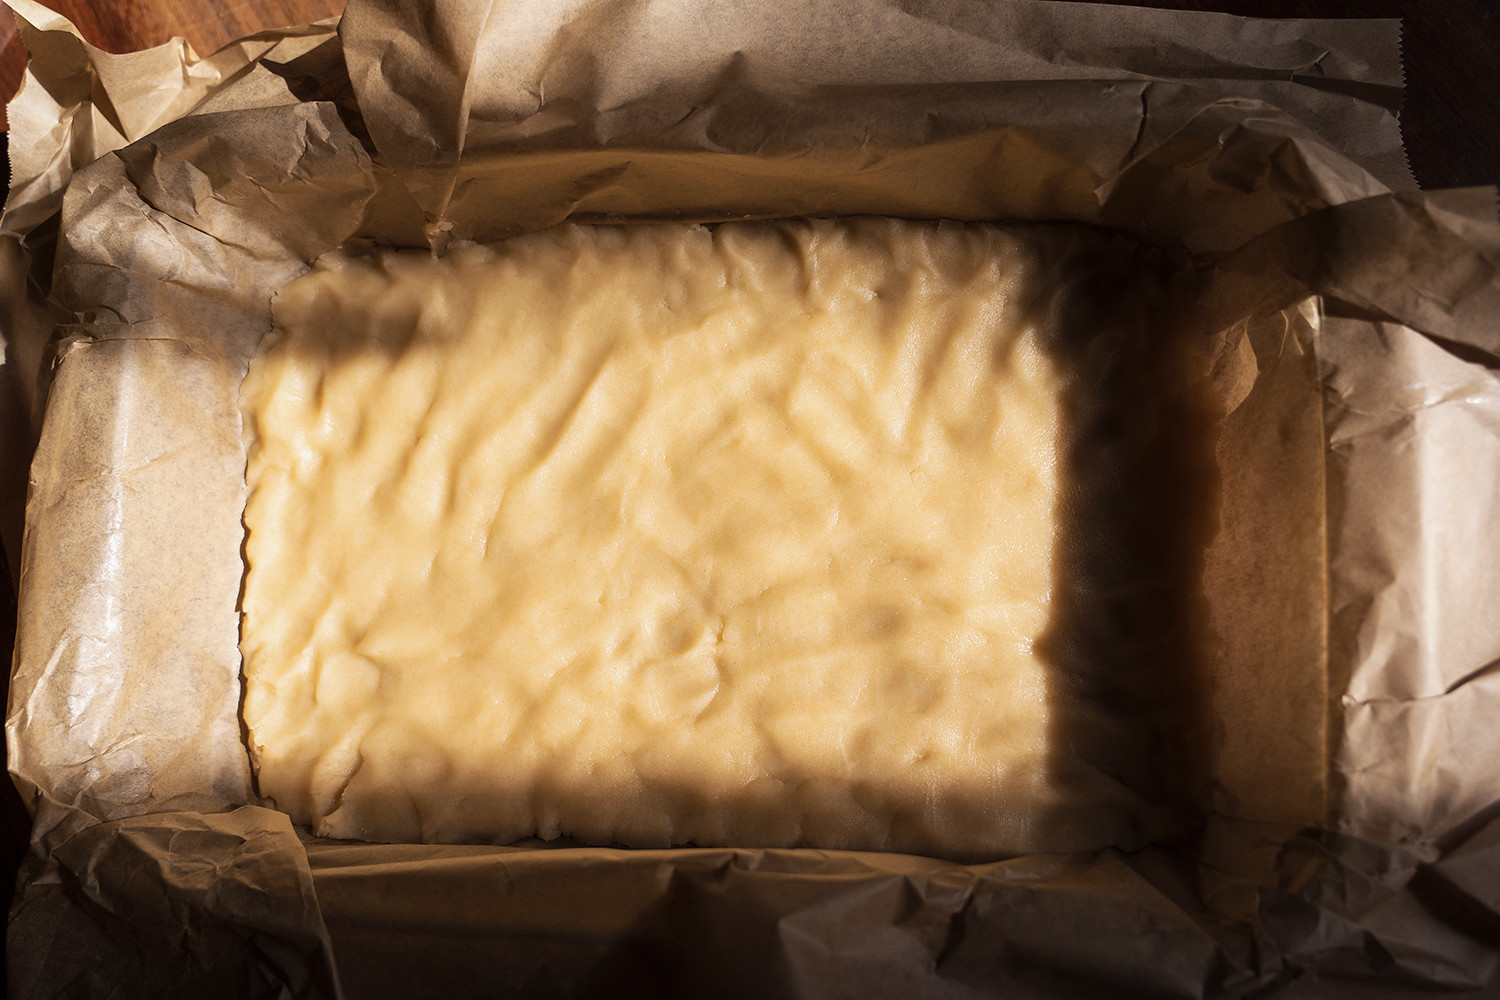
6. Press firmly into the dish/pan with parchment paper, making sure the layer of crust is even.
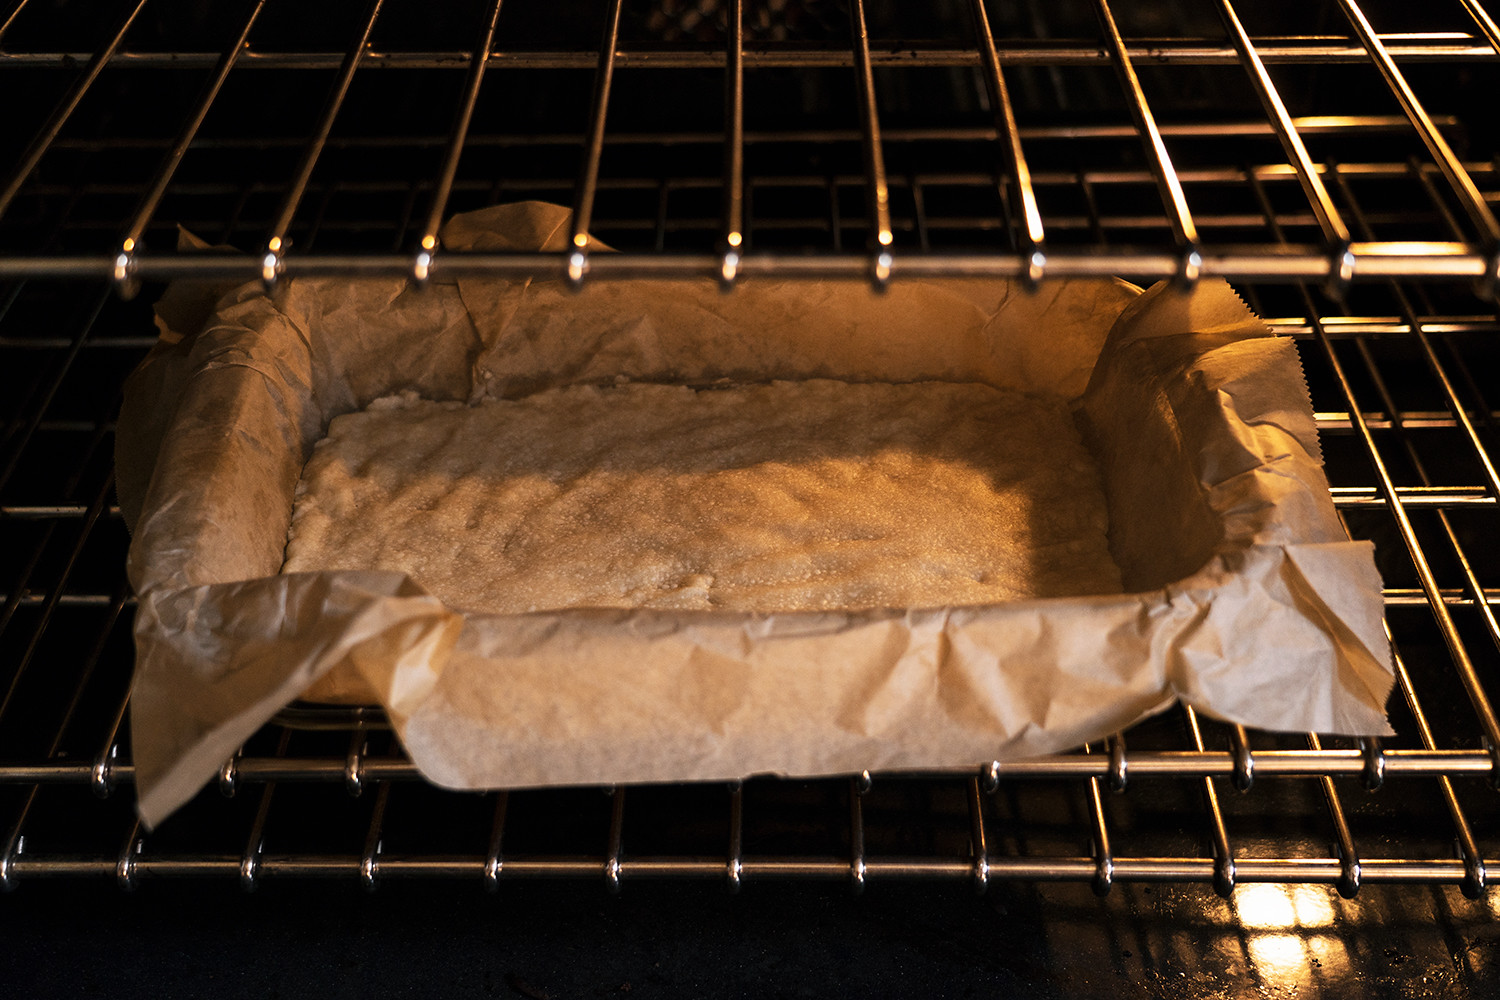
7. Bake for 20 minutes.
8. While the crust is in the oven, prepare the filling!
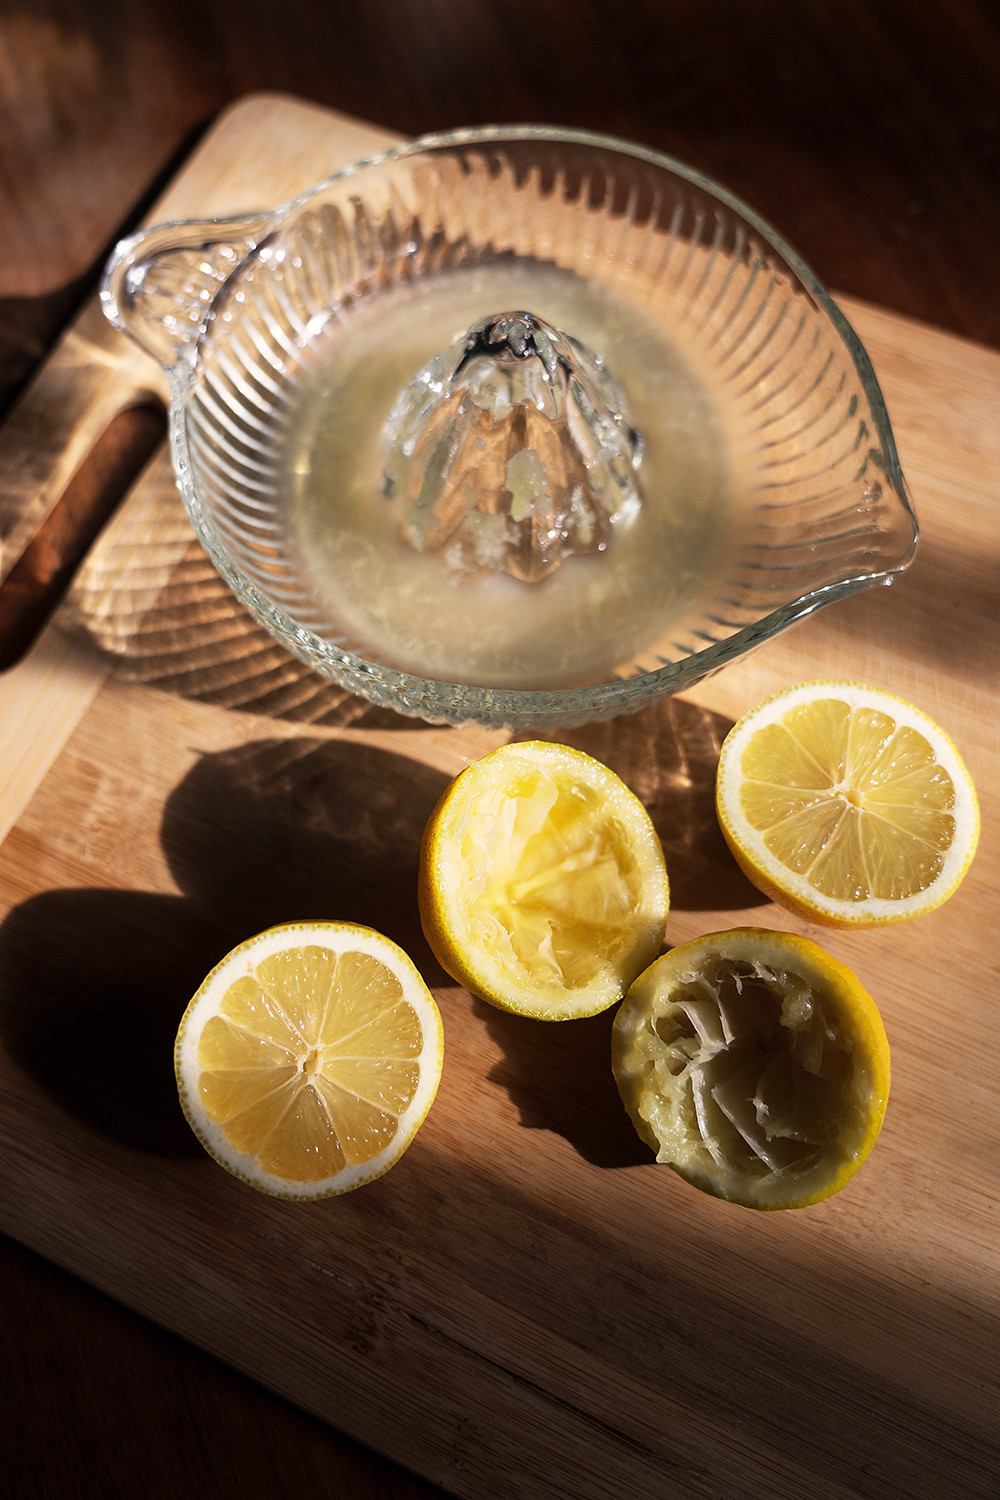
9. Juice and zest the lemons and set aside.
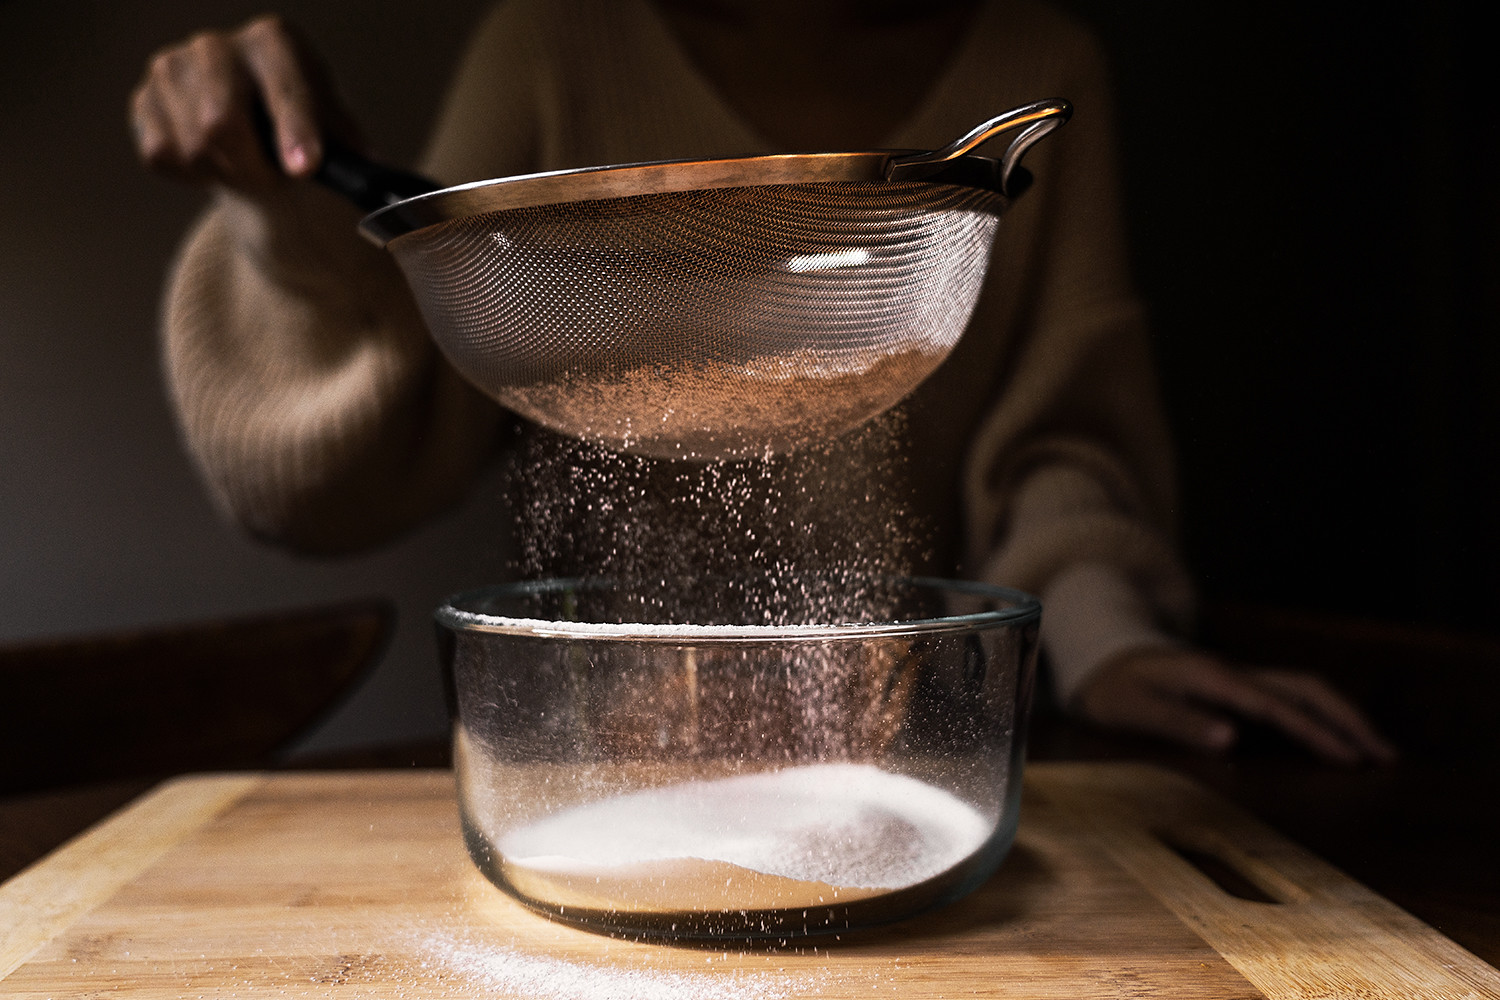
10. Sift (sifting is important to avoid clumps) the sugar and flour in a bowl.
11. Add the eggs, lemon juice, and lemon zest, and whisk until combined.
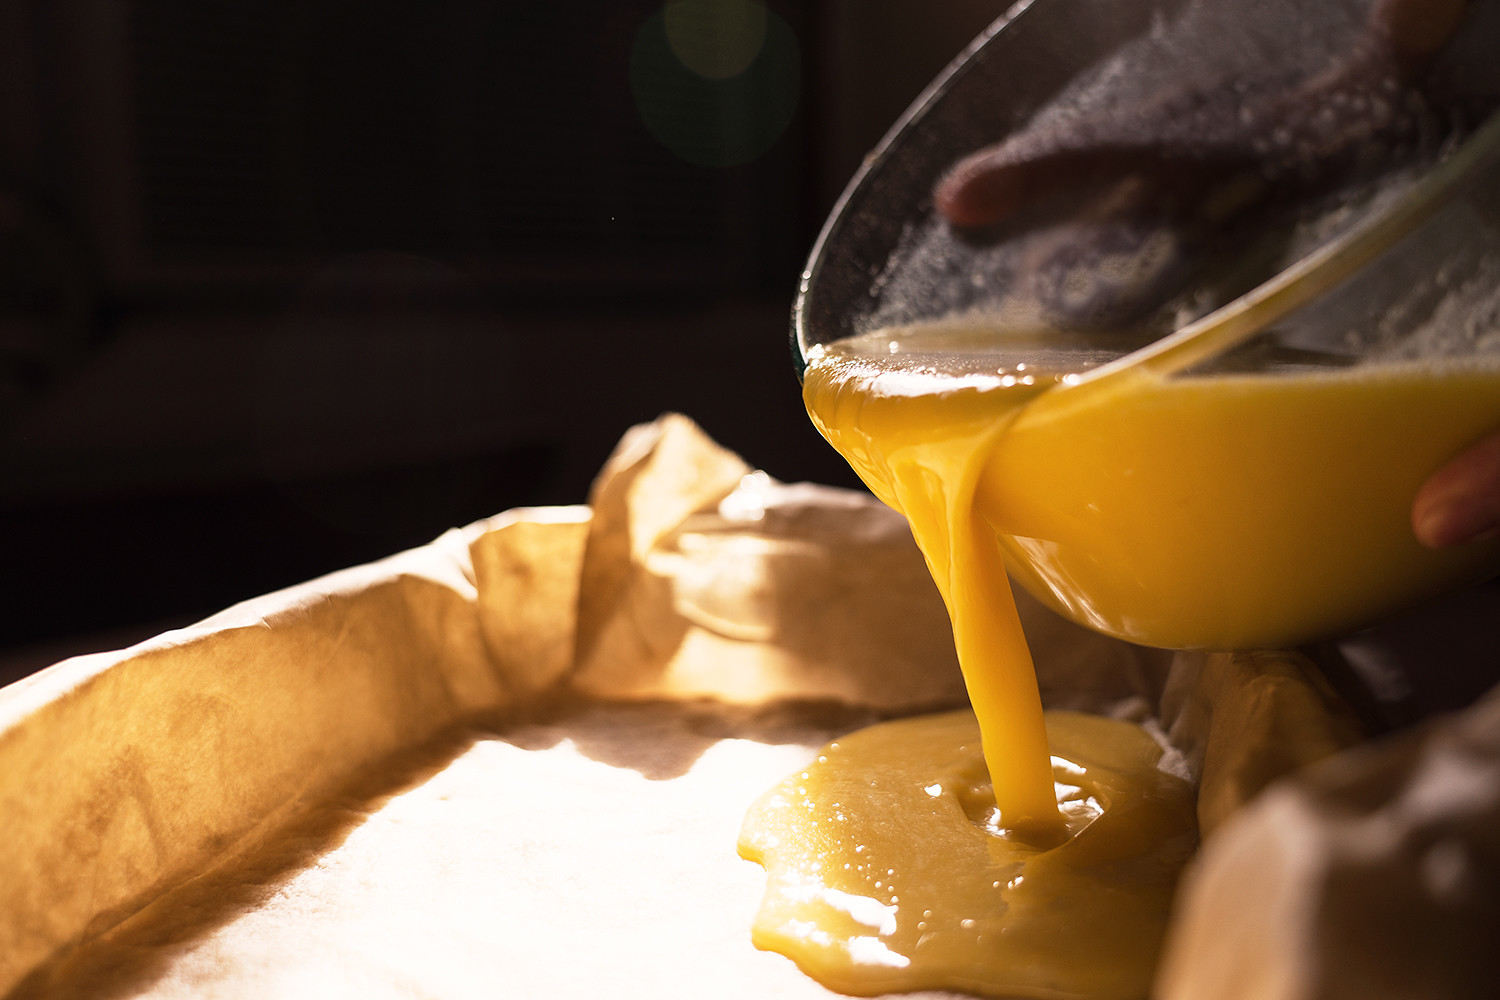
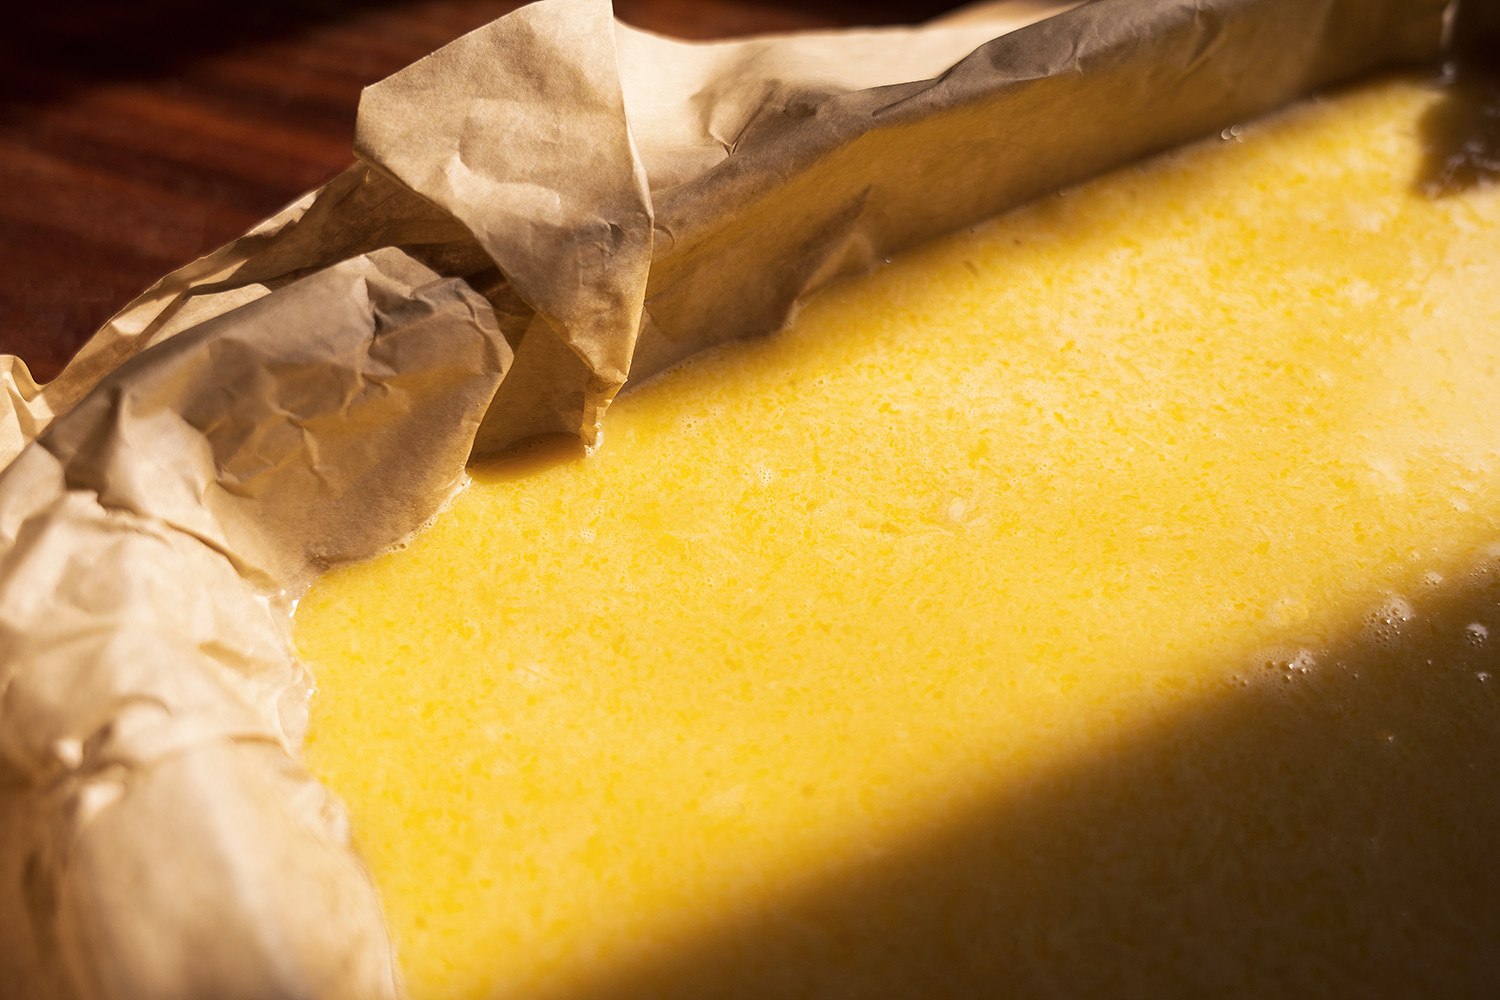
12. Once the crust is done, pour the filling over the warm crust.
13. Bake for 25 minutes (until the center is set and not jiggly).
14. Cool at room temperature for 2 hours.
15. Once cool, lift the parchment paper out of the dish/pan.
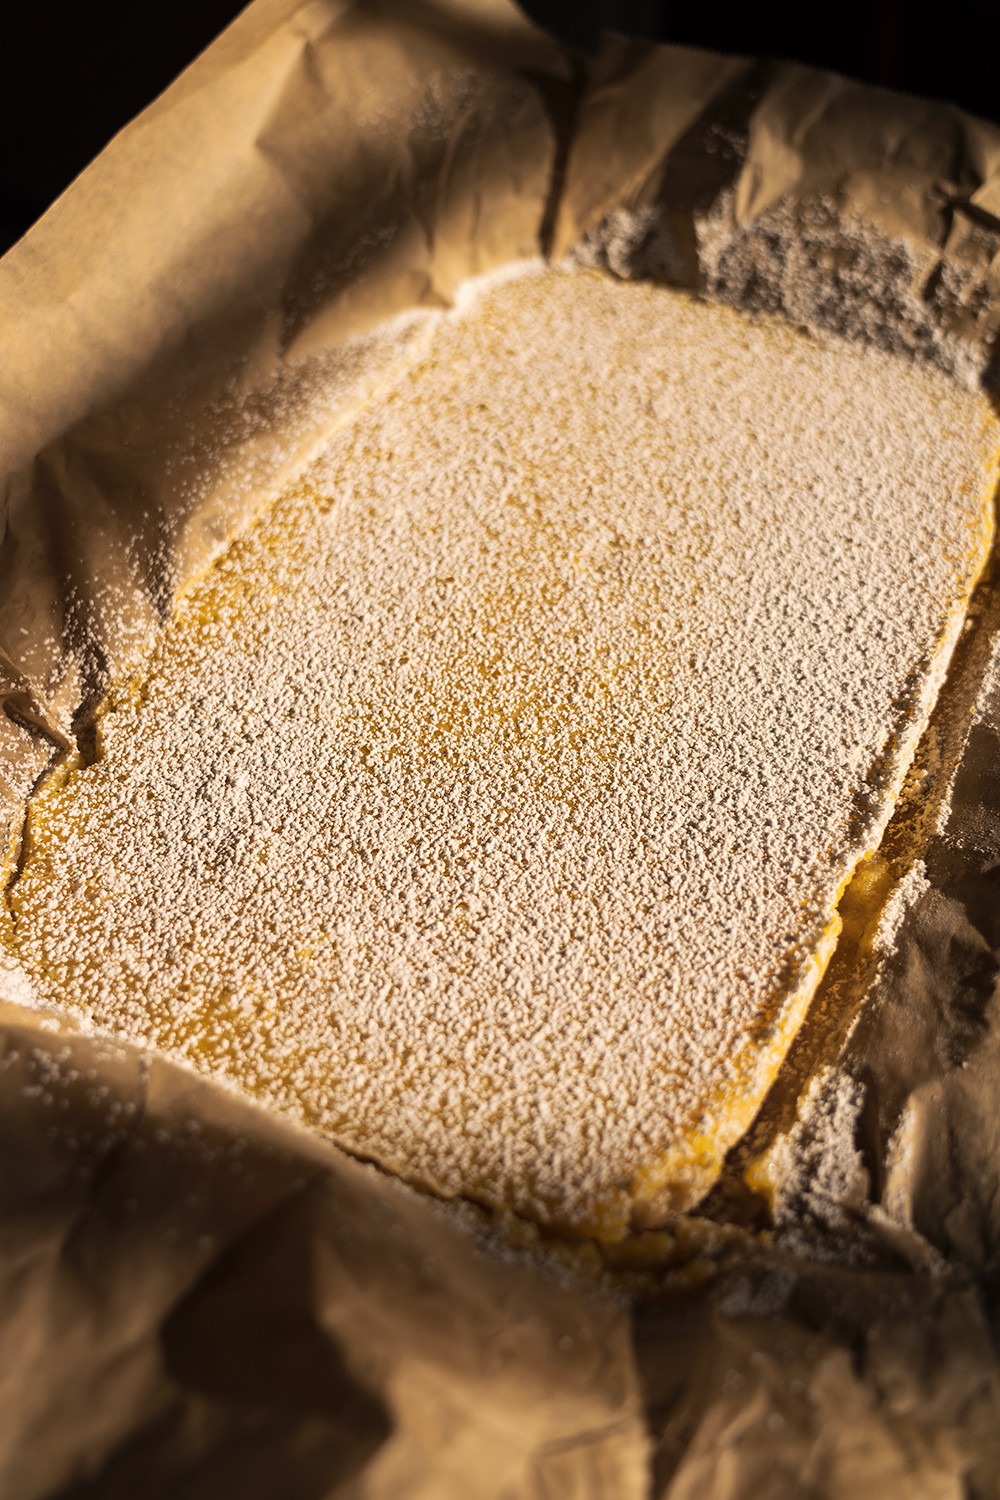
16. Sift and dust powder sugar on top.
17. Cut into squares and serve!


Holiday Recipe: Shortbread Crusted Lemon Bars
December 24, 2019
December is in full force, have you done any holiday baking yet? If not, I've got a delicious recipe for you to try! Forget the typical holiday baked goods like gingerbread cookies and peppermint barks, make lemon bars instead! I cook quiet often but I'm not much of a baker, however I can't stop baking lately. Perhaps the cooler weather makes me want to use the oven more. I really love the lemon bars from Viktor Benes Bakery (buttery shortbread crust and lemon zests) and the lemon bites from Trader Joe's (chewy and tart) so I decided to make my own! I researched and read through several recipes, combined and tweaked them, to give you the best lemon bars ever!
Shortbread crust ingredients:
- 1 cup unsalted butter (melted)
- 1/2 cup granulated sugar
- 2 tsp vanilla extract
- 1/2 tsp salt
- 2 cups all-purpose flour
Lemon filling ingredients:
- 5 lemons (juiced)
- 1 tbsp lemon zest
- 6 eggs
- 2 cup granulated sugar
- 6 tbsp all-purpose flour
Additional ingredient:
- Powder sugar
Directions:
1. Preheat oven to 325°F.
2. Line a 9"x13" baking dish/pan with parchment paper and set aside.
3. First, let's make the crust!
4. Mix the melted butter, sugar, vanilla extract, and salt in a bowl.
5. Add the flour and stir to completely combine.
6. Press firmly into the dish/pan with parchment paper, making sure the layer of crust is even.
7. Bake for 20 minutes.
8. While the crust is in the oven, prepare the filling!
9. Juice and zest the lemons and set aside.
10. Sift (sifting is important to avoid clumps) the sugar and flour in a bowl.
11. Add the eggs, lemon juice, and lemon zest, and whisk until combined.
12. Once the crust is done, pour the filling over the warm crust.
13. Bake for 25 minutes (until the center is set and not jiggly).
14. Cool at room temperature for 2 hours.
15. Once cool, lift the parchment paper out of the dish/pan.
16. Sift and dust powder sugar on top.
17. Cut into squares and serve!
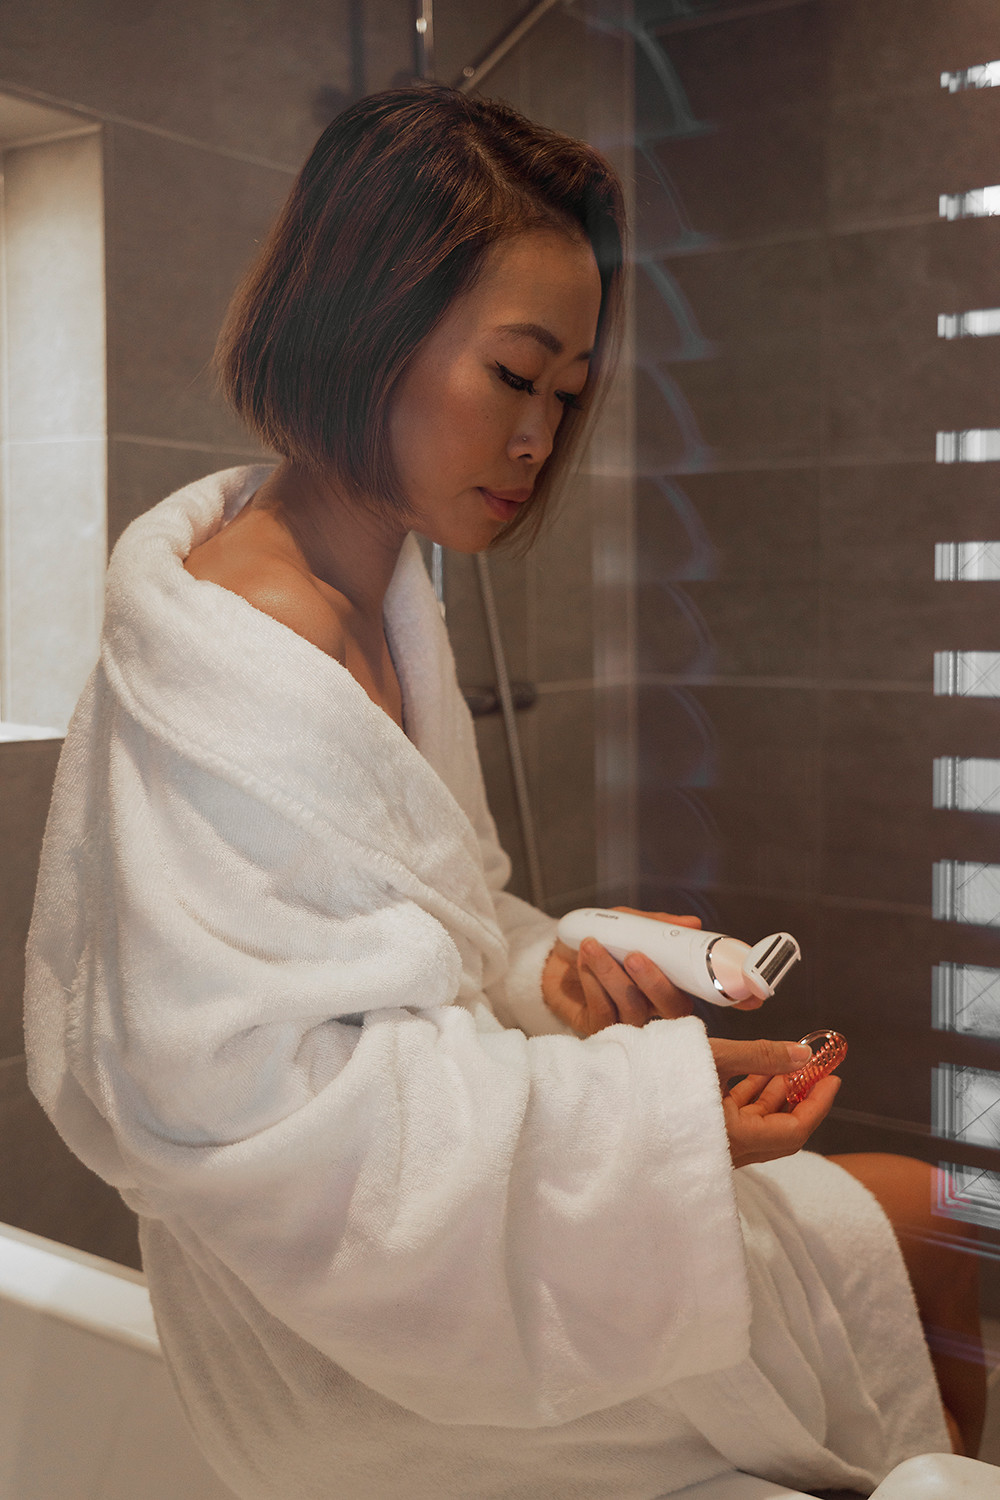
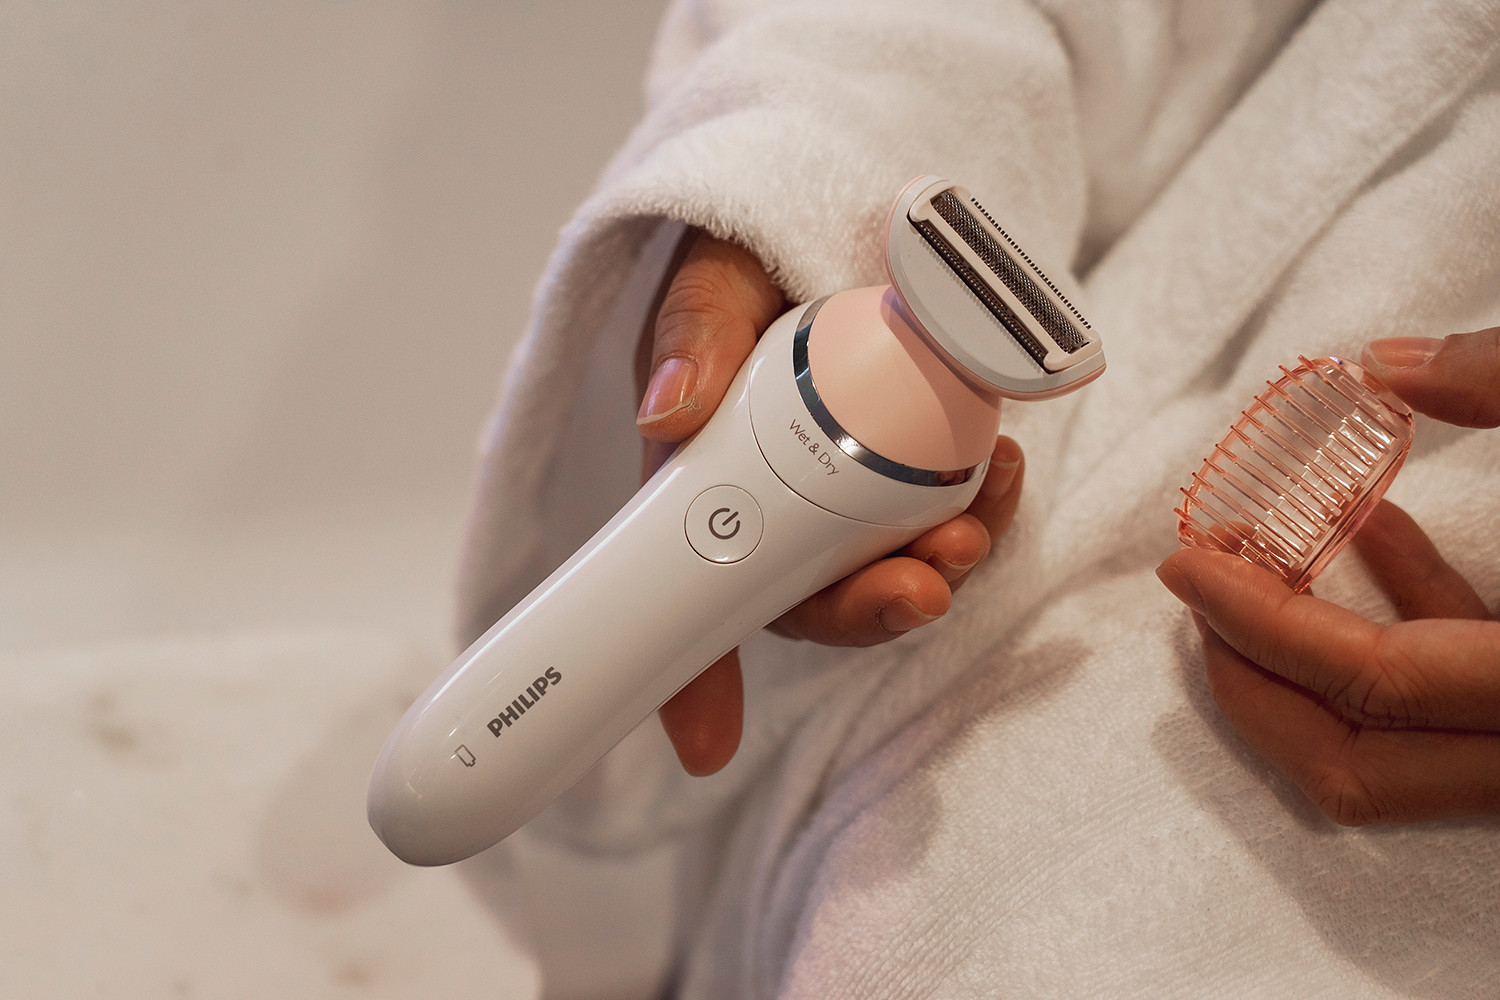
Back in August, I started using a new shaving tool by Philips called SatinShave Advanced. It is a few months later now and I am still loving it! Not only do I use it regularly, I have also taken it on several trips and would love to share with you how incredible and convenient the SatinShave Advanced is.
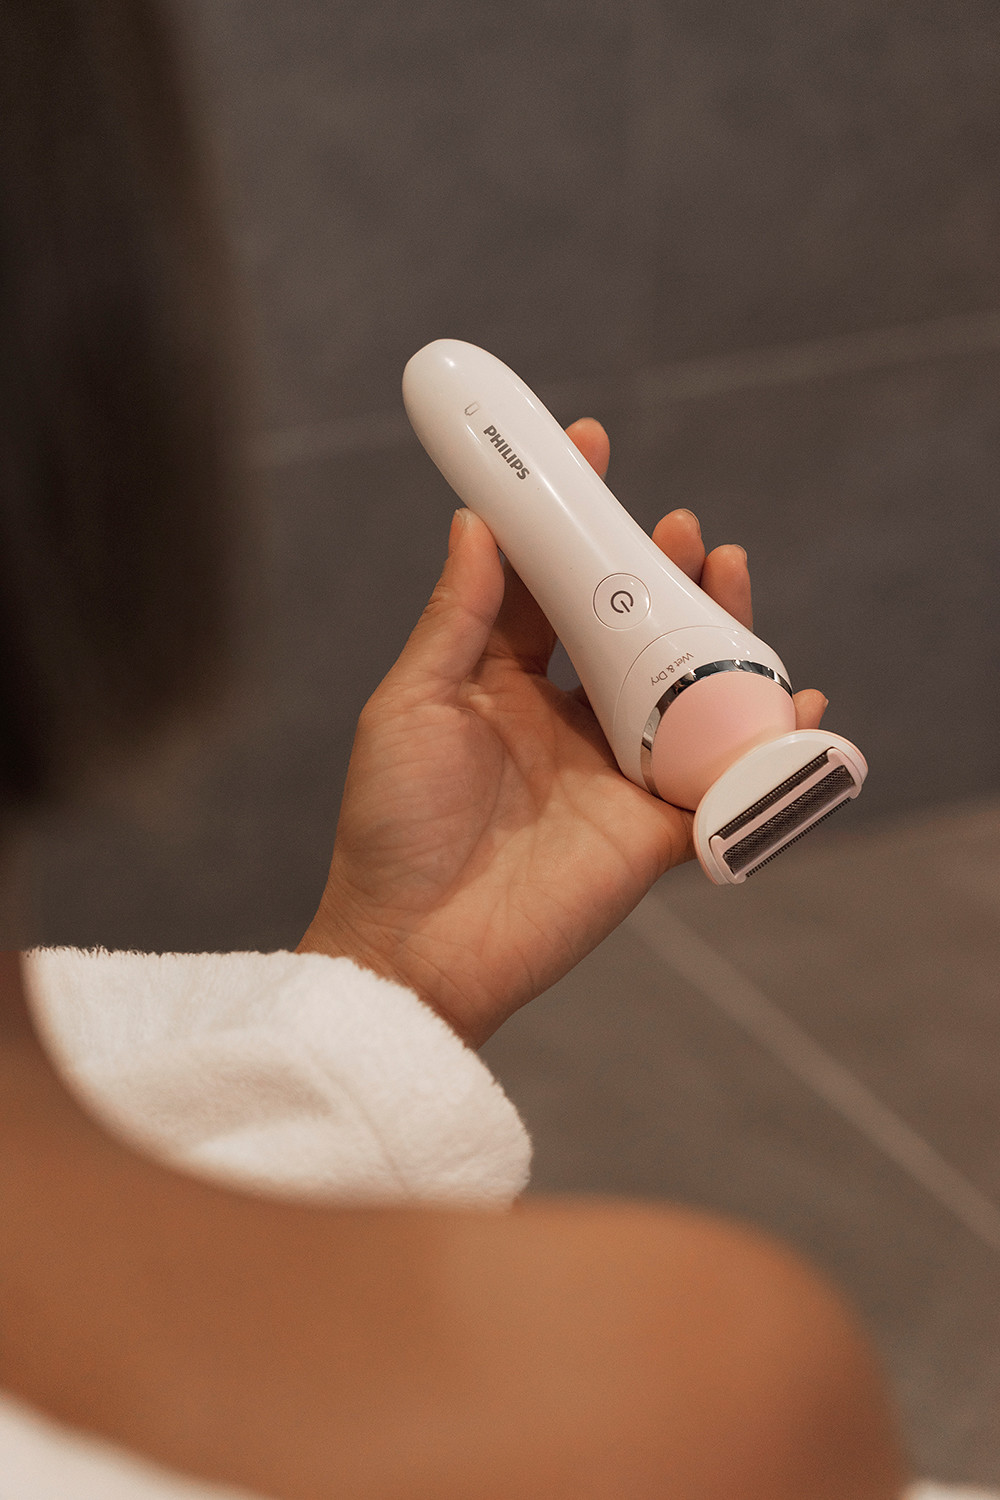
When I first tested out this product, the one thing that stood out to me was its rechargeable battery. As someone who travels often and takes a lot of outfits, I am limited to what I can pack. It's so nice that I don't have to pack the charger with me because once charged, the SatinShave Advanced can last up to an hour! On top of that, the tool itself is light and compact and doesn't take up any room. How convenient!
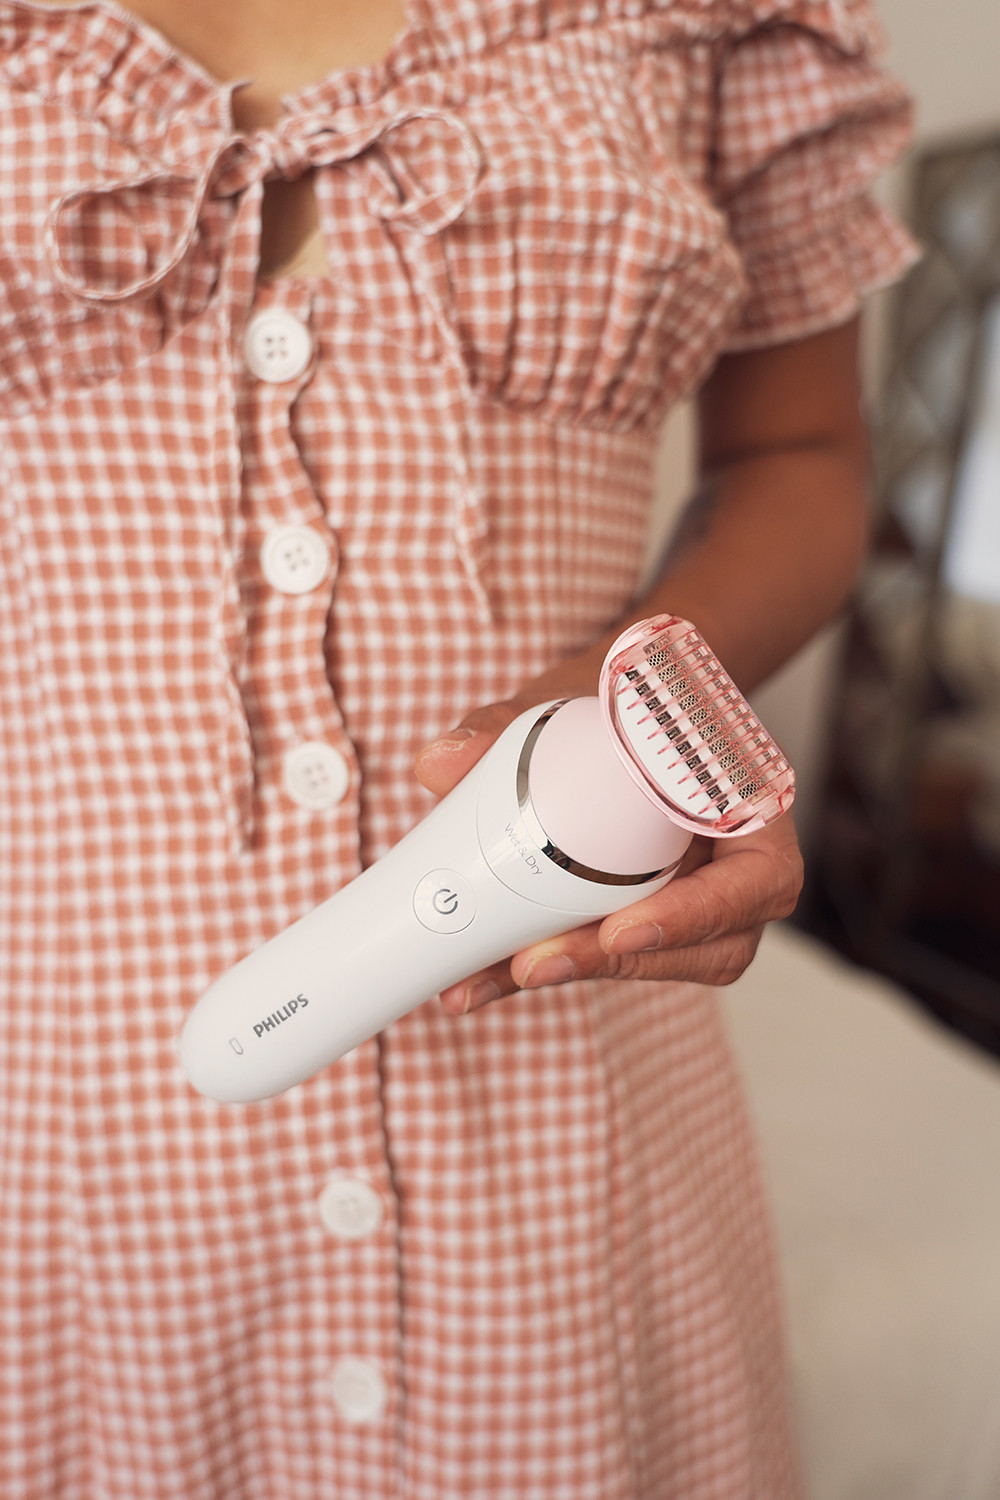
As for its functionality, I've definitely noticed the difference between shaving with the Philips SatinShave Advanced vs typical razor blades. When shaving my legs, bikini area and underarms, I've experienced less cuts and irritations and overall my skin is a lot smoother! The SatinShave Advanced has a round pearl-tip trimmer in front of as well as behind the shaving foil which helps to prevent irritation while the floating foil glides seamlessly close to the skin for an even shave. Oh, did I also mention this shaver can be used wet or dry?
Did I convince you yet? You can get a SatinShave Advanced right here!
Did I convince you yet? You can get a SatinShave Advanced right here!


Stay Smooth with Philips SatinShave Advanced
December 23, 2019
Back in August, I started using a new shaving tool by Philips called SatinShave Advanced. It is a few months later now and I am still loving it! Not only do I use it regularly, I have also taken it on several trips and would love to share with you how incredible and convenient the SatinShave Advanced is.
When I first tested out this product, the one thing that stood out to me was its rechargeable battery. As someone who travels often and takes a lot of outfits, I am limited to what I can pack. It's so nice that I don't have to pack the charger with me because once charged, the SatinShave Advanced can last up to an hour! On top of that, the tool itself is light and compact and doesn't take up any room. How convenient!
As for its functionality, I've definitely noticed the difference between shaving with the Philips SatinShave Advanced vs typical razor blades. When shaving my legs, bikini area and underarms, I've experienced less cuts and irritations and overall my skin is a lot smoother! The SatinShave Advanced has a round pearl-tip trimmer in front of as well as behind the shaving foil which helps to prevent irritation while the floating foil glides seamlessly close to the skin for an even shave. Oh, did I also mention this shaver can be used wet or dry?
Did I convince you yet? You can get a SatinShave Advanced right here!
Did I convince you yet? You can get a SatinShave Advanced right here!

Day 1
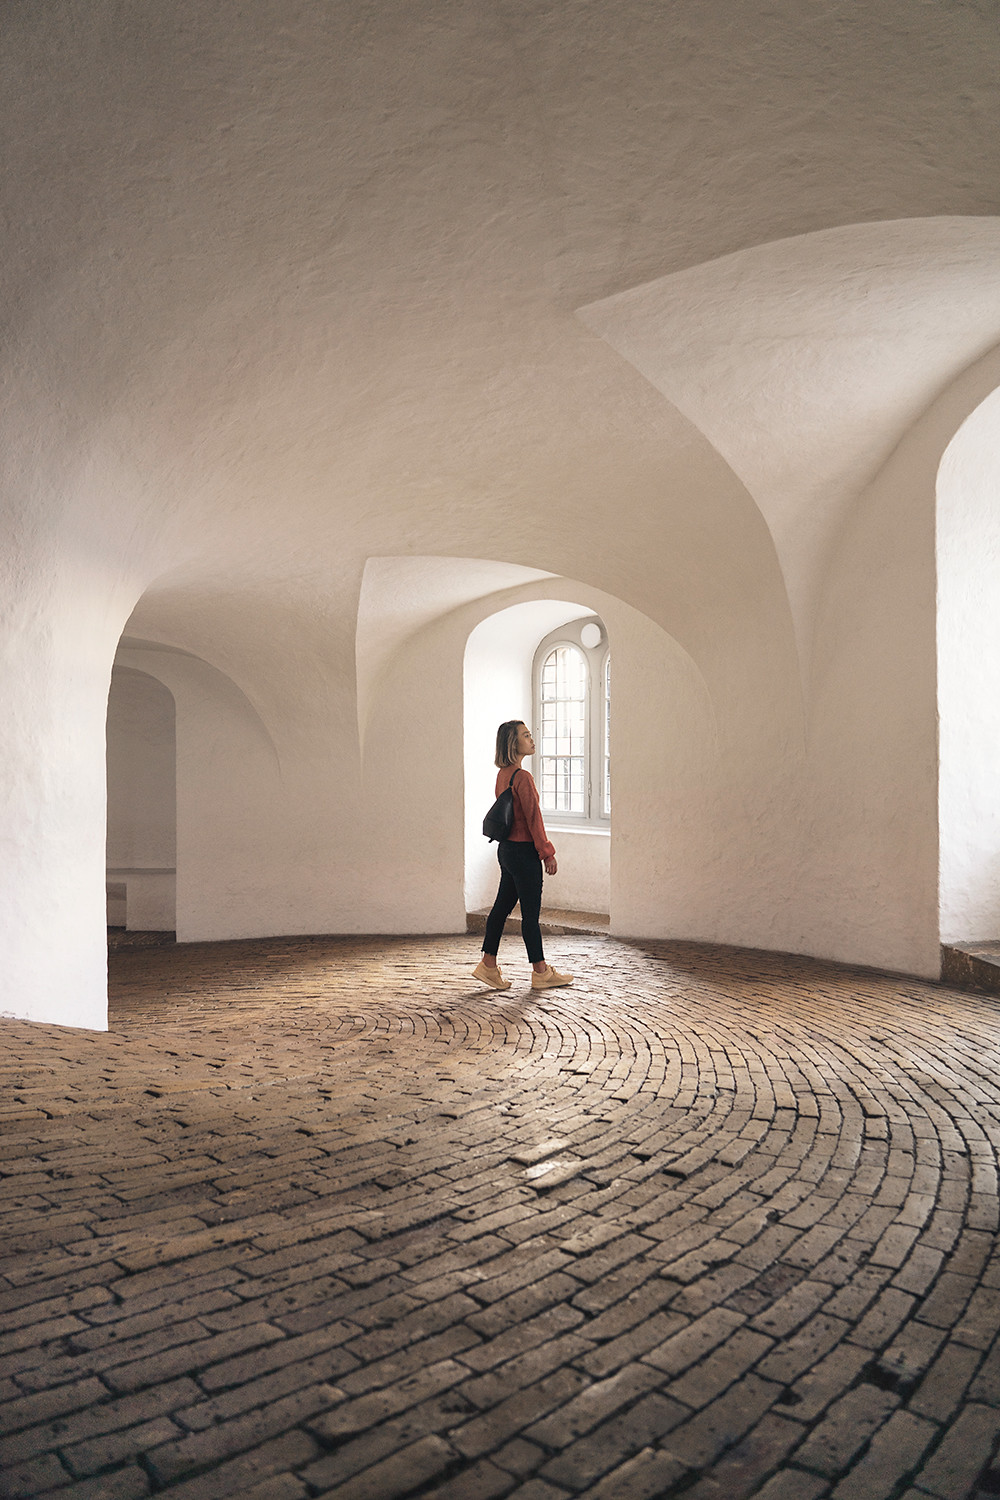


Rundetårn (Round Tower)
Gråbrødretorv
Strøget
Lunch at Hija de Sanchez at Torvehallerne
Coffee at The Coffee Collective at Torvehallerne
Dinner at Krogs Fiskerestaurant (oldest restaurant in Copenhagen)
Dinner at Krogs Fiskerestaurant (oldest restaurant in Copenhagen)
Read the complete "Copenhagen Day 1" blog post HERE.
Day 2


Breakfast at Mad & Kaffe
Pastries at Meyers Bageri
Dinner at Noma
Read the complete "Noma" blog post HERE.
Pastries at Meyers Bageri
Dinner at Noma
Read the complete "Noma" blog post HERE.
Read the complete "Copenhagen Day 2" blog post HERE.
Day 3


Breakfast at Atelier September
Read the complete "Copenhagen Day 3" blog post HERE.
Travel Guide: 3 Days in Copenhagen, Denmark
December 15, 2019
Day 1
Rundetårn (Round Tower)
Gråbrødretorv
Strøget
Lunch at Hija de Sanchez at Torvehallerne
Coffee at The Coffee Collective at Torvehallerne
Dinner at Krogs Fiskerestaurant (oldest restaurant in Copenhagen)
Dinner at Krogs Fiskerestaurant (oldest restaurant in Copenhagen)
Read the complete "Copenhagen Day 1" blog post HERE.
Day 2
Breakfast at Mad & Kaffe
Pastries at Meyers Bageri
Dinner at Noma
Read the complete "Noma" blog post HERE.
Pastries at Meyers Bageri
Dinner at Noma
Read the complete "Noma" blog post HERE.
Read the complete "Copenhagen Day 2" blog post HERE.
Day 3
Breakfast at Atelier September
Read the complete "Copenhagen Day 3" blog post HERE.

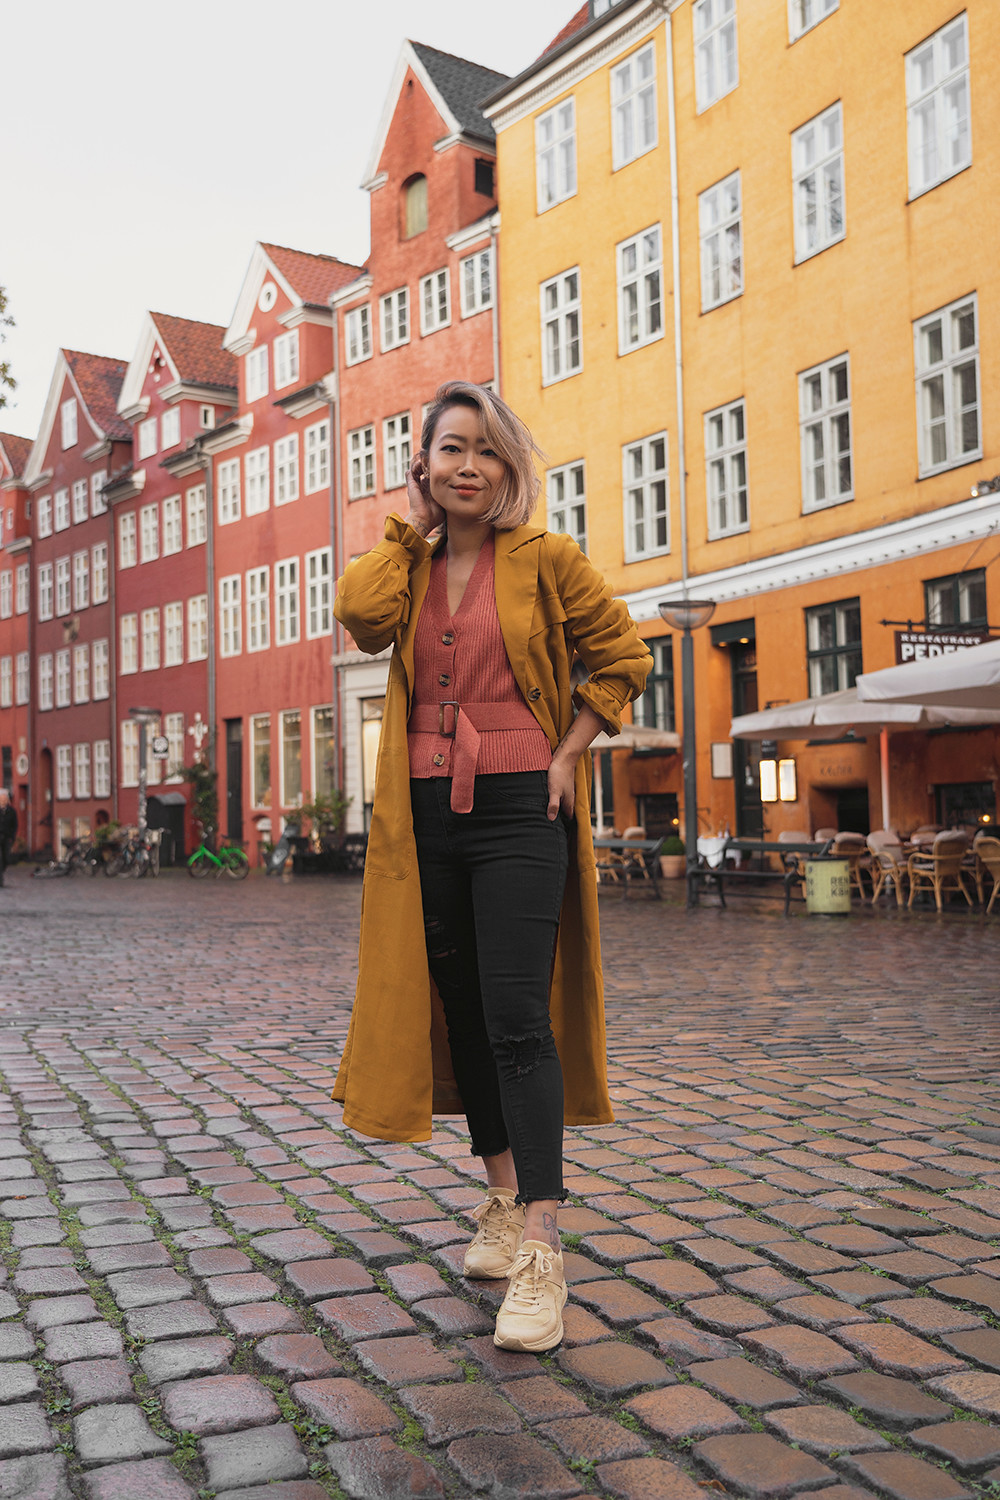
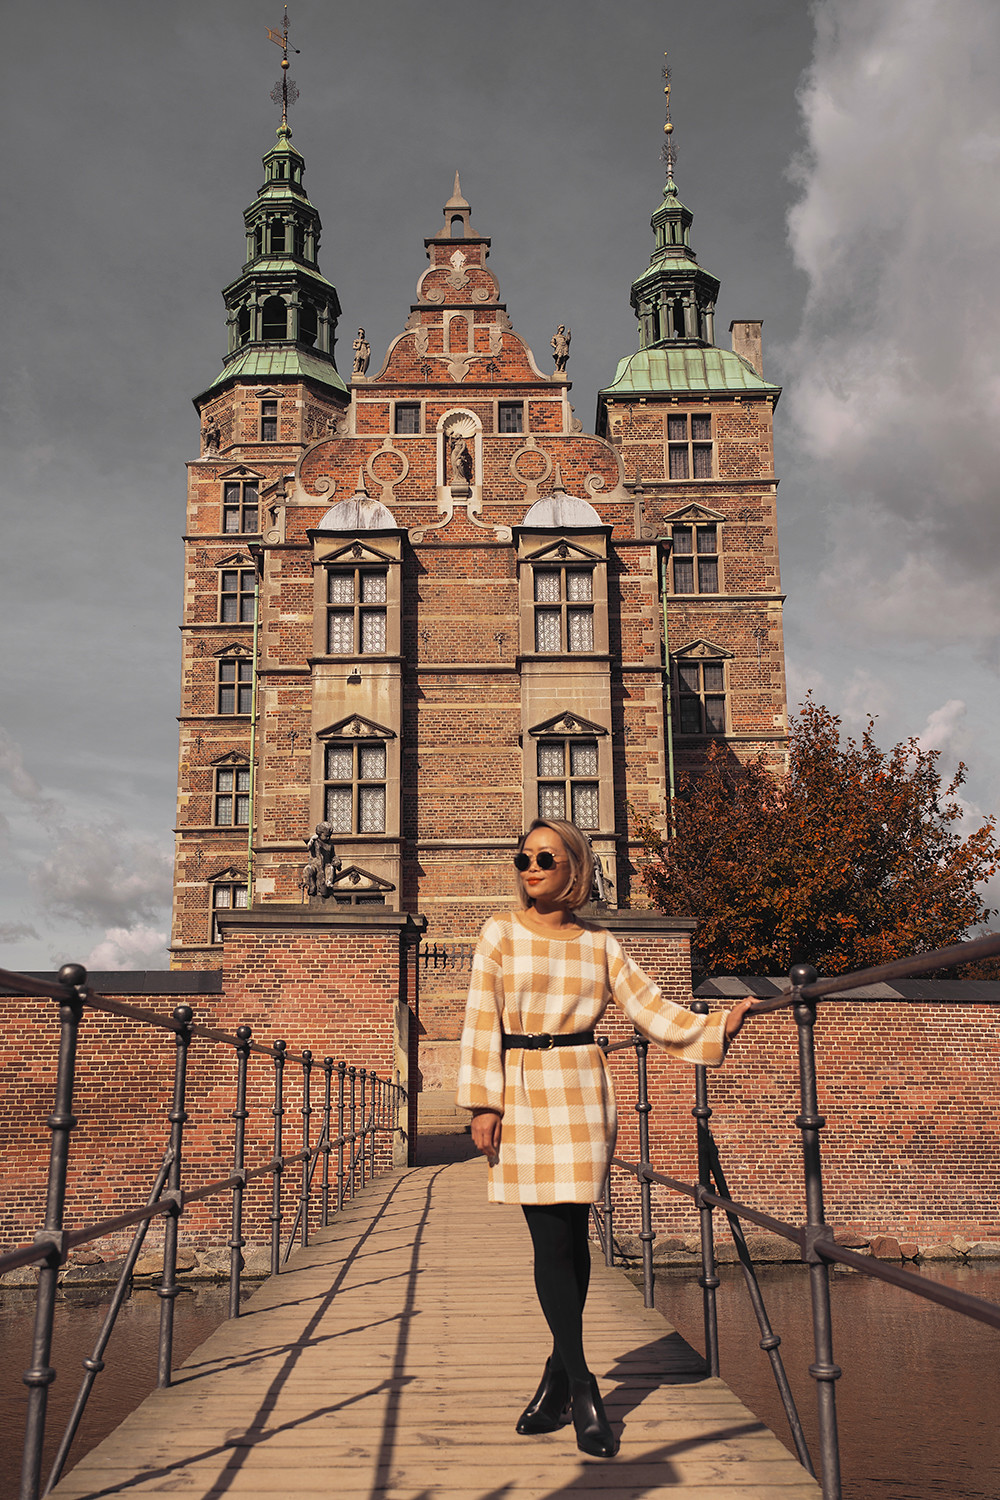
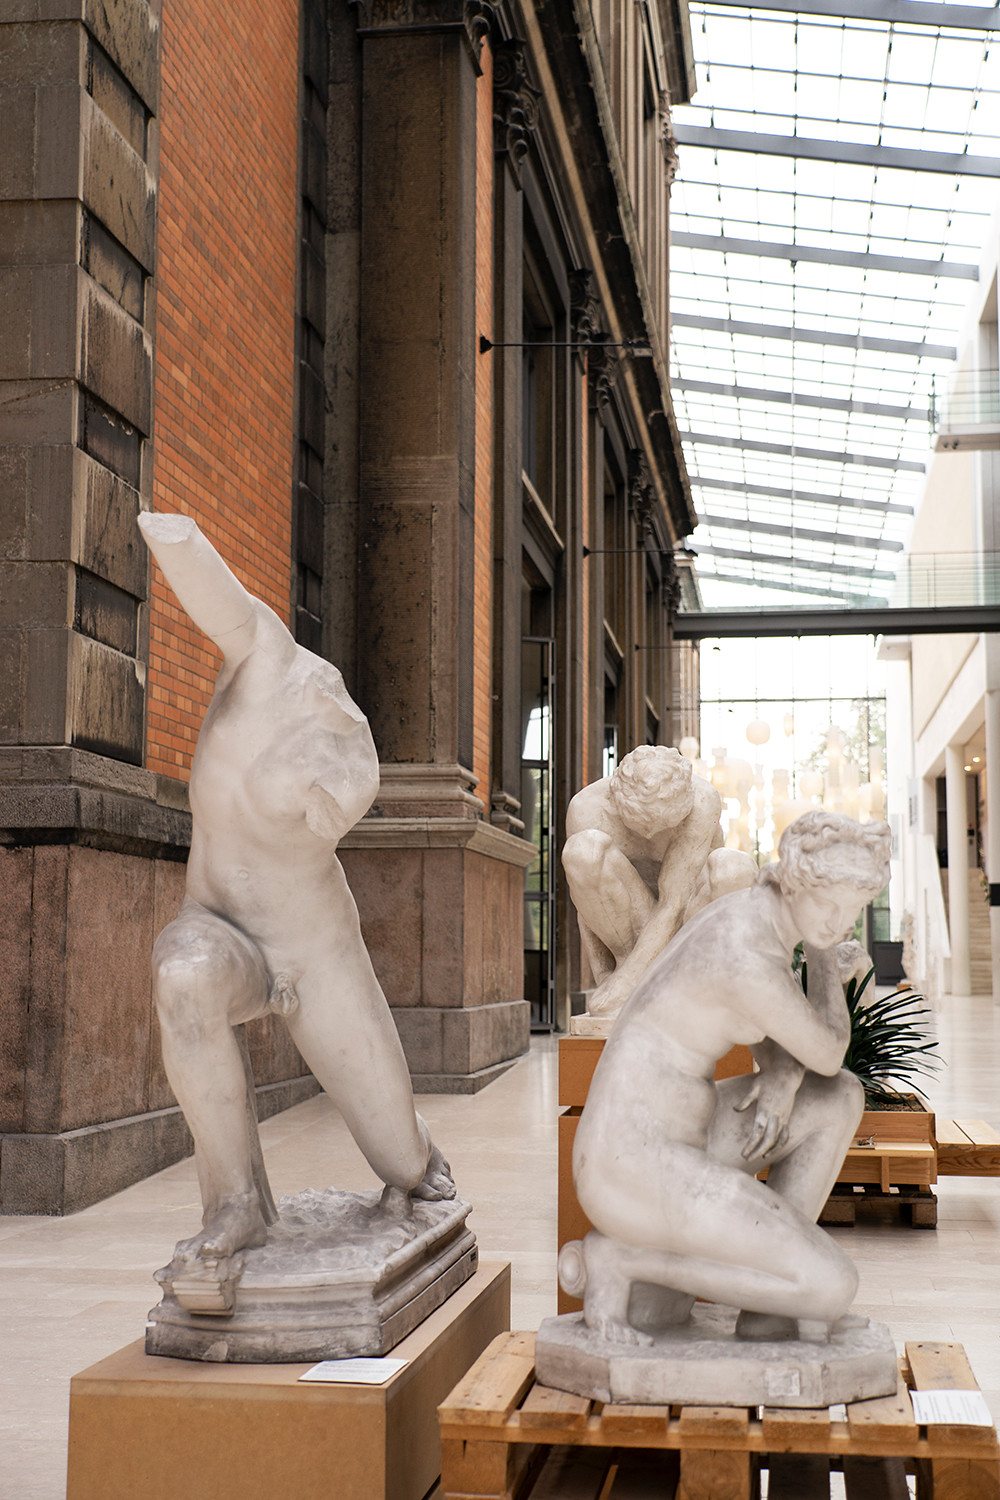
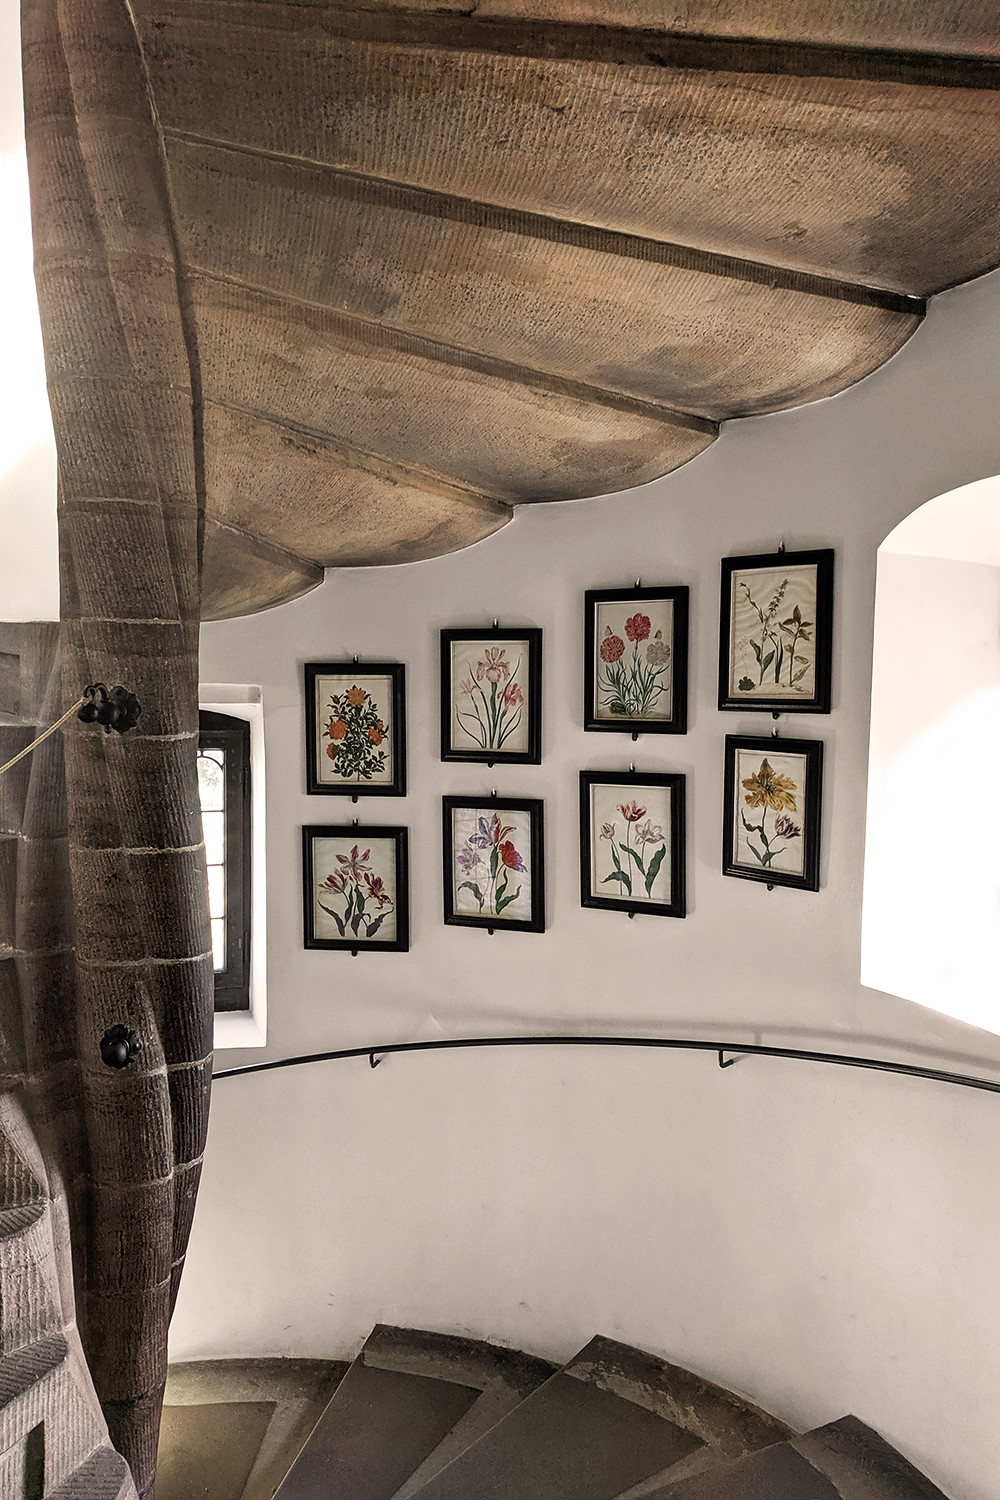
Have you checked out Day 1 and Day 2 and been following my Copenhagen journey? Today I am sharing with you what I did on the third day which was also my last day. Luckily, the rain stopped and I finally had a sunny (and dry) day! I had a simple soft-boiled egg with rye bread and butter (don't know why but Scandinavian bread is always so damn good) for breakfast, along with a latte of course, at Atelier September. Grabbed a seat outside and people watched a little before heading over to Rosenborg Castle which was just up the street.


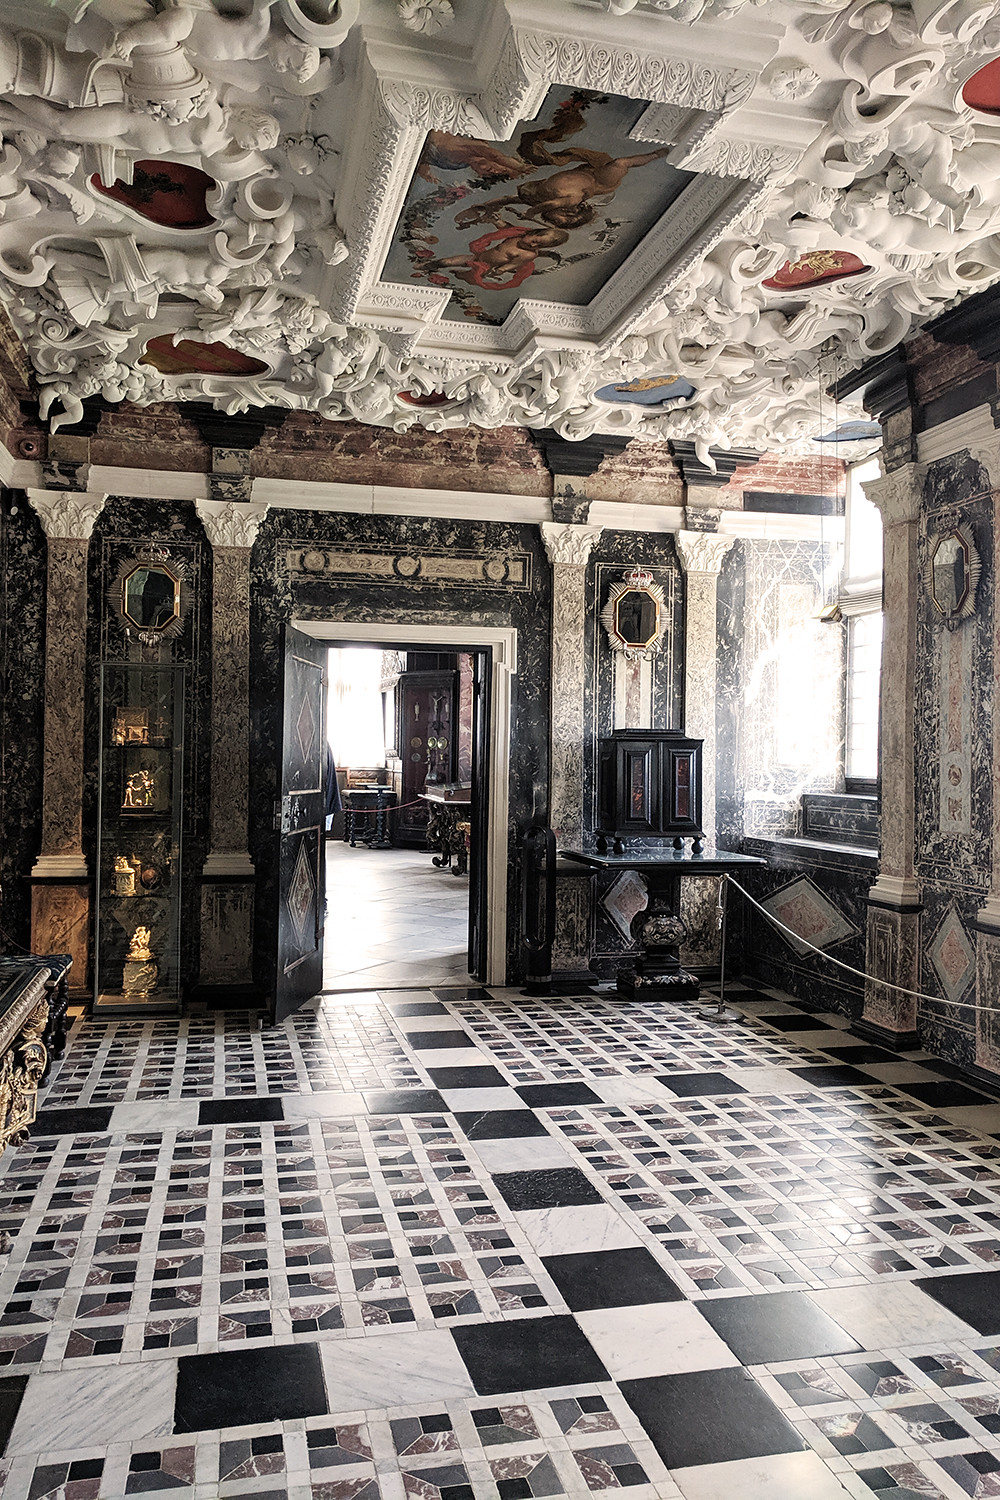
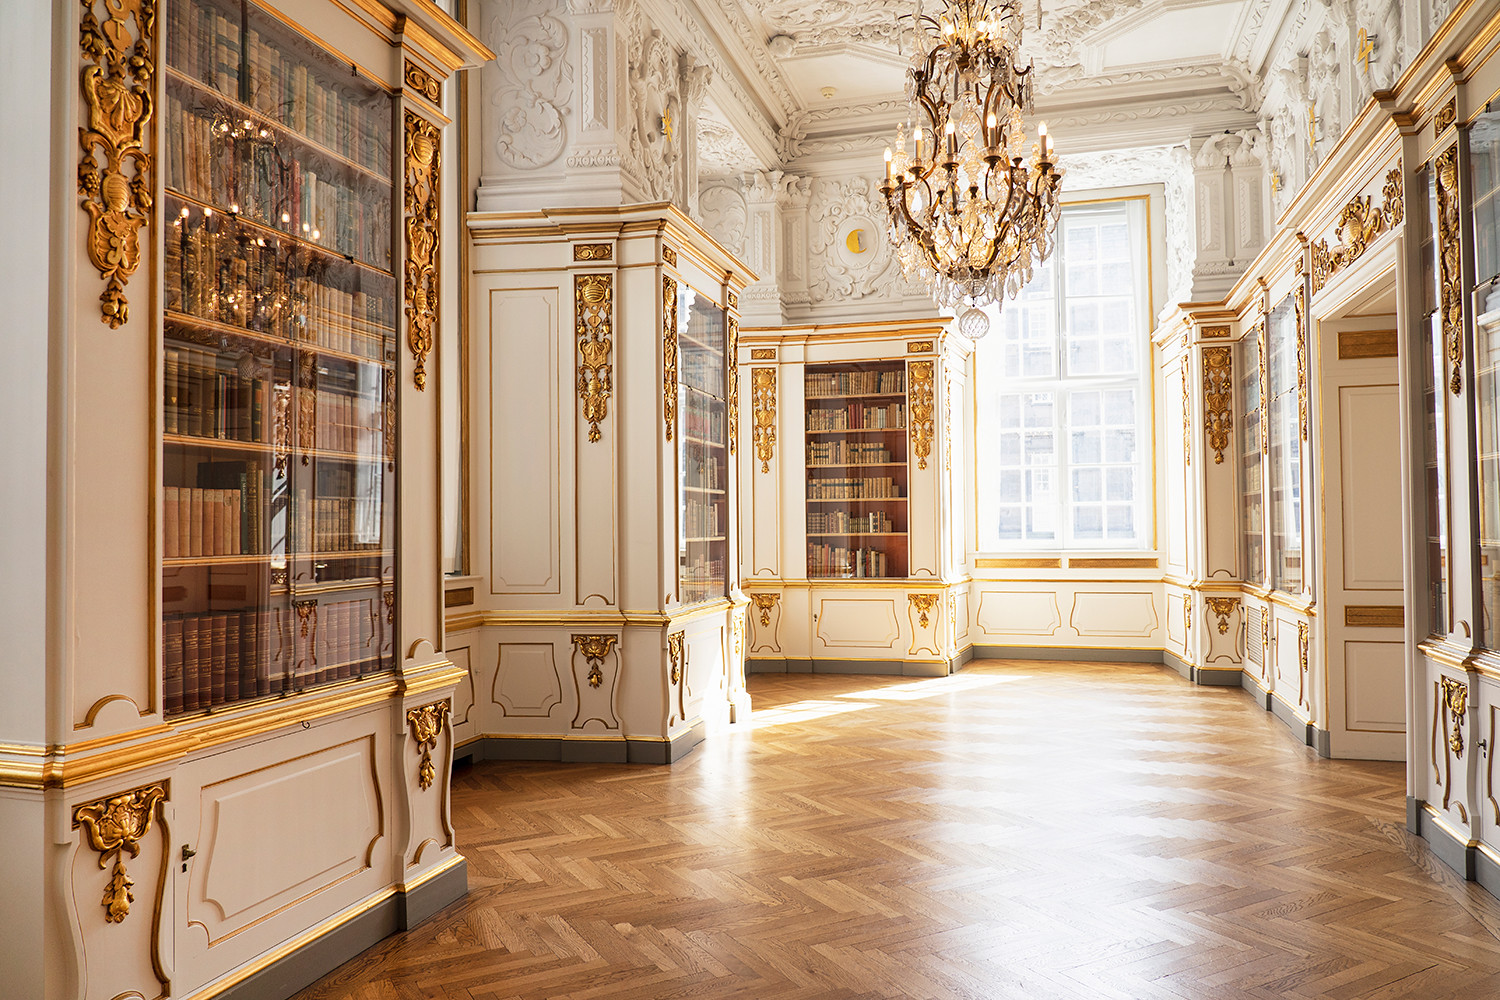
We walked through Kongens Have (The King's Garden), also known as Rosenborg Castle Garden, which is the country's oldest royal garden. One of Christian IV's many architectural projects, Rosenborg Castle was built in 1606 in a Dutch Renaissance style. From the outside, Rosenborg Castle looked beautiful and otherworldly. The inside, however, was a mix of extraordinarily ornate motifs and eeriness. Don't get me wrong, every room was decorated from ceiling to floor in great details and it was stunning, but something about that place felt slightly eerie. Perhaps because there weren't many windows so it was rather dark and also the excessive amount of portraits throughout the castle seemed as if I was being watched. Regardless, Rosenborg Castle is still a must-see attraction in Copenhagen!


Copenhagen Day 3: Rosenborg Castle, Botanical Garden and SMK (National Gallery of Denmark)
Have you checked out Day 1 and Day 2 and been following my Copenhagen journey? Today I am sharing with you what I did on the third day which was also my last day. Luckily, the rain stopped and I finally had a sunny (and dry) day! I had a simple soft-boiled egg with rye bread and butter (don't know why but Scandinavian bread is always so damn good) for breakfast, along with a latte of course, at Atelier September. Grabbed a seat outside and people watched a little before heading over to Rosenborg Castle which was just up the street.
We walked through Kongens Have (The King's Garden), also known as Rosenborg Castle Garden, which is the country's oldest royal garden. One of Christian IV's many architectural projects, Rosenborg Castle was built in 1606 in a Dutch Renaissance style. From the outside, Rosenborg Castle looked beautiful and otherworldly. The inside, however, was a mix of extraordinarily ornate motifs and eeriness. Don't get me wrong, every room was decorated from ceiling to floor in great details and it was stunning, but something about that place felt slightly eerie. Perhaps because there weren't many windows so it was rather dark and also the excessive amount of portraits throughout the castle seemed as if I was being watched. Regardless, Rosenborg Castle is still a must-see attraction in Copenhagen!
Onto day numero dos of Copenhagen! You can check out day numero uno here. Looking back now, this ought to be the most eventful day of my trip. It was raining a lot that day, like A LOT. It even hailed while I was on a boat (uncovered)! My jeans and shoes were completely soaked! But I suppose it's not an adventure unless you have to go through some mishaps right?
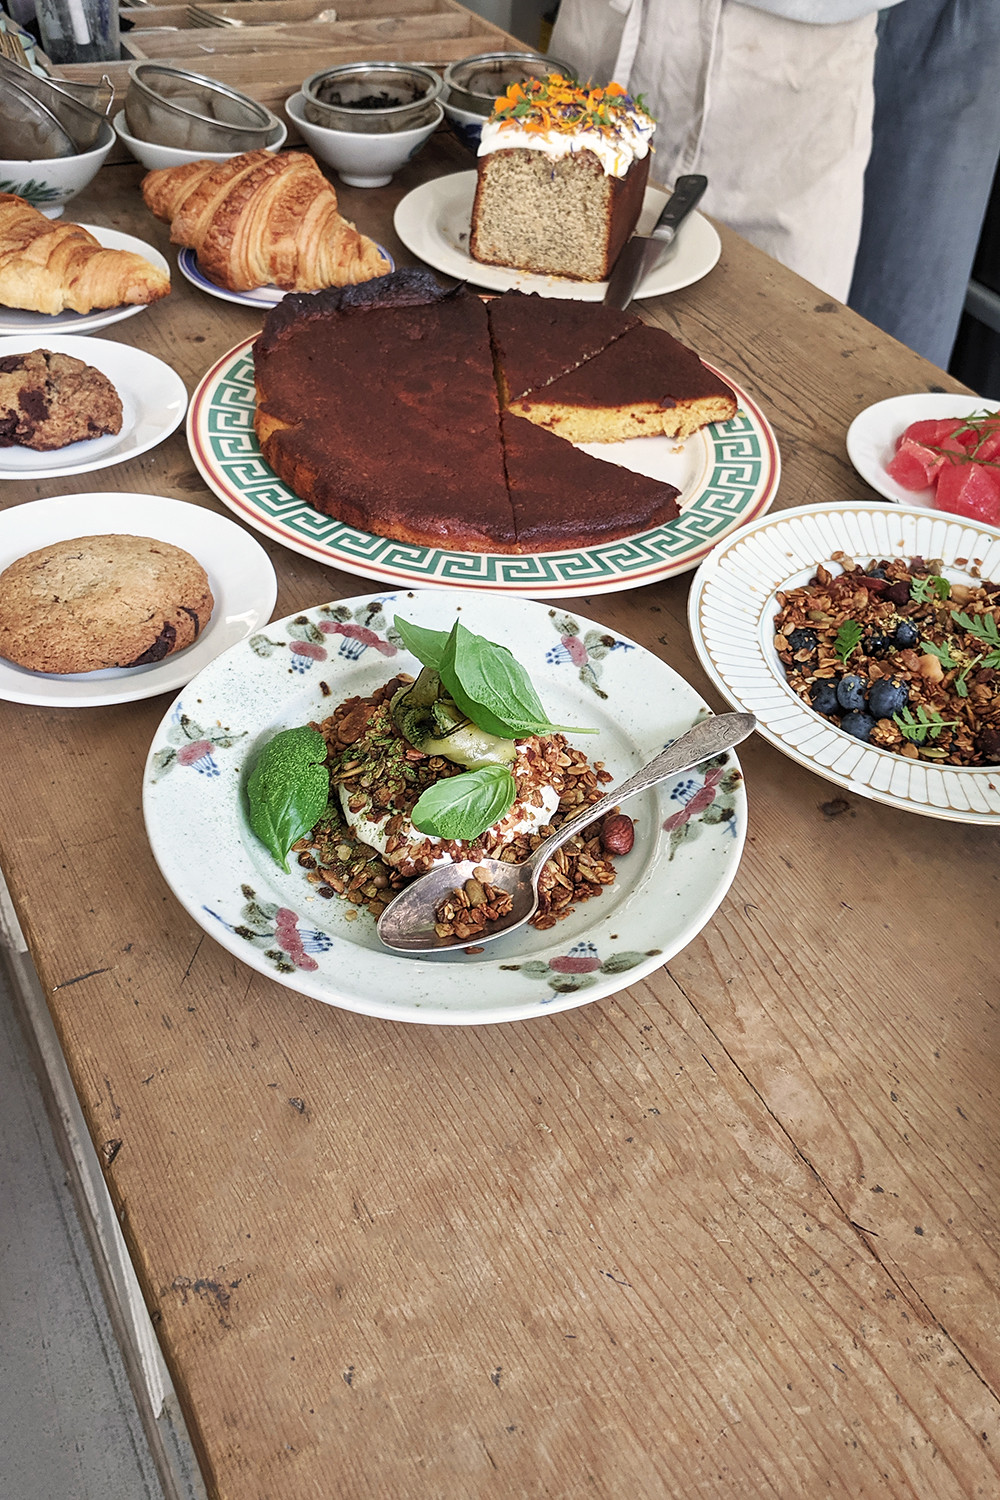
I woke up bright and early to have breakfast at Mad & Kaffe and it exceeded all my expectations. Simply put, it was breakfast tapas and you create the elements/ingredients by checking off whatever you want. I had a beet salad, smoked salmon, scrambled eggs with mushroom, an oh-so-buttery croissant, and a chia pudding with berries. Everything tasted so fresh and delicious, I highly recommend checking this spot out!


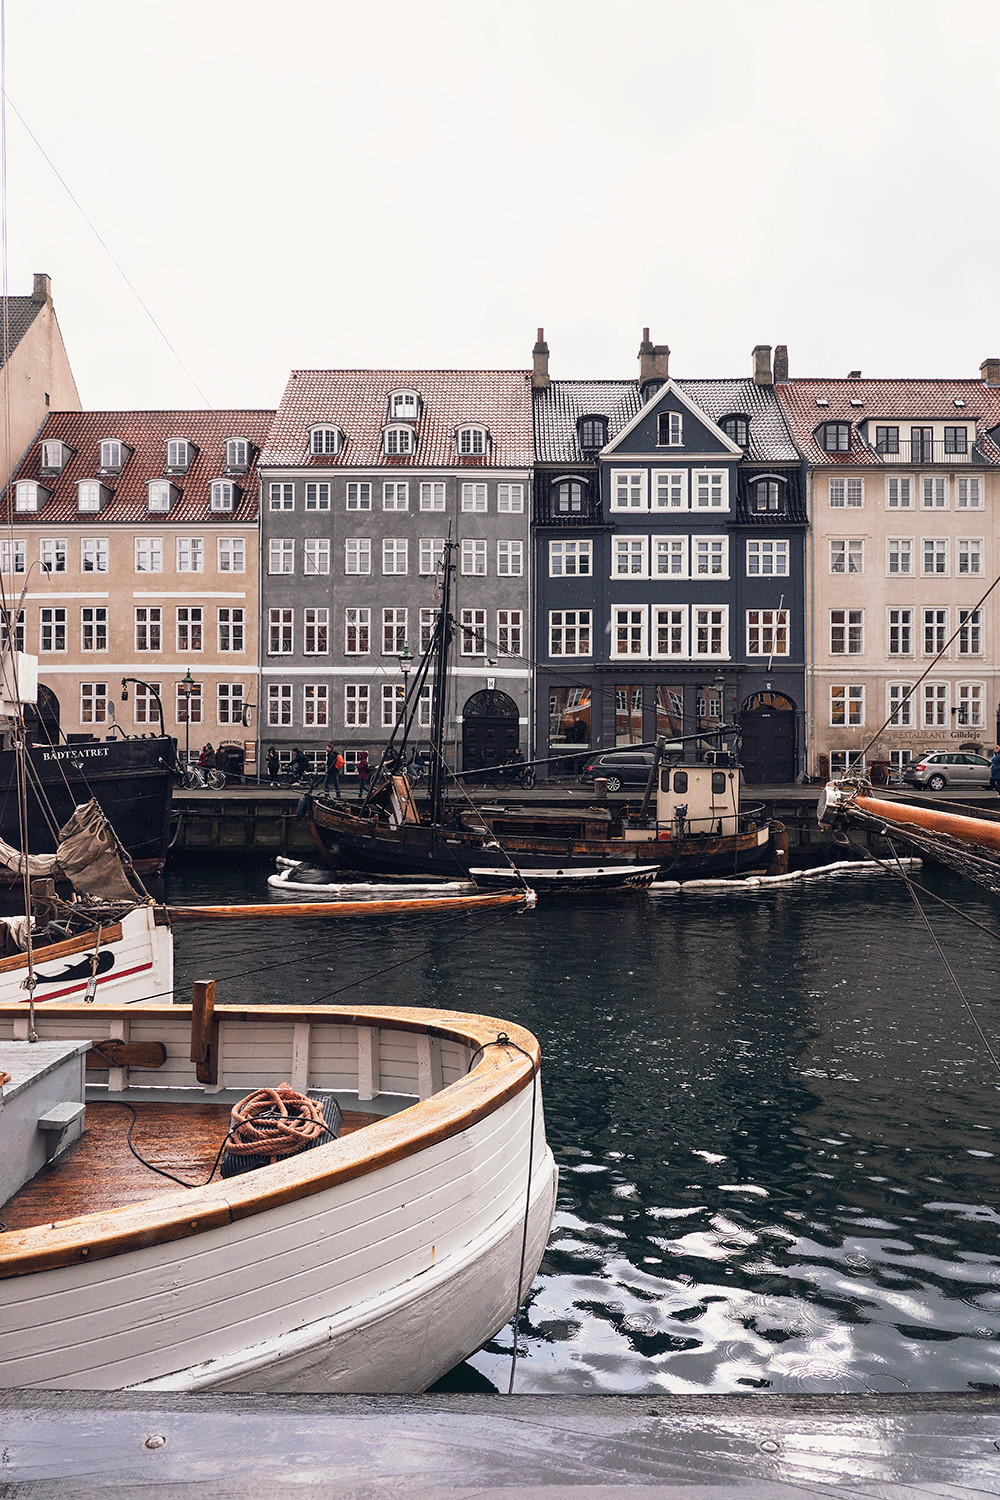
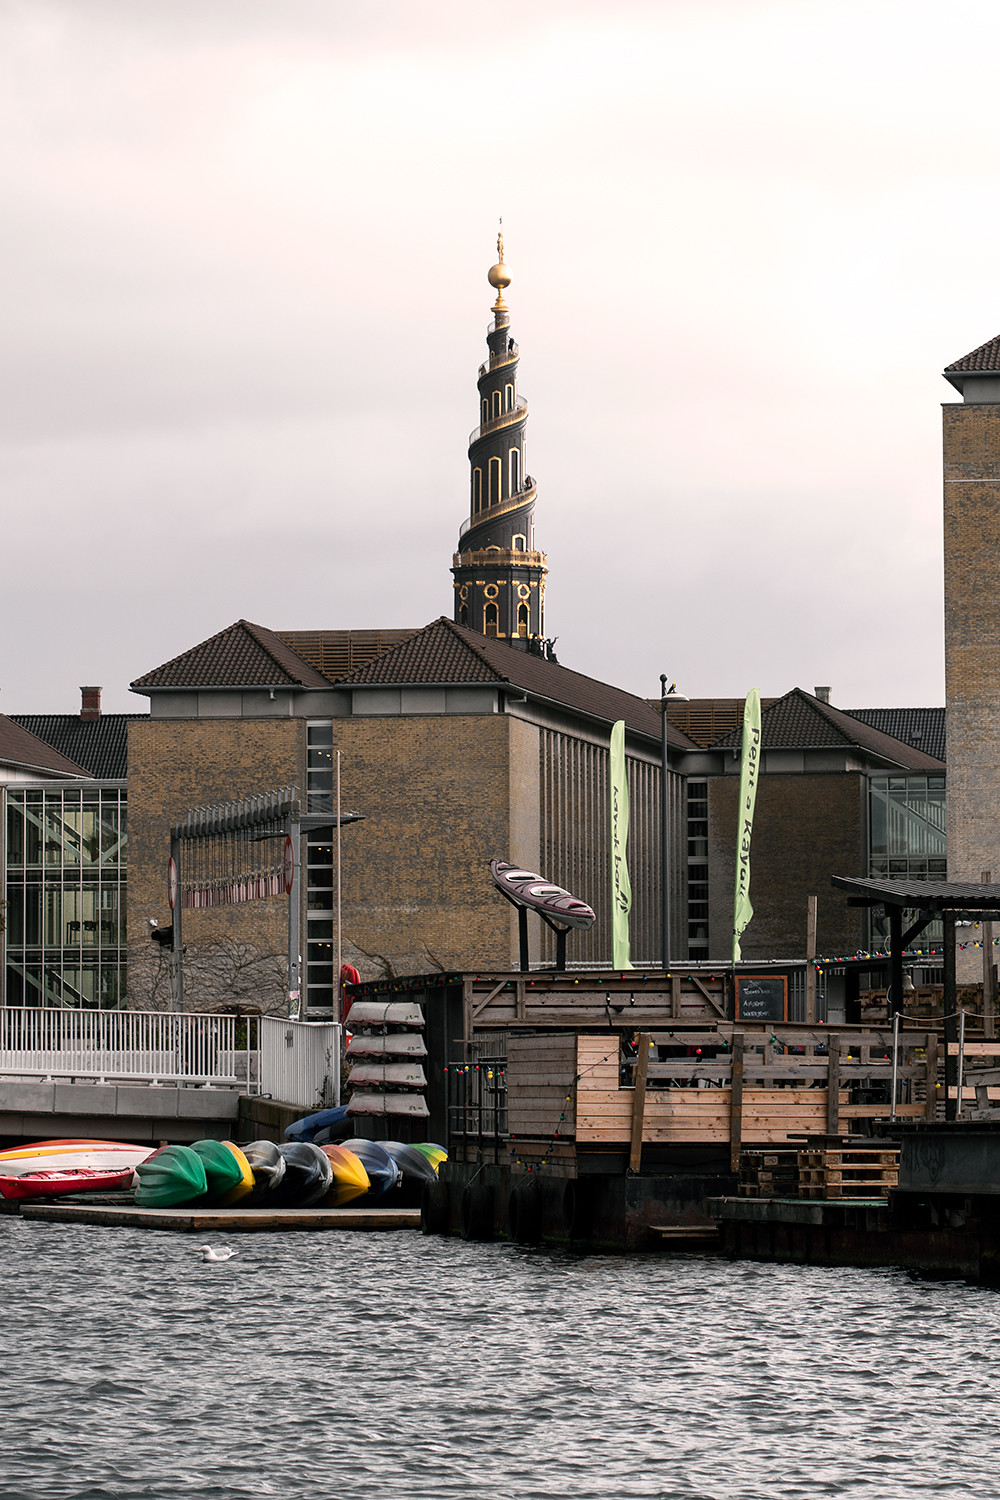
After breakfast, we strolled over to a pier to meet with GoBoat for a tour of Copenhagen from the water! GoBoat is pretty rad. Not only does it sail on sun, wind and water power, you also steer the boat yourself (very straightforward) and do your own tour! However, our host Mads was kind enough to be our guide. When I boarded the boat with coffee in hand, it was sunny. Less than 10 minutes later, it started pouring. Picture this... three people on a boat battling the rain and wind with two umbrellas and occasionally seeking shelter under bridges. Oh man it was so cold! It was rough! It even hailed a few times but absolutely no regrets! There are so many canals in Copenhagen, GoBoat is such a great and quick way to see the city!


Copenhagen Day 2: GoBoat, Christiansborg Palace and Nyhavn
December 11, 2019
Onto day numero dos of Copenhagen! You can check out day numero uno here. Looking back now, this ought to be the most eventful day of my trip. It was raining a lot that day, like A LOT. It even hailed while I was on a boat (uncovered)! My jeans and shoes were completely soaked! But I suppose it's not an adventure unless you have to go through some mishaps right?
I woke up bright and early to have breakfast at Mad & Kaffe and it exceeded all my expectations. Simply put, it was breakfast tapas and you create the elements/ingredients by checking off whatever you want. I had a beet salad, smoked salmon, scrambled eggs with mushroom, an oh-so-buttery croissant, and a chia pudding with berries. Everything tasted so fresh and delicious, I highly recommend checking this spot out!
After breakfast, we strolled over to a pier to meet with GoBoat for a tour of Copenhagen from the water! GoBoat is pretty rad. Not only does it sail on sun, wind and water power, you also steer the boat yourself (very straightforward) and do your own tour! However, our host Mads was kind enough to be our guide. When I boarded the boat with coffee in hand, it was sunny. Less than 10 minutes later, it started pouring. Picture this... three people on a boat battling the rain and wind with two umbrellas and occasionally seeking shelter under bridges. Oh man it was so cold! It was rough! It even hailed a few times but absolutely no regrets! There are so many canals in Copenhagen, GoBoat is such a great and quick way to see the city!
Subscribe to:
Posts (Atom)