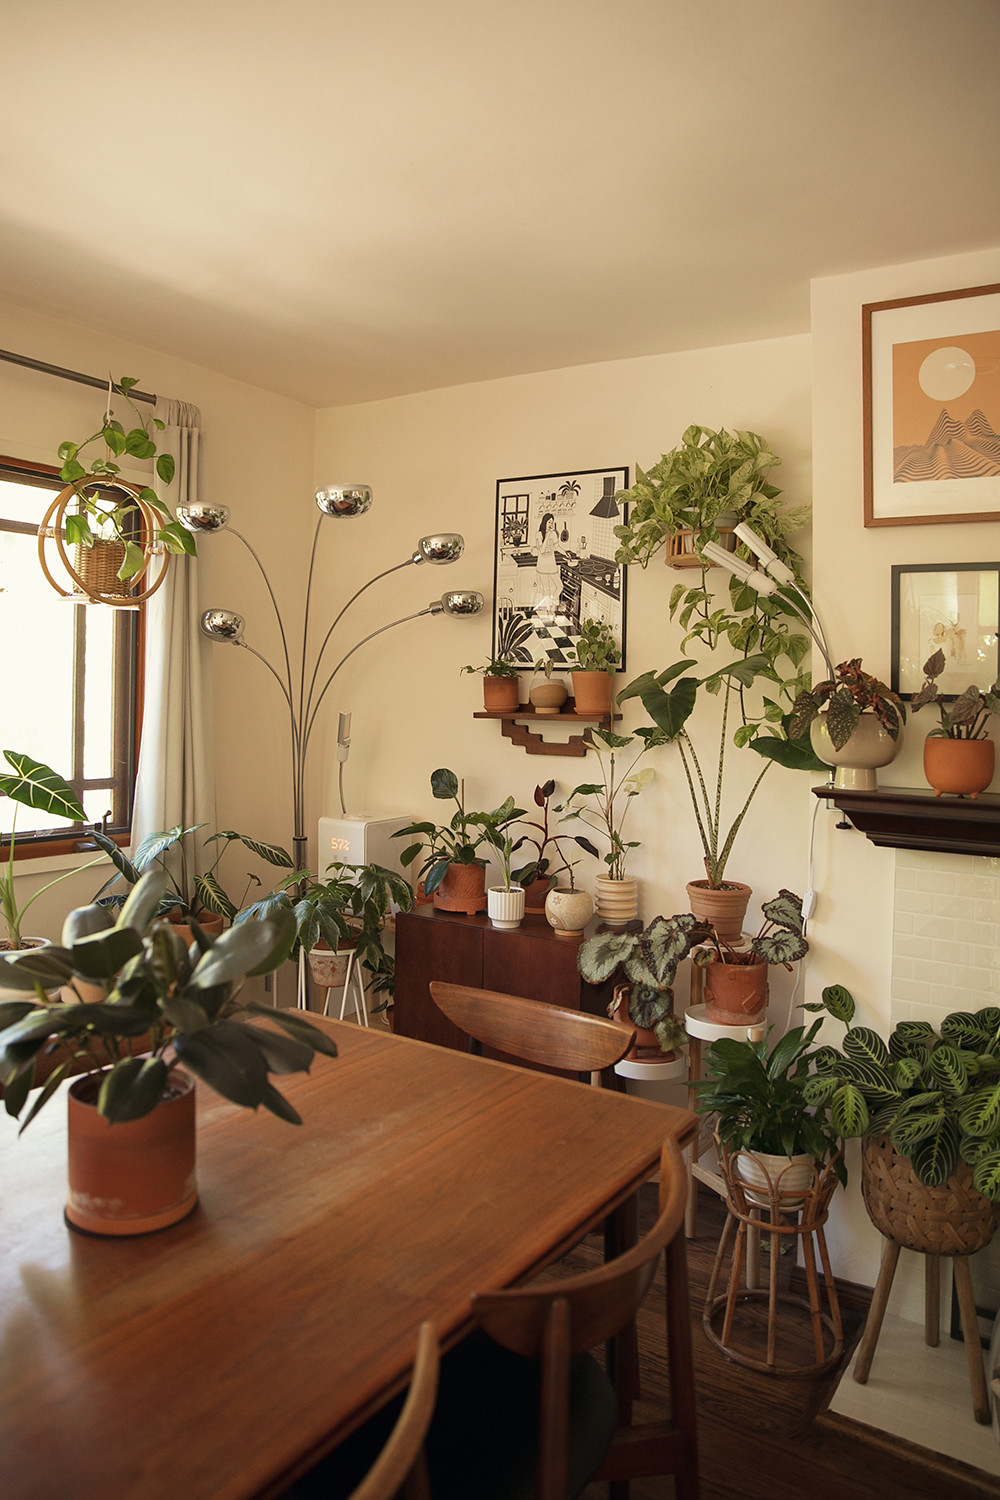
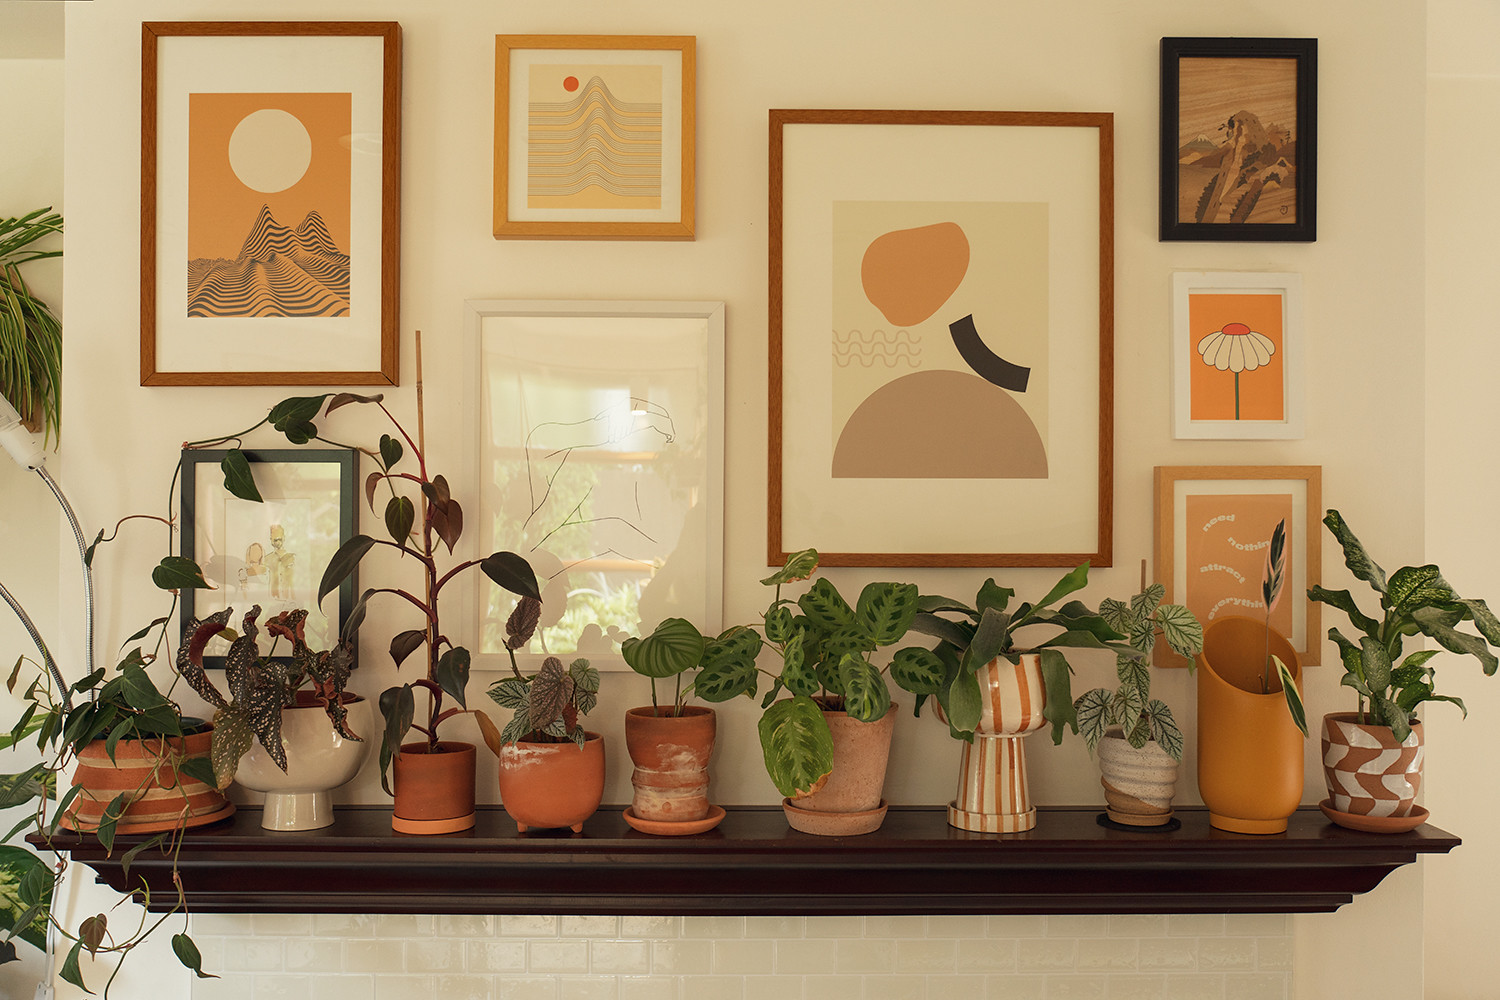
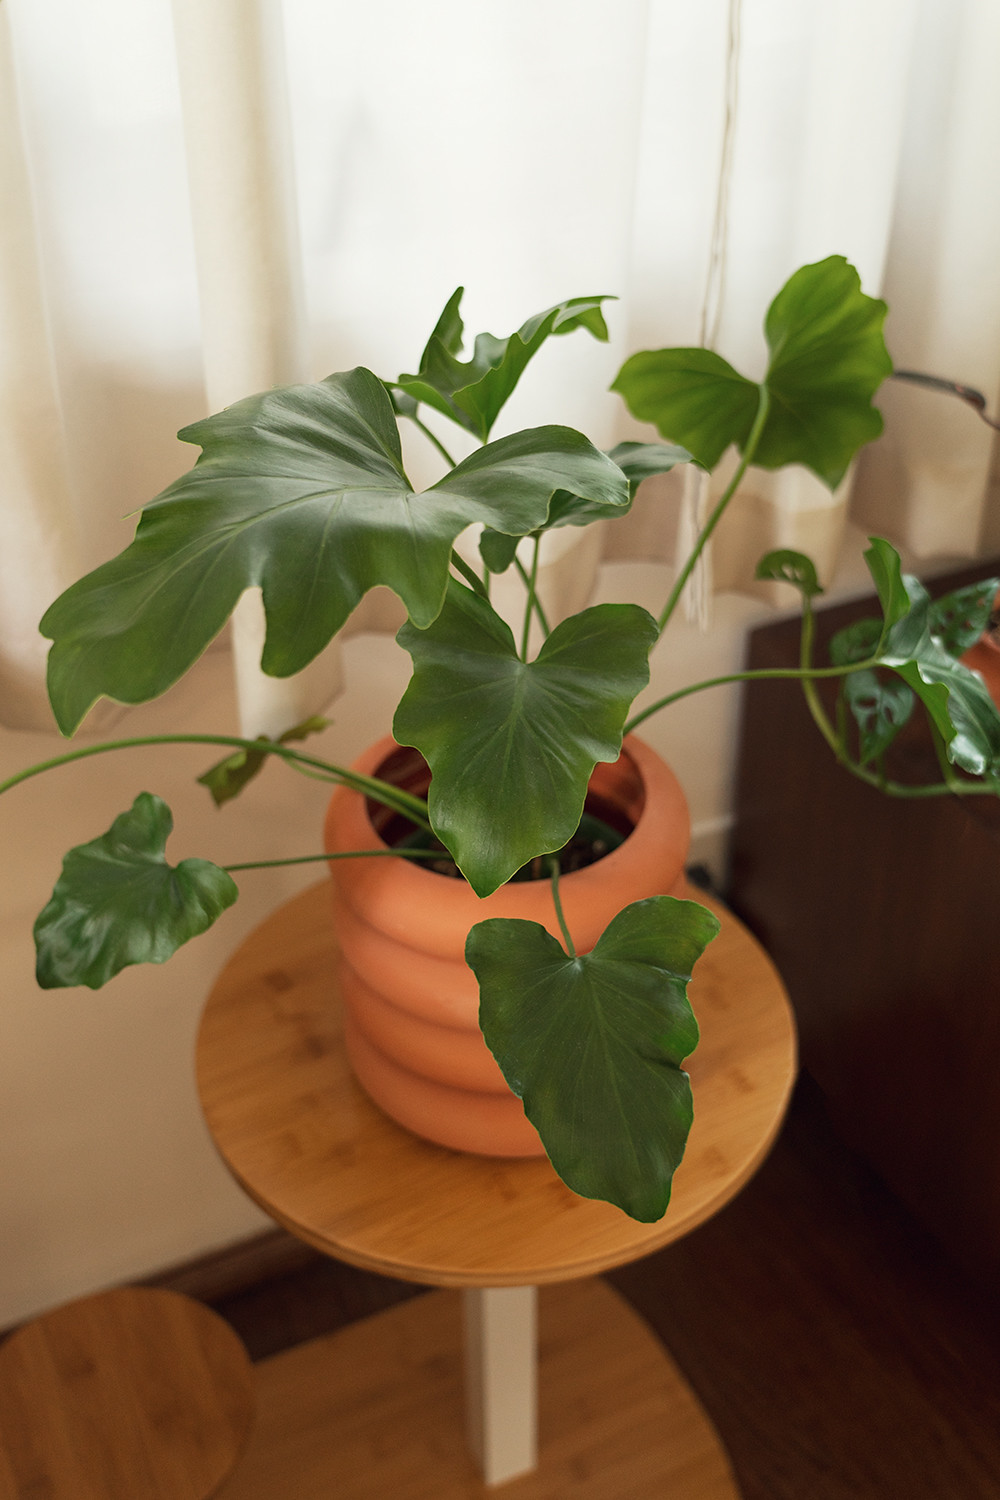
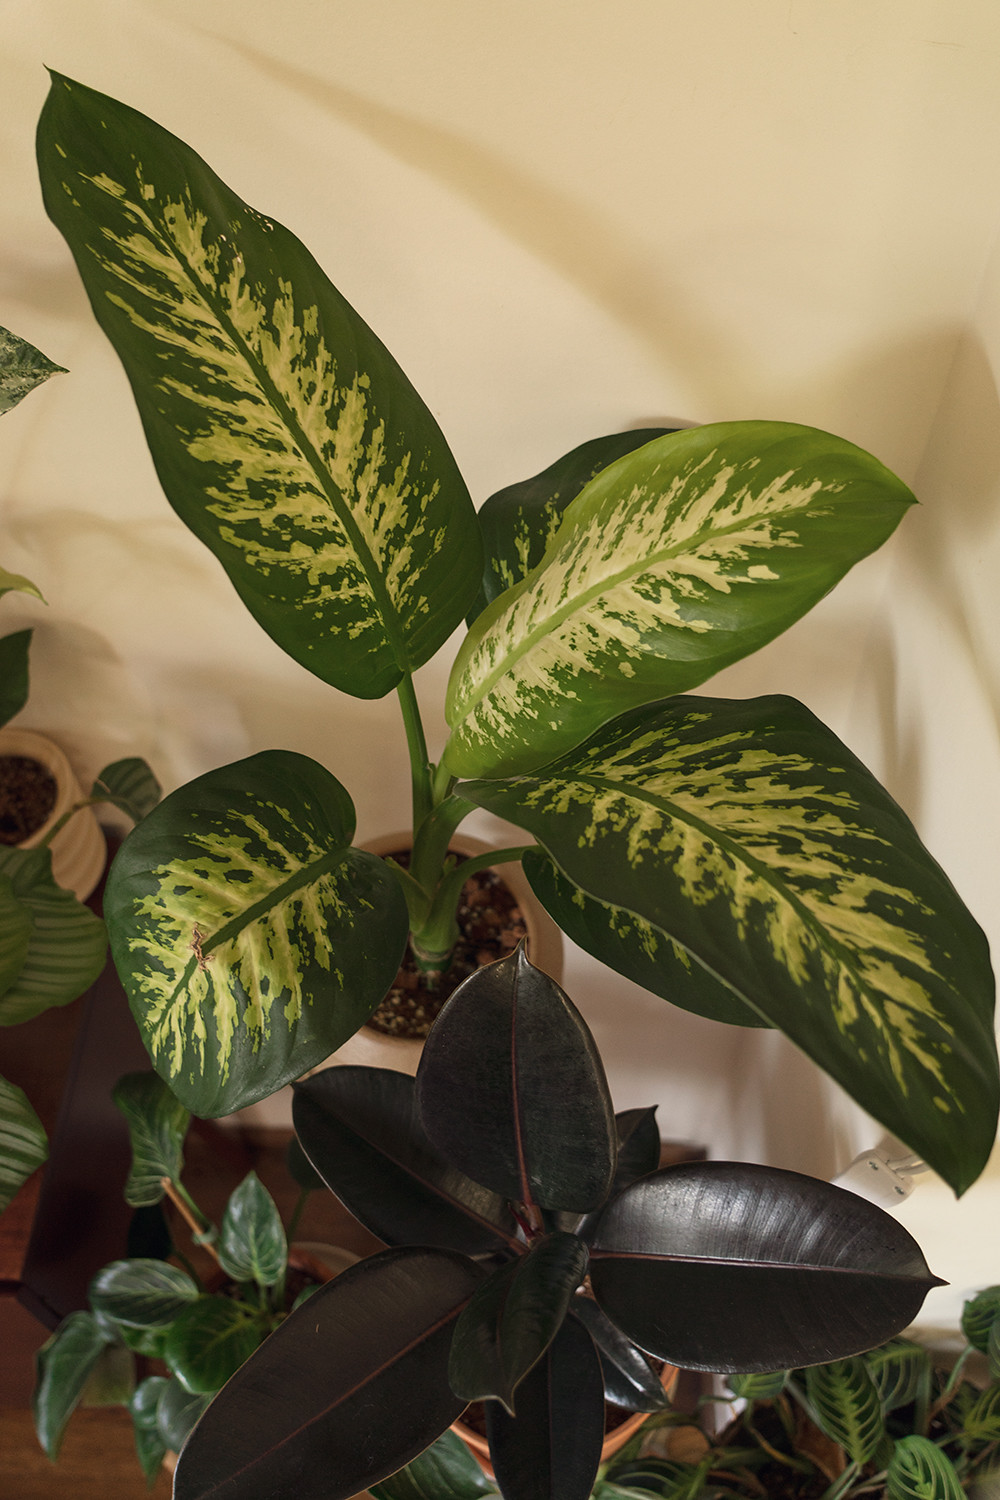
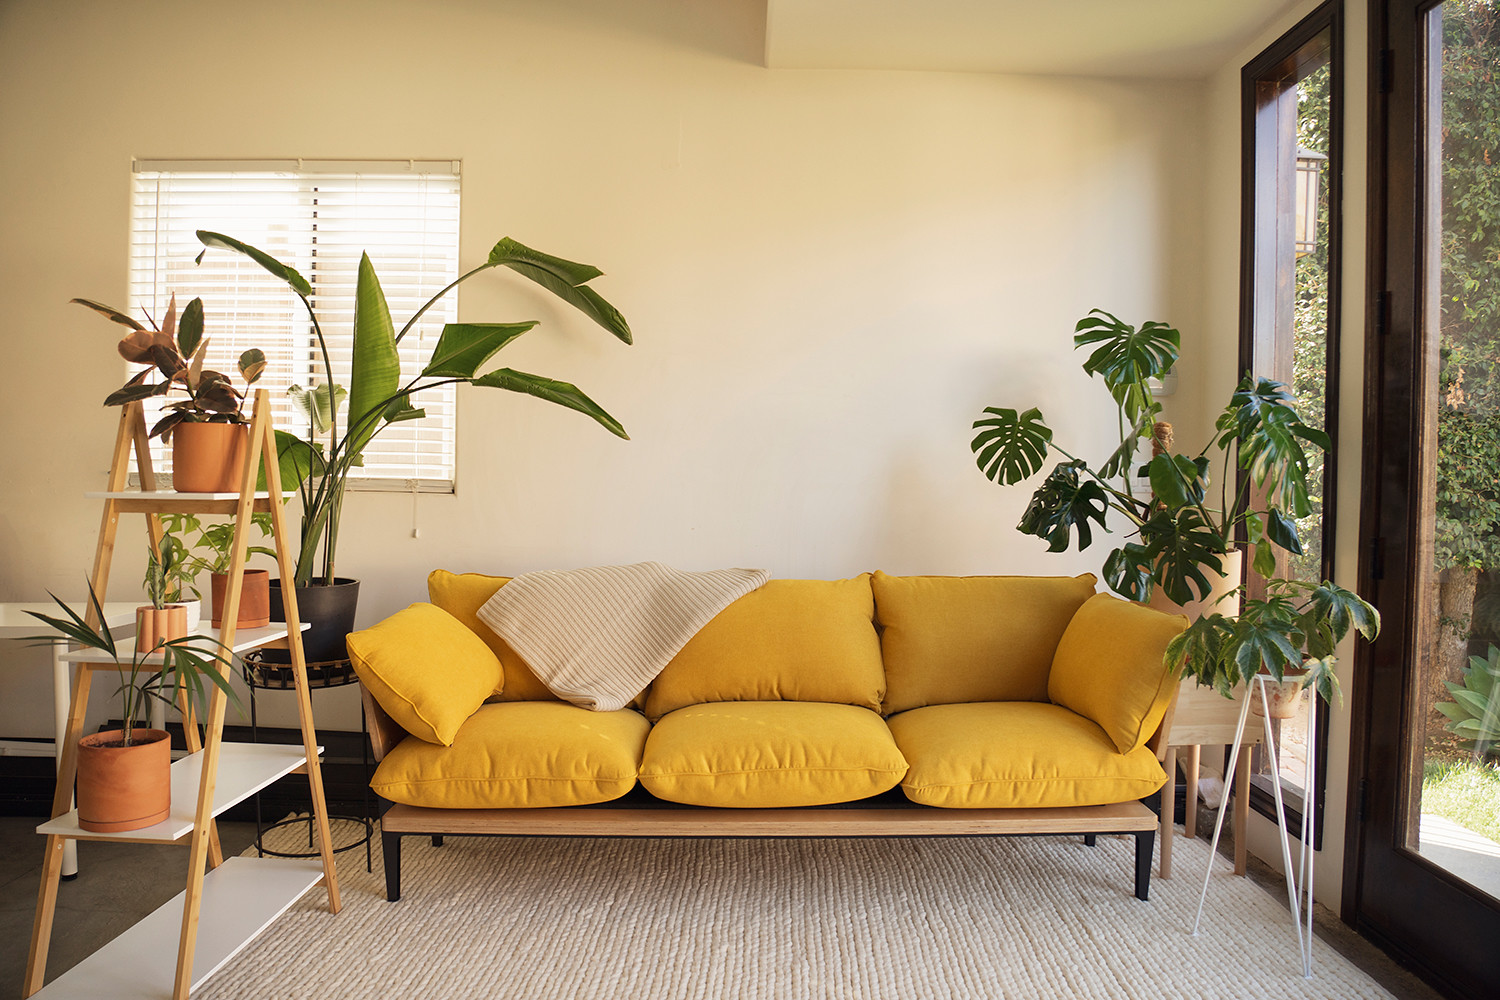
The long awaited house plant tour is here! It even comes with a YouTube video! Thanks to my friend Ally who pushed me and helped me film this, otherwise it would have never been done. I always put home related content off because I feel like it's never truly complete or that I am always changing things up, or maybe these are just excuses... Anyways, I am keeping this blog post short and sweet (watch the video below for all my plant secrets) but I wanted to share a few photos of the plants that didn't make it onto the video, along with links to items you might be interested in from the video. At the end of this blog post, I also linked my humidifier, the different kind of grow lights I use, and my favorite soil mix. Enjoy!


House Plant Tour
October 5, 2021
The long awaited house plant tour is here! It even comes with a YouTube video! Thanks to my friend Ally who pushed me and helped me film this, otherwise it would have never been done. I always put home related content off because I feel like it's never truly complete or that I am always changing things up, or maybe these are just excuses... Anyways, I am keeping this blog post short and sweet (watch the video below for all my plant secrets) but I wanted to share a few photos of the plants that didn't make it onto the video, along with links to items you might be interested in from the video. At the end of this blog post, I also linked my humidifier, the different kind of grow lights I use, and my favorite soil mix. Enjoy!

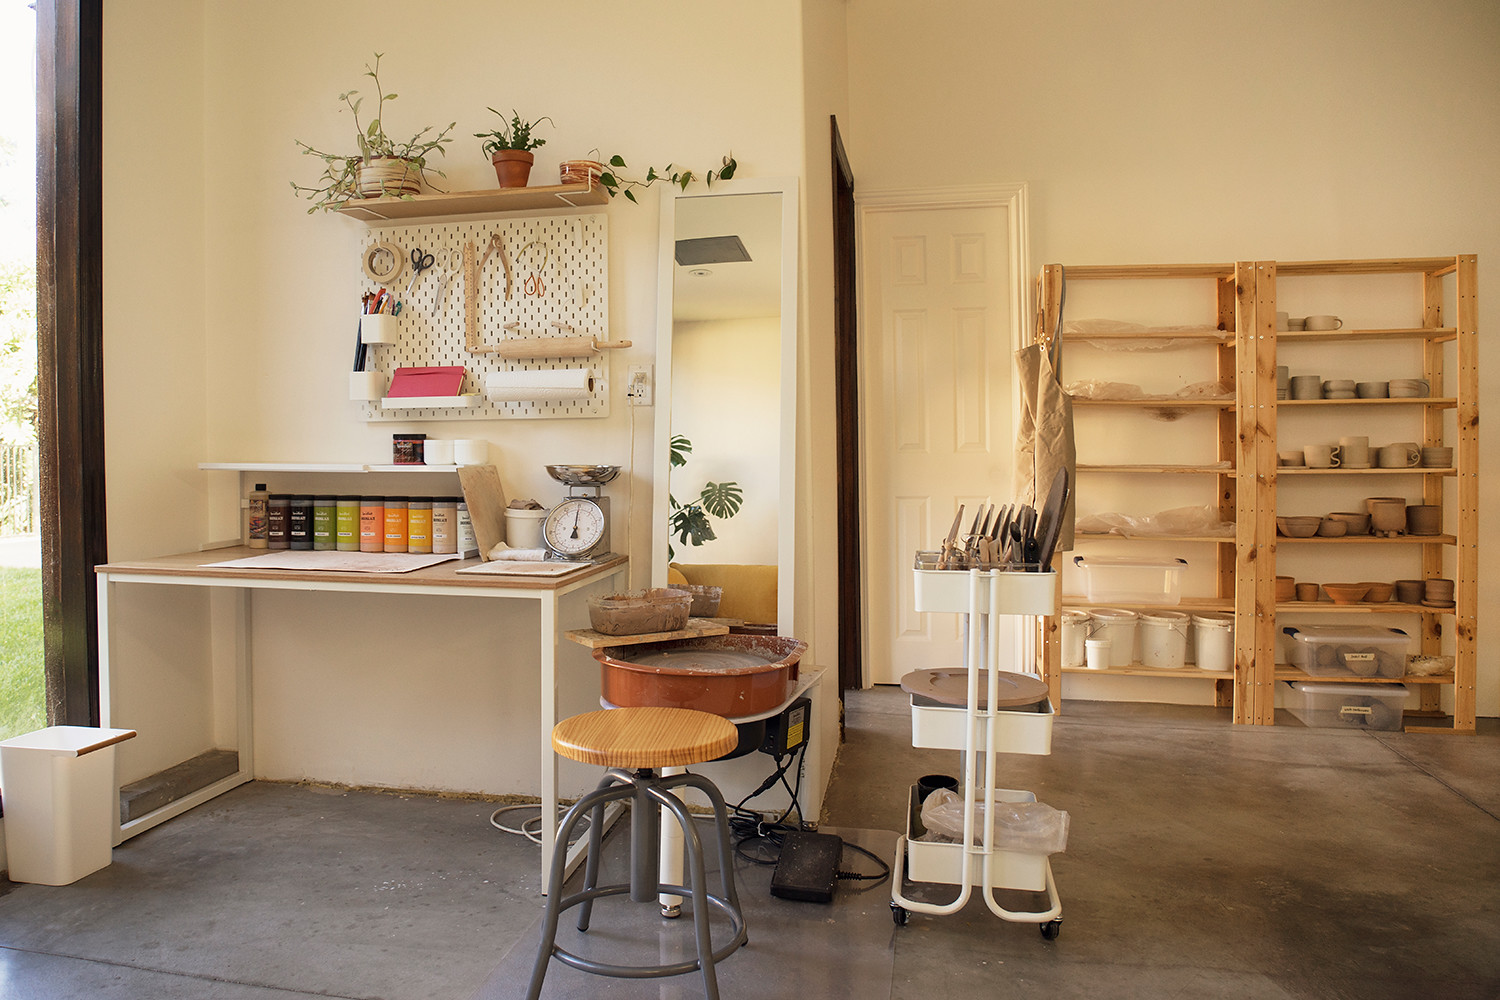
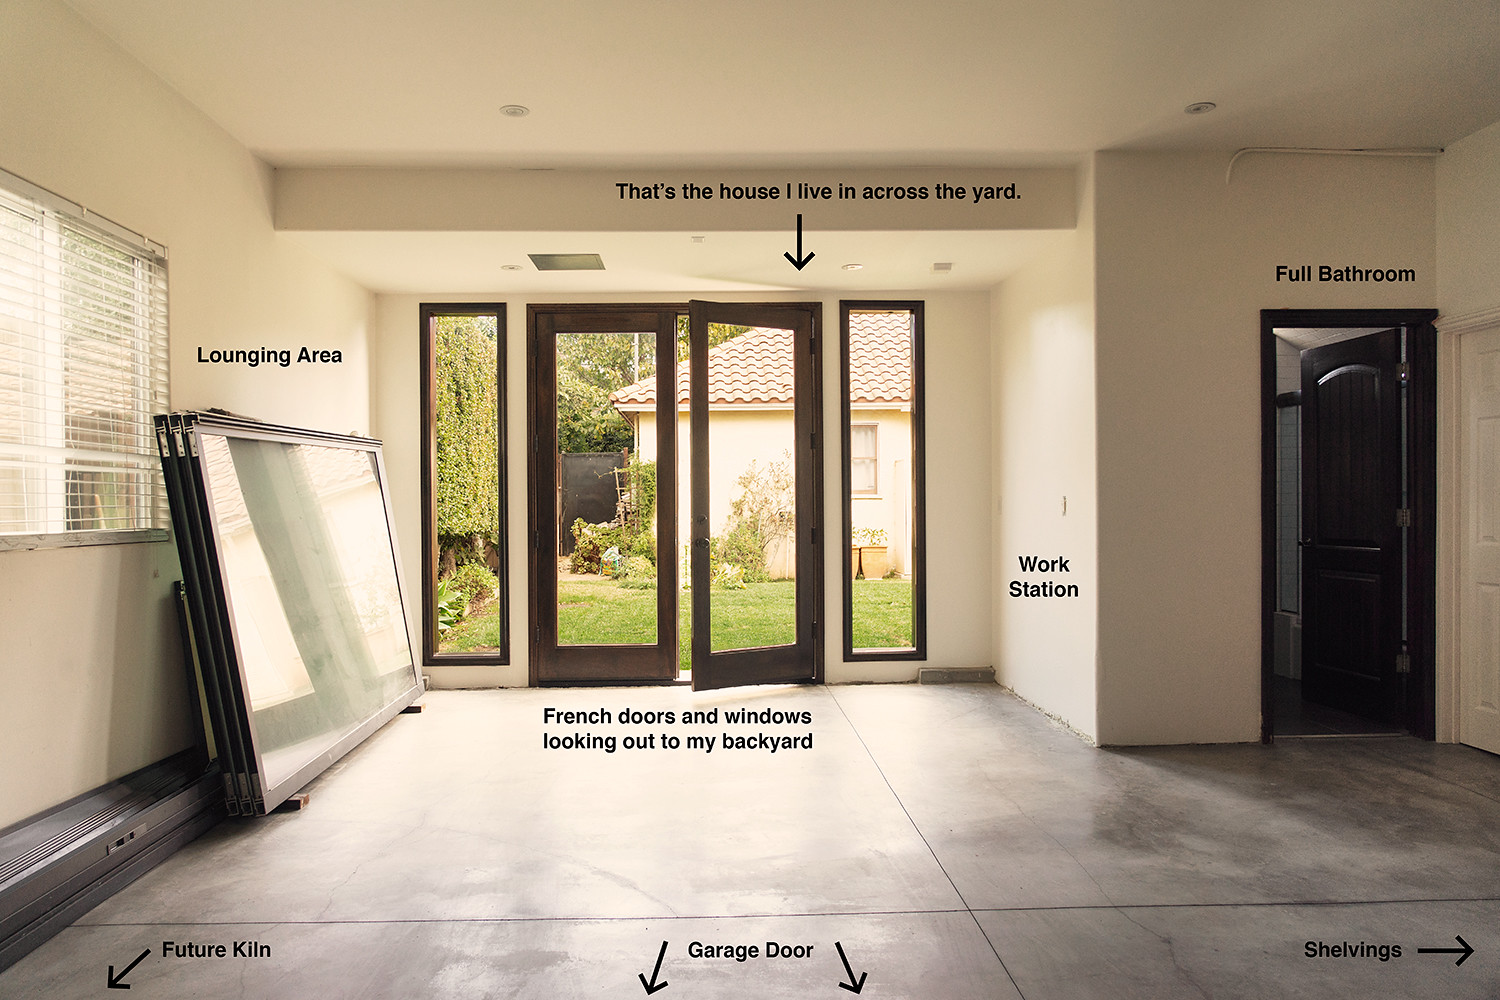
Fast forward to June, my landlord told me he and his family were moving in July (they live in the backhouse, we live in the front/main house) and when they leave, I can have their garage. I was stoked because I immediately thought "I can do pottery in the garage!!!" Suddenly, I felt a huge sense of hope! The garage isn't your typical garage. It has floor to ceiling windows and french doors that open up to our backyard, a full bath, as well as a side door that opens up to the side of the house. Immediately, I started researching and planning how to set up my own home studio and what kind of equipment and tools I need.
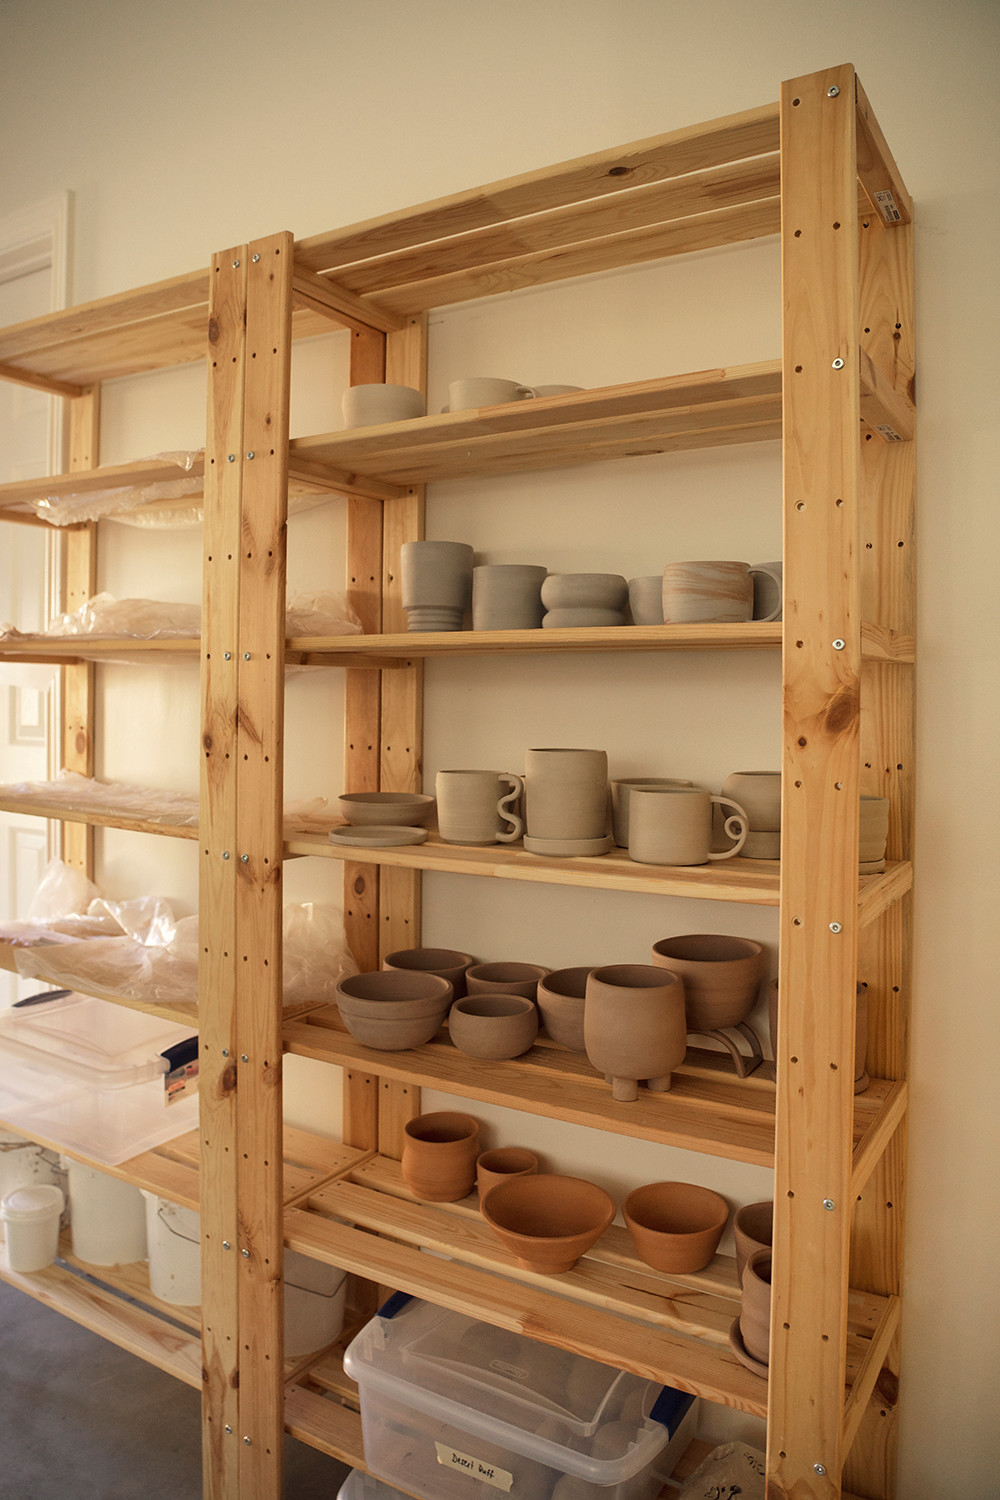
July arrived and Covid cases were on the rise, so my landlord and his family have decided to hold off on moving until further notice. I also decided to hold off on planning because at that point, everything was up in the air and I had no idea when they would actually move or when I would have the garage. Long story short, they finally moved in November but they hadn't completely cleared out all their things in the garage but I began planning again and now an entire year later, I can finally say I have my studio 75% set up!!!
I debated a long time when to post about the studio because like many other home projects, it can never be truly complete. There will always be things you want to work on, change, and improve. So, I've decided to split it into two parts and share with you first the space and the decor side of things...


My Art / Pottery Studio: Part 1
July 15, 2021
Fast forward to June, my landlord told me he and his family were moving in July (they live in the backhouse, we live in the front/main house) and when they leave, I can have their garage. I was stoked because I immediately thought "I can do pottery in the garage!!!" Suddenly, I felt a huge sense of hope! The garage isn't your typical garage. It has floor to ceiling windows and french doors that open up to our backyard, a full bath, as well as a side door that opens up to the side of the house. Immediately, I started researching and planning how to set up my own home studio and what kind of equipment and tools I need.
July arrived and Covid cases were on the rise, so my landlord and his family have decided to hold off on moving until further notice. I also decided to hold off on planning because at that point, everything was up in the air and I had no idea when they would actually move or when I would have the garage. Long story short, they finally moved in November but they hadn't completely cleared out all their things in the garage but I began planning again and now an entire year later, I can finally say I have my studio 75% set up!!!
I debated a long time when to post about the studio because like many other home projects, it can never be truly complete. There will always be things you want to work on, change, and improve. So, I've decided to split it into two parts and share with you first the space and the decor side of things...

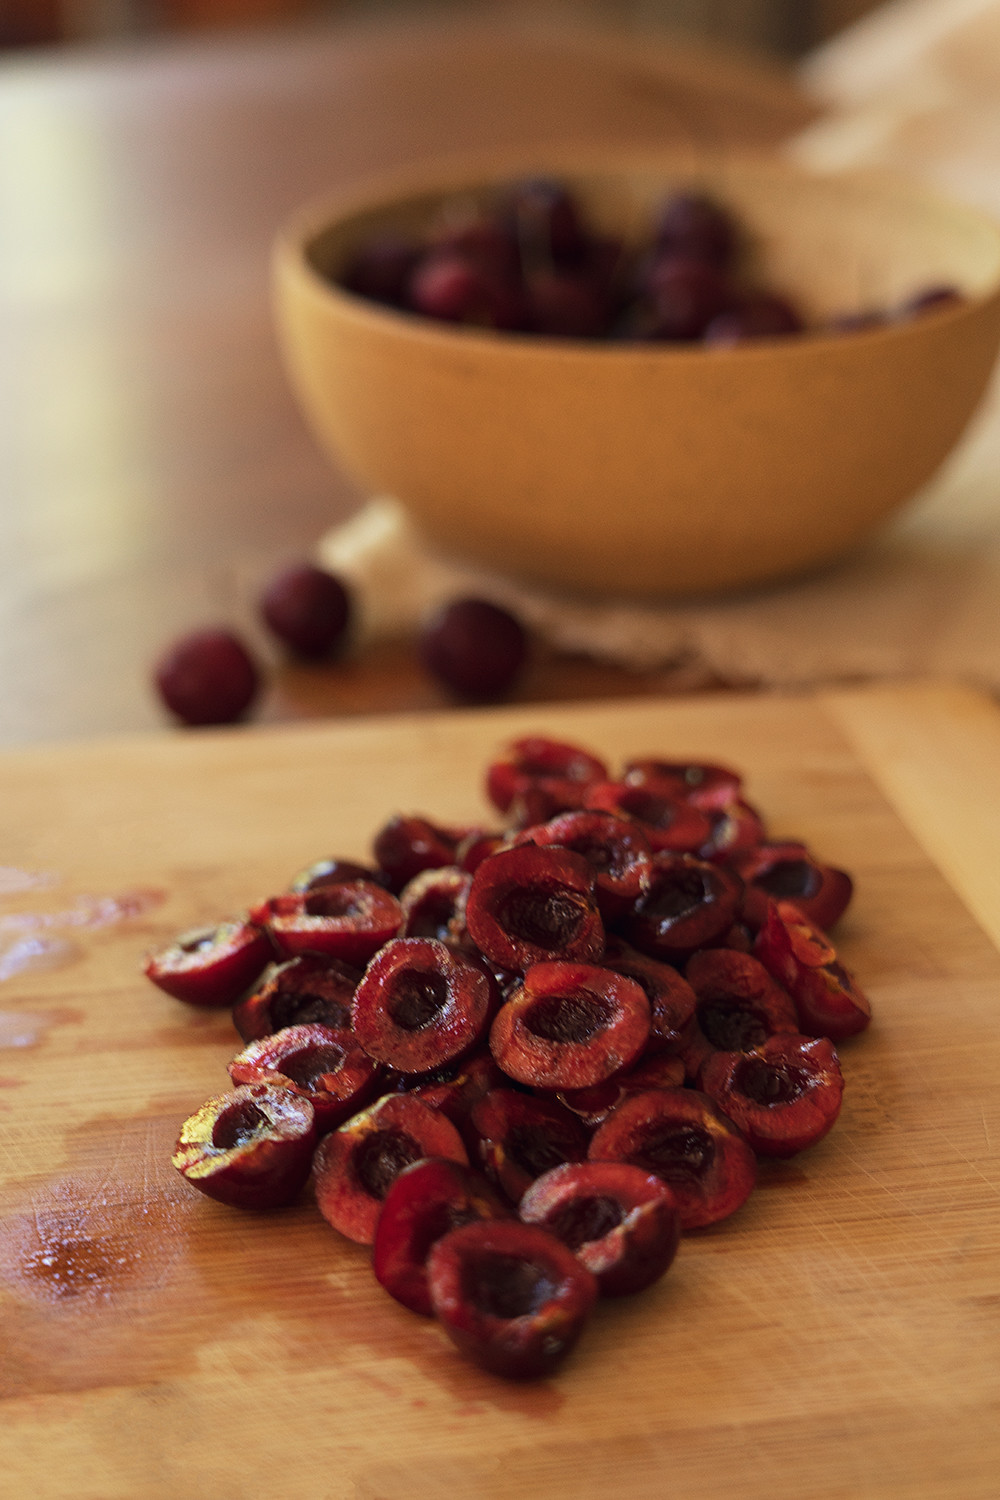
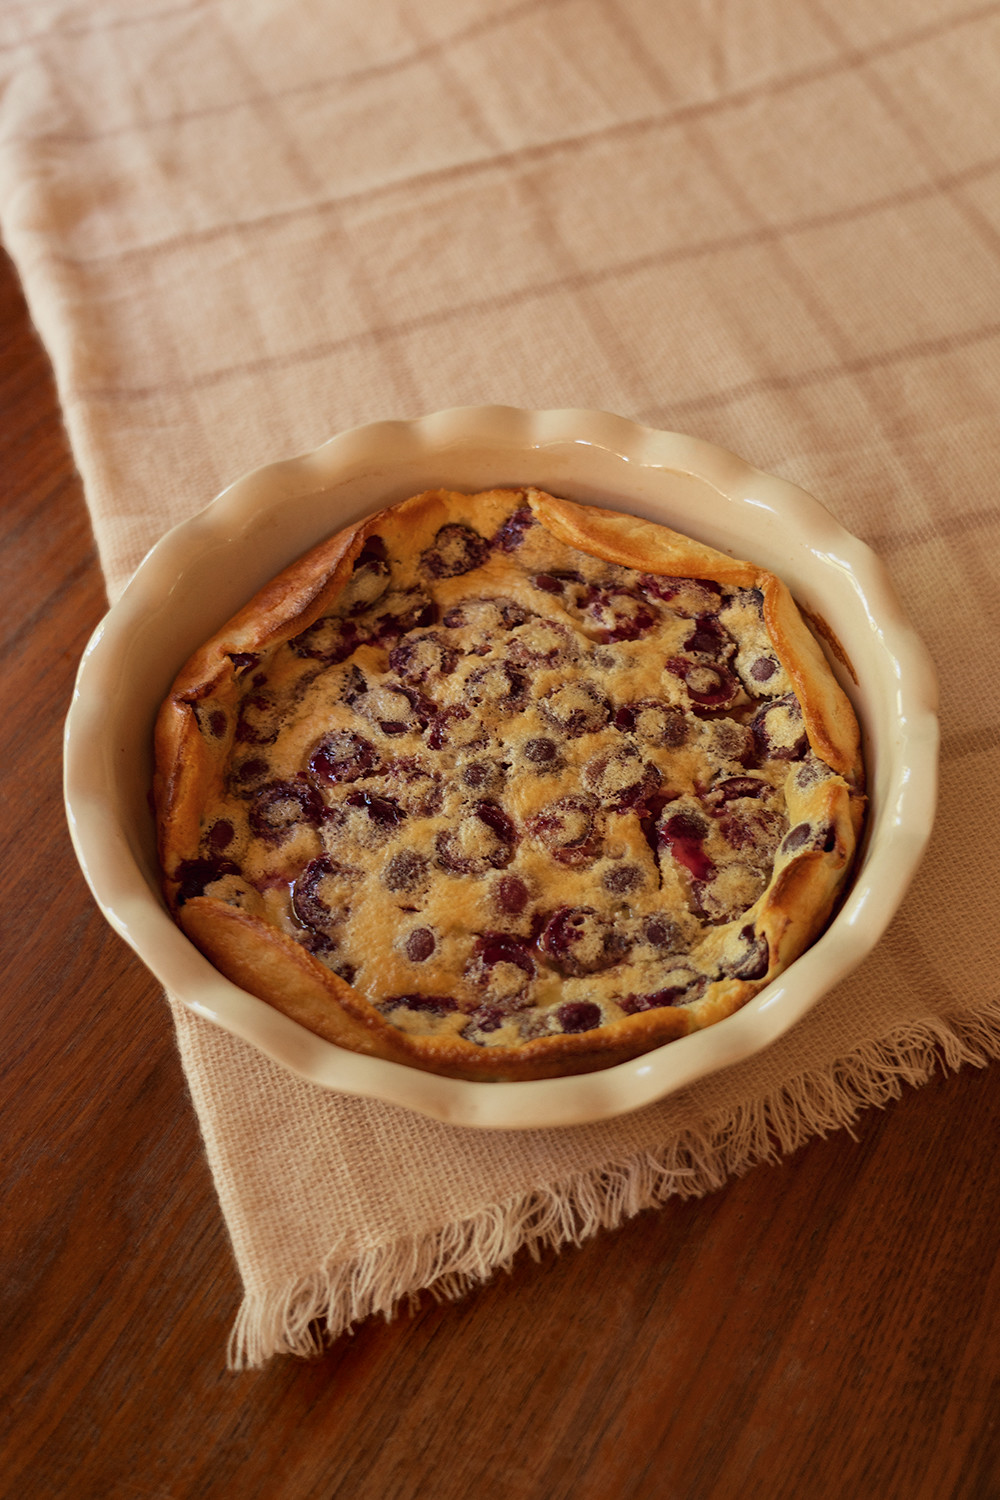
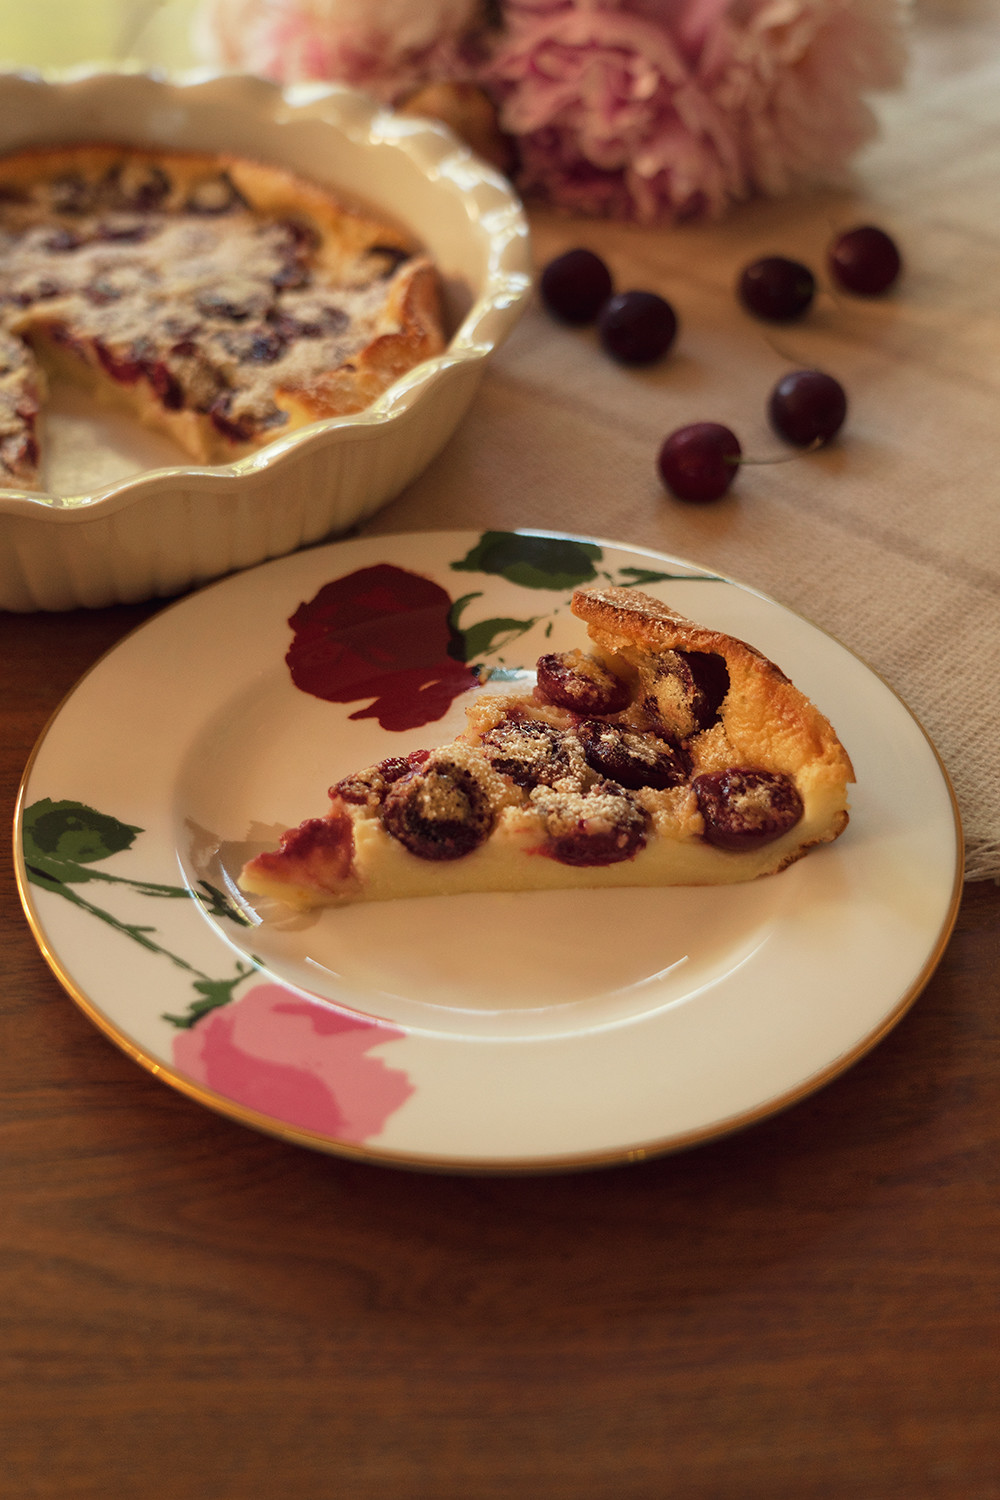
If flan and custard had a baby, it would be a clafoutis. Clafoutis is a baked French dessert, traditionally with black cherries, covered with a thick flan-like batter. It is usually served warm or at room temperature dusted with powdered sugar. When I first came across this dish, my immediate thought was, "Wow that looks amazing but it looks complicated to make." I sure was wrong! Clafoutis is super easy to make with simple ingredients and the baking time is only 35 minutes. If anything, the only time consuming part of this recipe is removing the pits from the cherries...
Ingredients:
- 1 and 1/2 cup cherries (halved and pits removed)
- 4 eggs
- 1 cup milk
Directions:
1. Preheat oven to 350F


Recipe: Cherry Clafoutis
July 9, 2021
If flan and custard had a baby, it would be a clafoutis. Clafoutis is a baked French dessert, traditionally with black cherries, covered with a thick flan-like batter. It is usually served warm or at room temperature dusted with powdered sugar. When I first came across this dish, my immediate thought was, "Wow that looks amazing but it looks complicated to make." I sure was wrong! Clafoutis is super easy to make with simple ingredients and the baking time is only 35 minutes. If anything, the only time consuming part of this recipe is removing the pits from the cherries...
Ingredients:
- 1 and 1/2 cup cherries (halved and pits removed)
- 4 eggs
- 1 cup milk
Directions:
1. Preheat oven to 350F
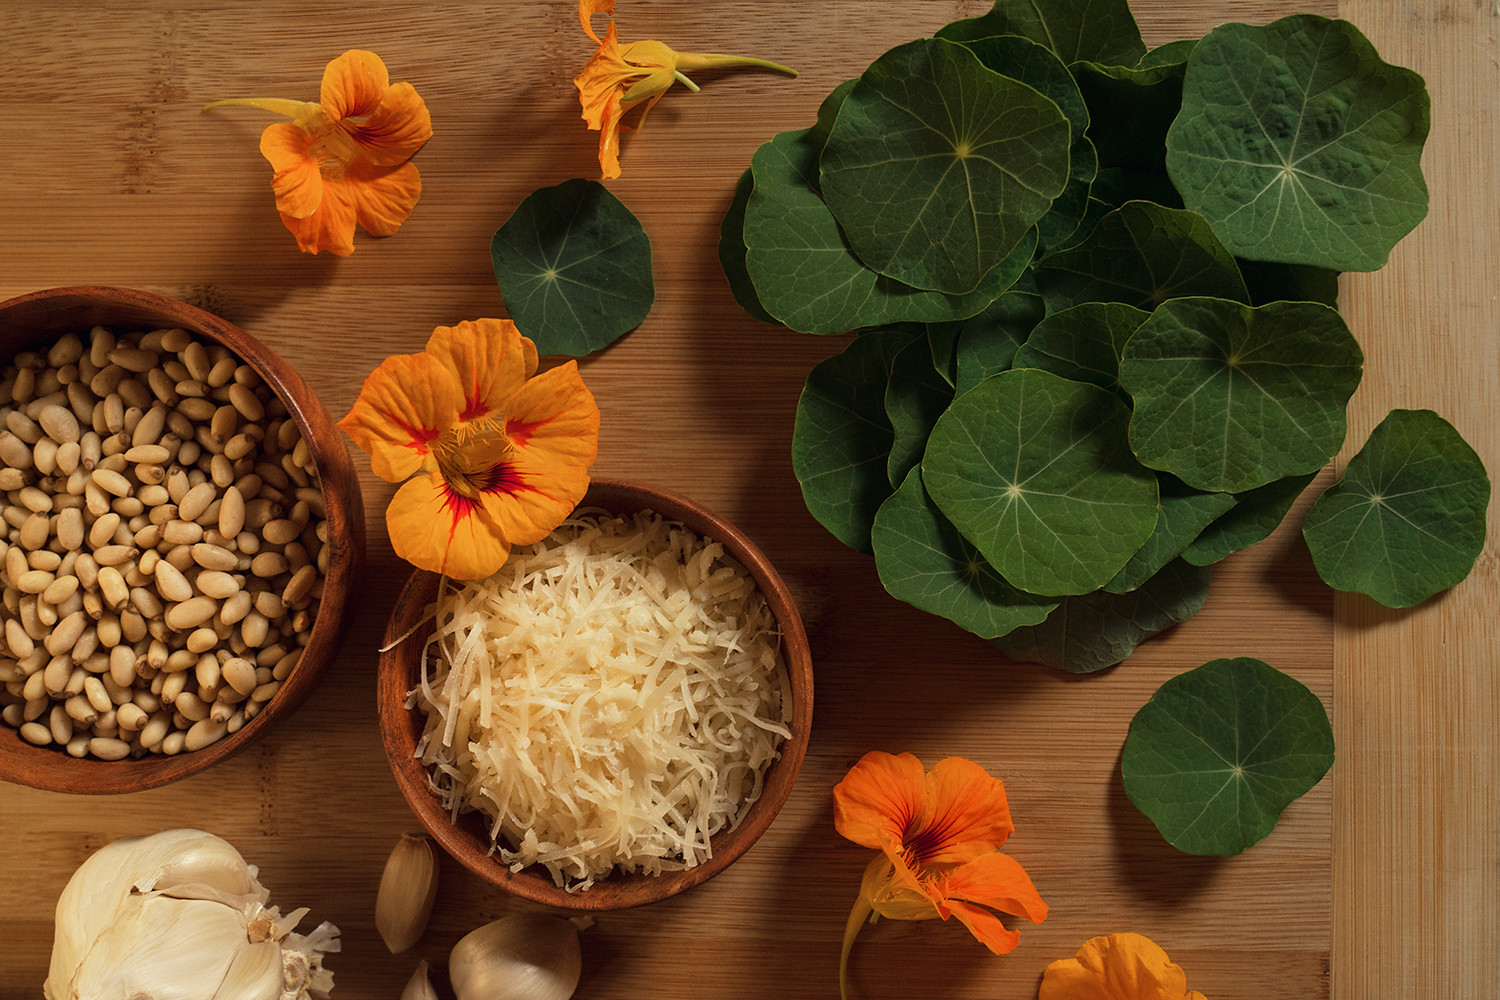
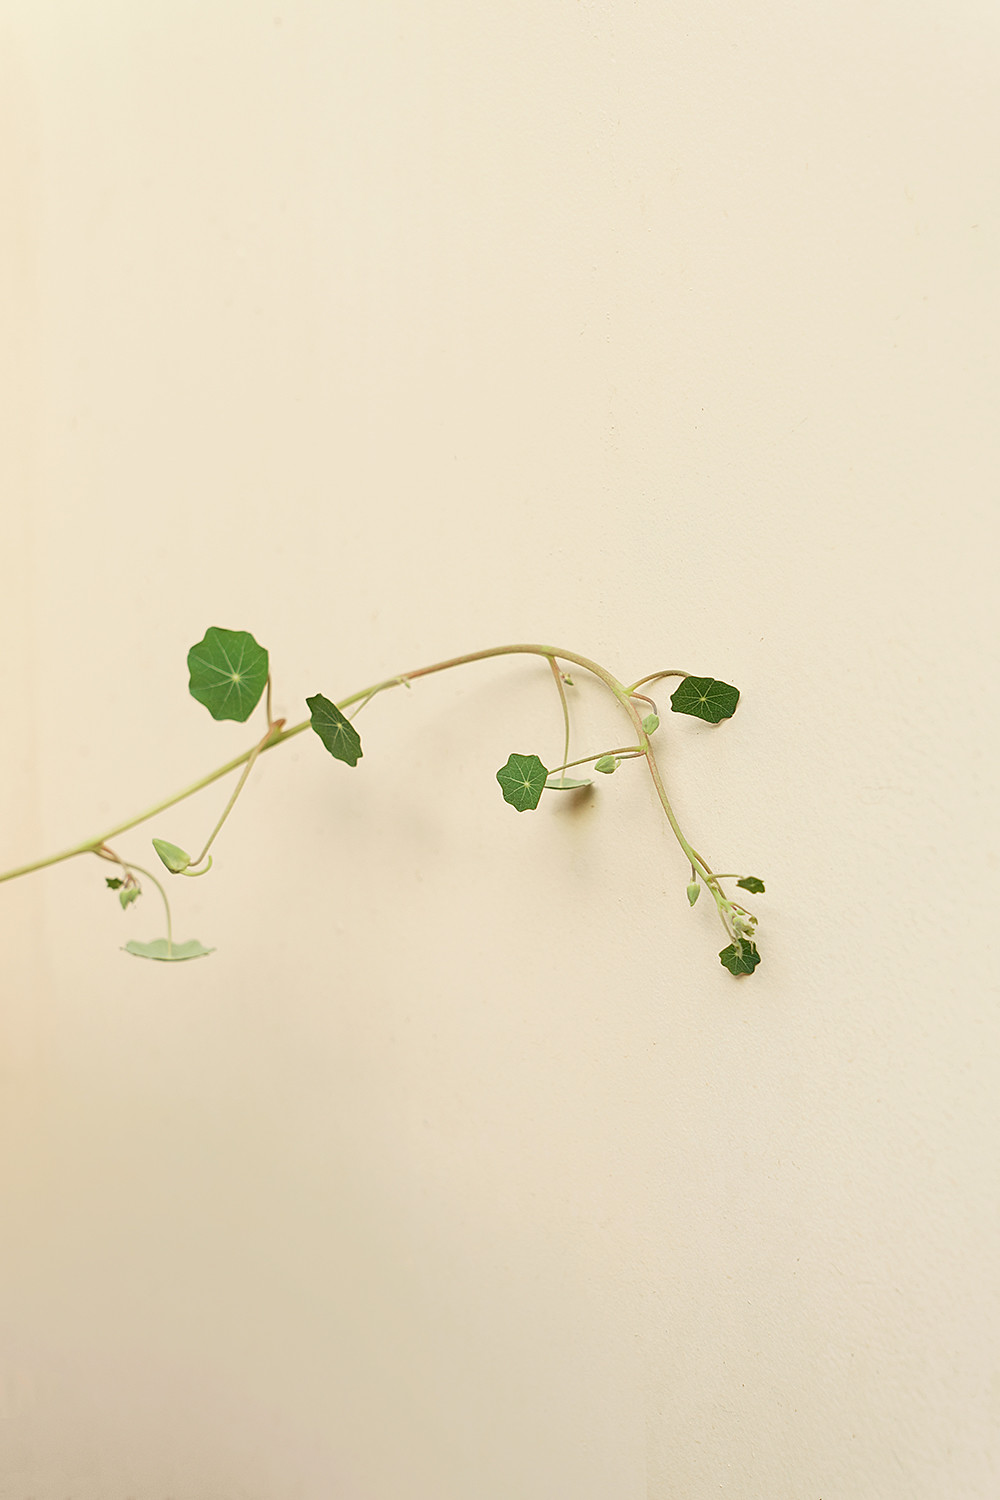
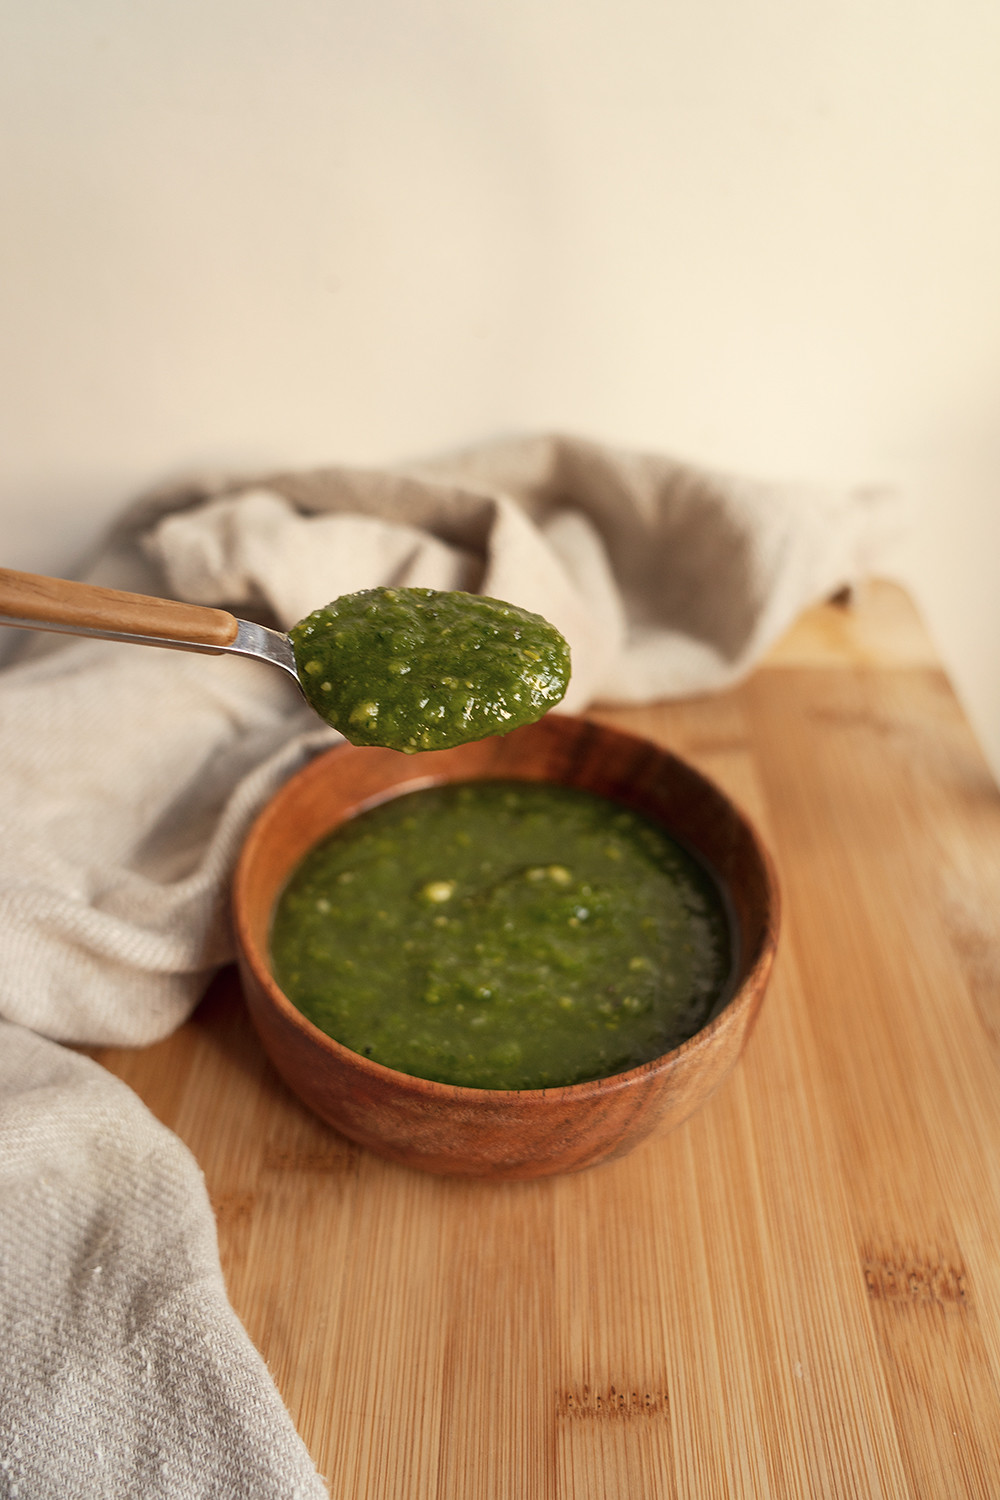
What is Nasturtium? I, too, was unfamiliar with this name until just a few months ago. As soon as I discovered it though, I immediately went and got some for my backyard! Nasturtium is a very easily grown plant in which all the leaves, stems, and flowers are edible. Honestly, before I knew this, I just thought it looks super cute... with its perfectly rounded leaves resembling mini lily pads, beautiful vibrant flowers in shades of marigold, orange and red, and some varieties even have variegated leaves! Not only is Nasturtium visually stunning, it is highly nutritious too. The leaves are high in vitamin C, iron and other minerals and the flowers are rich in vitamins B1, B2, B3 and C and also contain manganese, iron, phosphorus and calcium. Taste wise, it's peppery (kinda like arugula) and a little mustardy, perfect for salads and pesto. Speaking of pesto, that is what I'll be showing you how to make today on this recipe post!
Ingredients:
- 2 cups Nasturtium leaves and flowers
- 1 cup pine nuts
- 1 cup shredded parmesan cheese
- 4 cloves of garlic
- 1 cup olive oil
- Pinch of salt
Directions:
1. Soak leaves and flowers in a bowl of cold water and wash them thoroughly.
2. Put all ingredients in a blender and blend until smooth.
* Drizzle more olive oil if the mixture is too thick. Add more pine nuts or cheese if it's too thin.
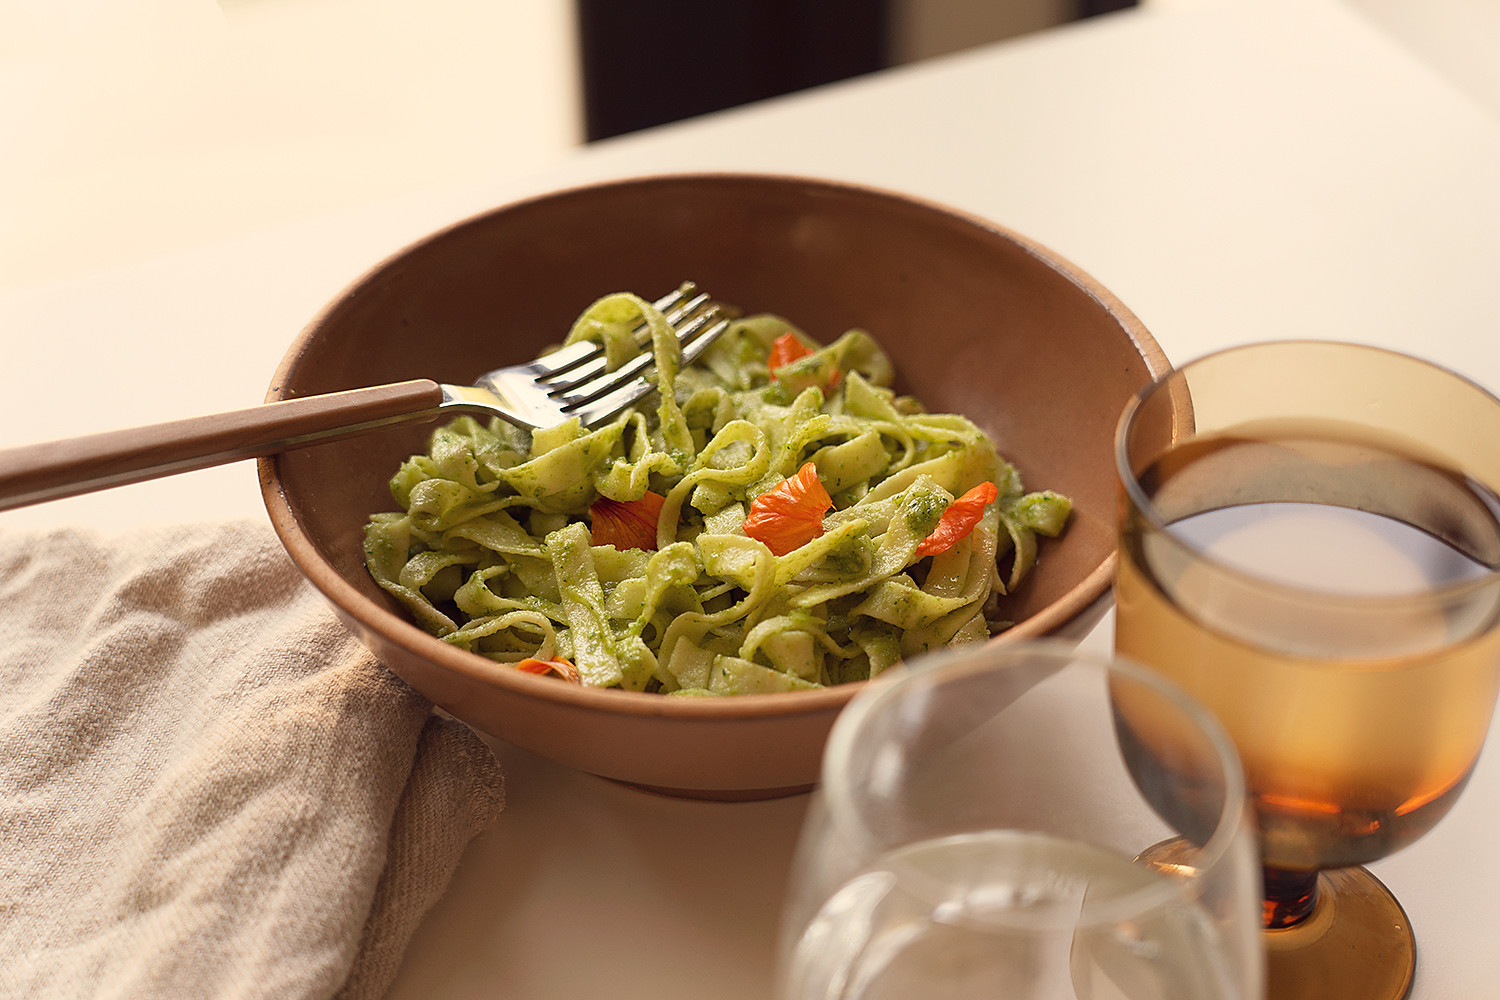
* Serve pesto over pasta, sandwiches, or omelettes!
* Pesto can be stored in the fridge for up to a week!


Recipe: Nasturtium Pesto
July 1, 2021
What is Nasturtium? I, too, was unfamiliar with this name until just a few months ago. As soon as I discovered it though, I immediately went and got some for my backyard! Nasturtium is a very easily grown plant in which all the leaves, stems, and flowers are edible. Honestly, before I knew this, I just thought it looks super cute... with its perfectly rounded leaves resembling mini lily pads, beautiful vibrant flowers in shades of marigold, orange and red, and some varieties even have variegated leaves! Not only is Nasturtium visually stunning, it is highly nutritious too. The leaves are high in vitamin C, iron and other minerals and the flowers are rich in vitamins B1, B2, B3 and C and also contain manganese, iron, phosphorus and calcium. Taste wise, it's peppery (kinda like arugula) and a little mustardy, perfect for salads and pesto. Speaking of pesto, that is what I'll be showing you how to make today on this recipe post!
Ingredients:
- 2 cups Nasturtium leaves and flowers
- 1 cup pine nuts
- 1 cup shredded parmesan cheese
- 4 cloves of garlic
- 1 cup olive oil
- Pinch of salt
Directions:
1. Soak leaves and flowers in a bowl of cold water and wash them thoroughly.
2. Put all ingredients in a blender and blend until smooth.
* Drizzle more olive oil if the mixture is too thick. Add more pine nuts or cheese if it's too thin.
* Serve pesto over pasta, sandwiches, or omelettes!
* Pesto can be stored in the fridge for up to a week!


Valley of Fire, Nevada
May 3, 2021