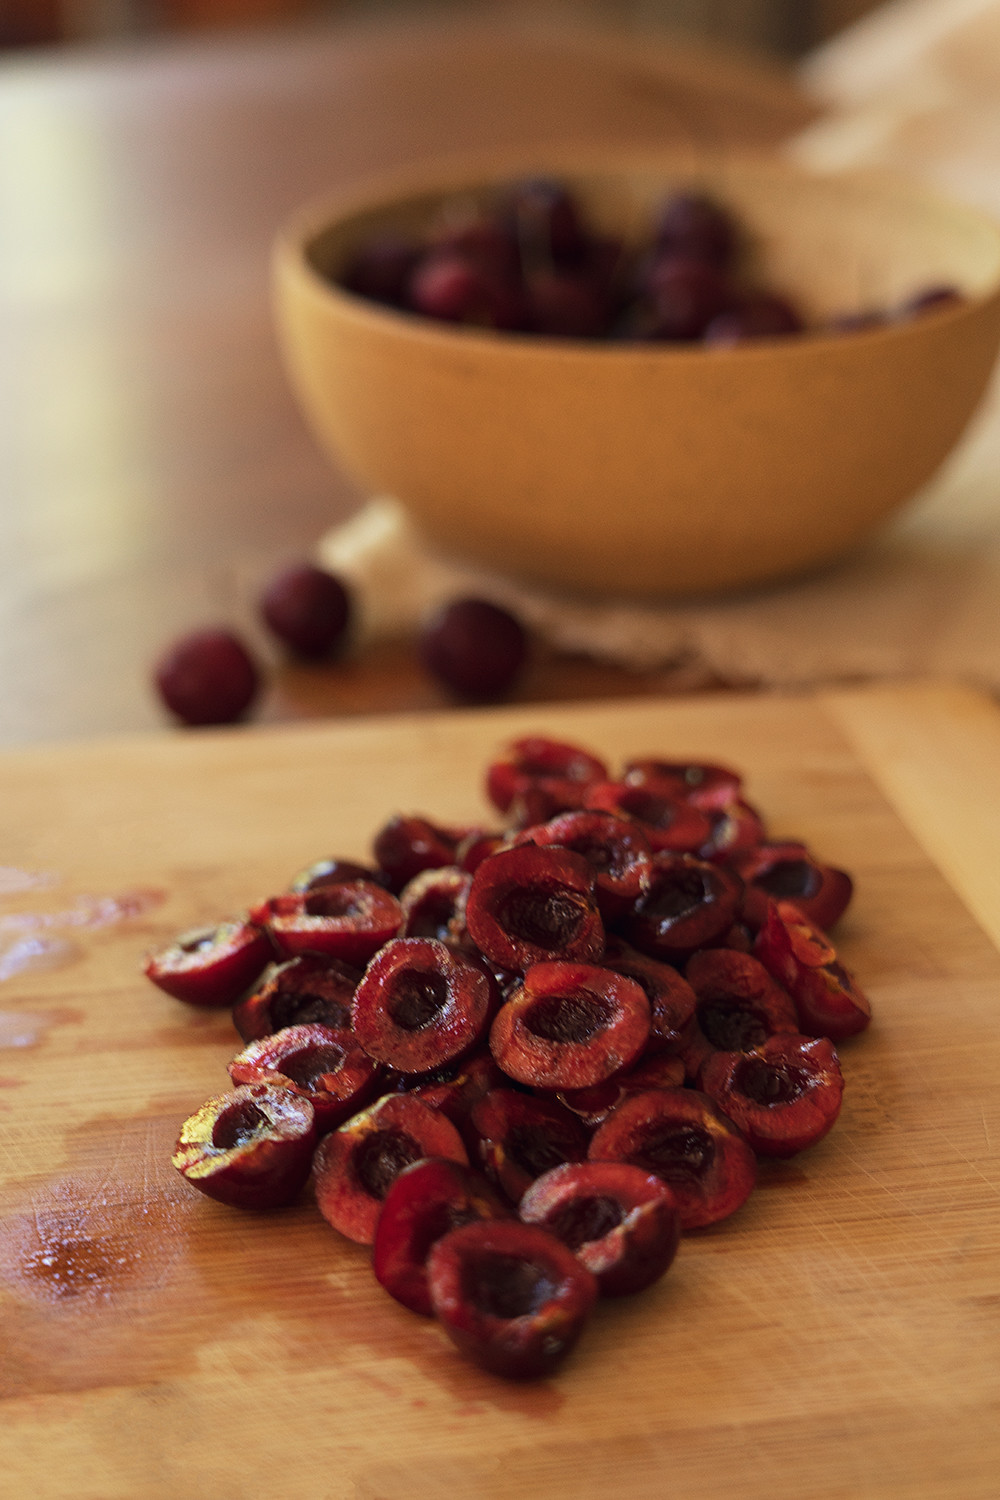
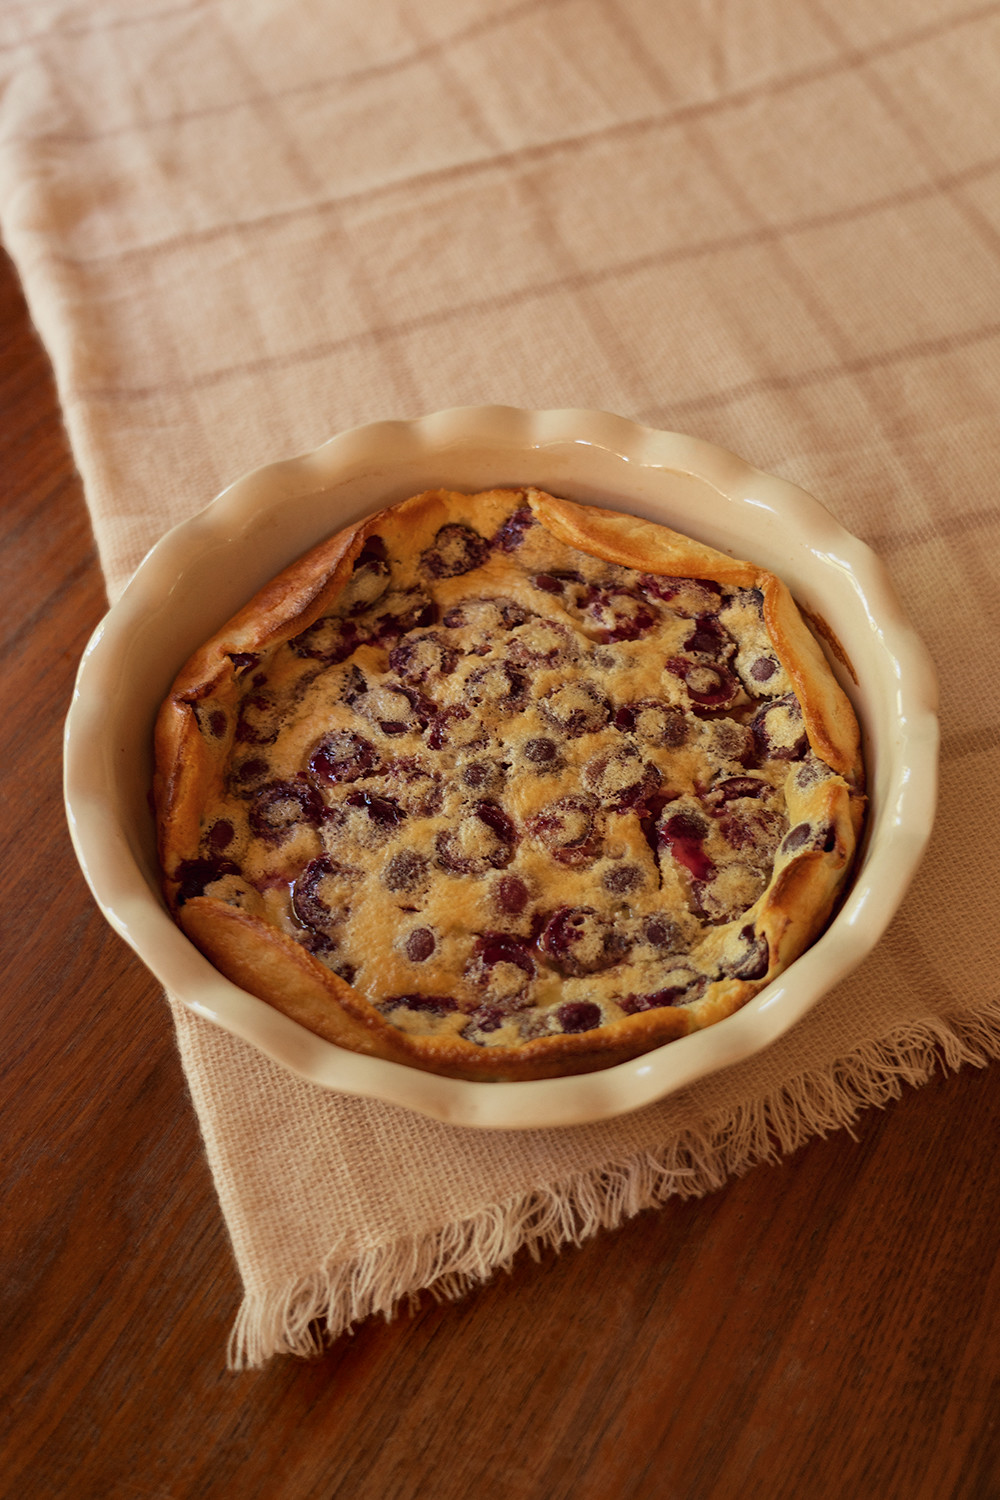
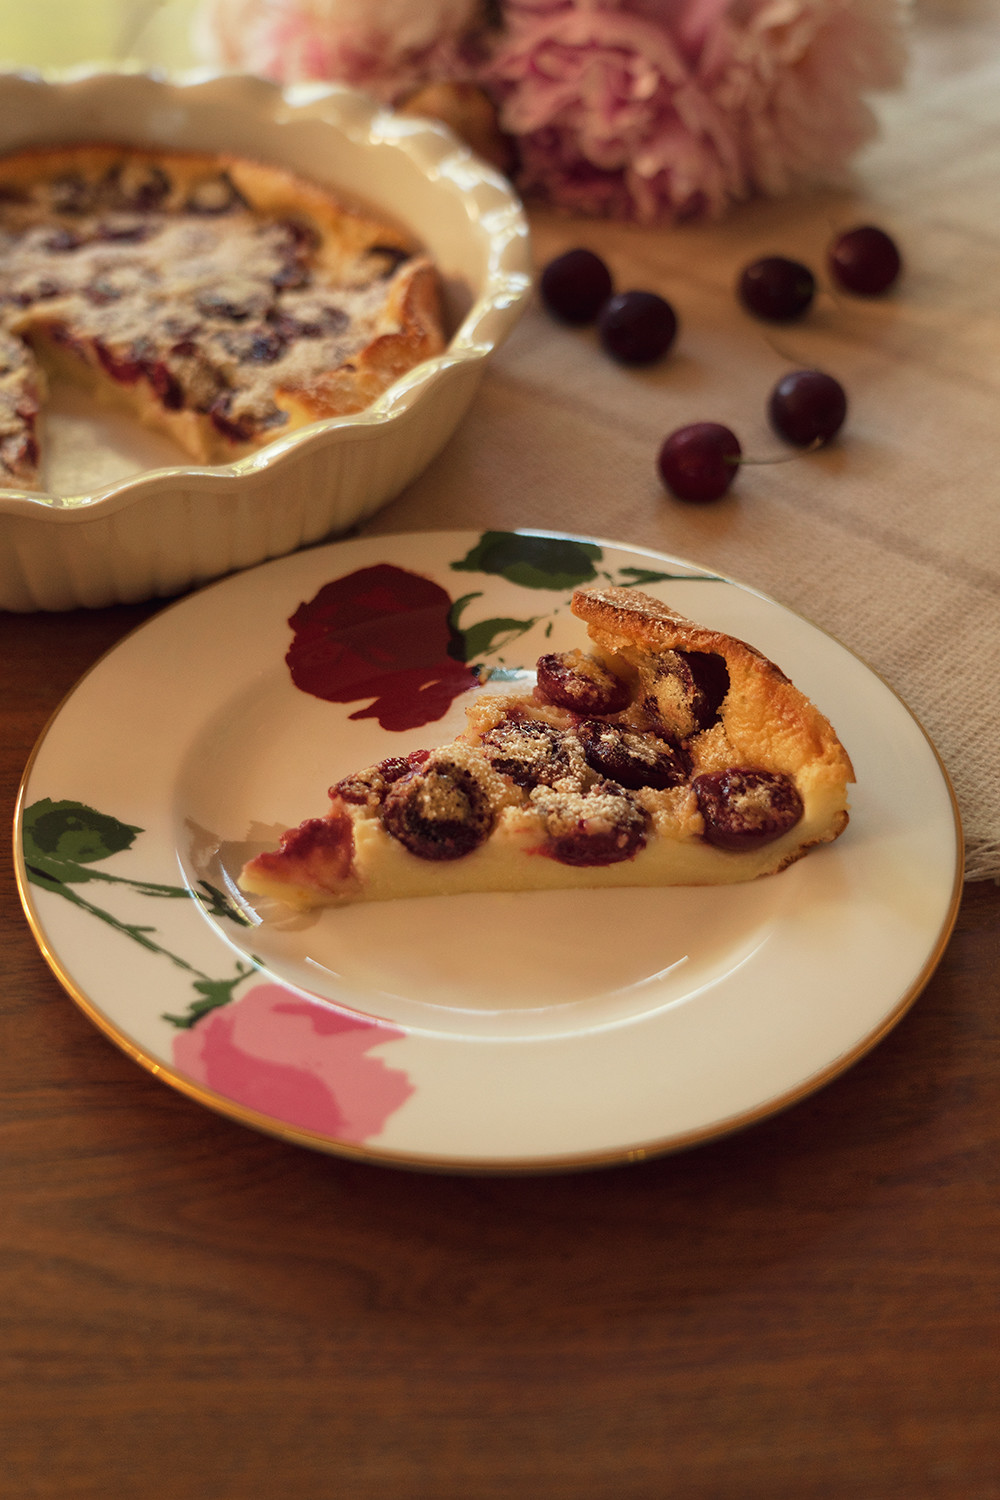
If flan and custard had a baby, it would be a clafoutis. Clafoutis is a baked French dessert, traditionally with black cherries, covered with a thick flan-like batter. It is usually served warm or at room temperature dusted with powdered sugar. When I first came across this dish, my immediate thought was, "Wow that looks amazing but it looks complicated to make." I sure was wrong! Clafoutis is super easy to make with simple ingredients and the baking time is only 35 minutes. If anything, the only time consuming part of this recipe is removing the pits from the cherries...
Ingredients:
- 1 and 1/2 cup cherries (halved and pits removed)
- 4 eggs
- 1 cup milk
Directions:
1. Preheat oven to 350F




Recipe: Cherry Clafoutis
July 9, 2021
If flan and custard had a baby, it would be a clafoutis. Clafoutis is a baked French dessert, traditionally with black cherries, covered with a thick flan-like batter. It is usually served warm or at room temperature dusted with powdered sugar. When I first came across this dish, my immediate thought was, "Wow that looks amazing but it looks complicated to make." I sure was wrong! Clafoutis is super easy to make with simple ingredients and the baking time is only 35 minutes. If anything, the only time consuming part of this recipe is removing the pits from the cherries...
Ingredients:
- 1 and 1/2 cup cherries (halved and pits removed)
- 4 eggs
- 1 cup milk
Directions:
1. Preheat oven to 350F
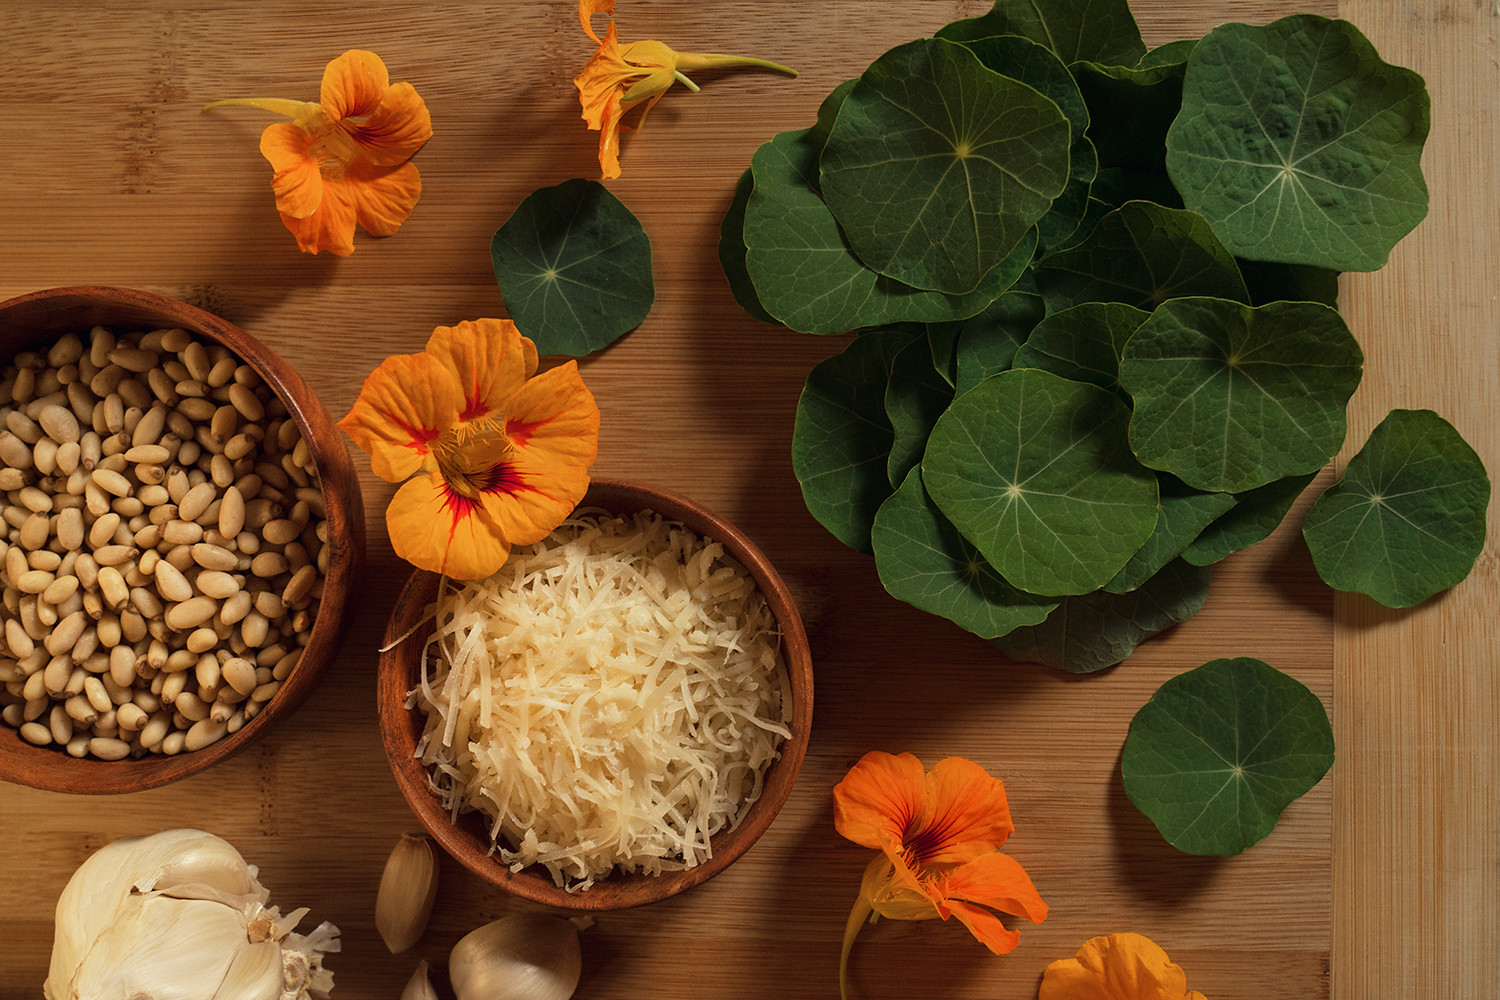
What is Nasturtium? I, too, was unfamiliar with this name until just a few months ago. As soon as I discovered it though, I immediately went and got some for my backyard! Nasturtium is a very easily grown plant in which all the leaves, stems, and flowers are edible. Honestly, before I knew this, I just thought it looks super cute... with its perfectly rounded leaves resembling mini lily pads, beautiful vibrant flowers in shades of marigold, orange and red, and some varieties even have variegated leaves! Not only is Nasturtium visually stunning, it is highly nutritious too. The leaves are high in vitamin C, iron and other minerals and the flowers are rich in vitamins B1, B2, B3 and C and also contain manganese, iron, phosphorus and calcium. Taste wise, it's peppery (kinda like arugula) and a little mustardy, perfect for salads and pesto. Speaking of pesto, that is what I'll be showing you how to make today on this recipe post!
Ingredients:
- 2 cups Nasturtium leaves and flowers
- 1 cup pine nuts
- 1 cup shredded parmesan cheese
- 4 cloves of garlic
- 1 cup olive oil
- Pinch of salt
Directions:
1. Soak leaves and flowers in a bowl of cold water and wash them thoroughly.
2. Put all ingredients in a blender and blend until smooth.
* Drizzle more olive oil if the mixture is too thick. Add more pine nuts or cheese if it's too thin.
* Serve pesto over pasta, sandwiches, or omelettes!
* Pesto can be stored in the fridge for up to a week!







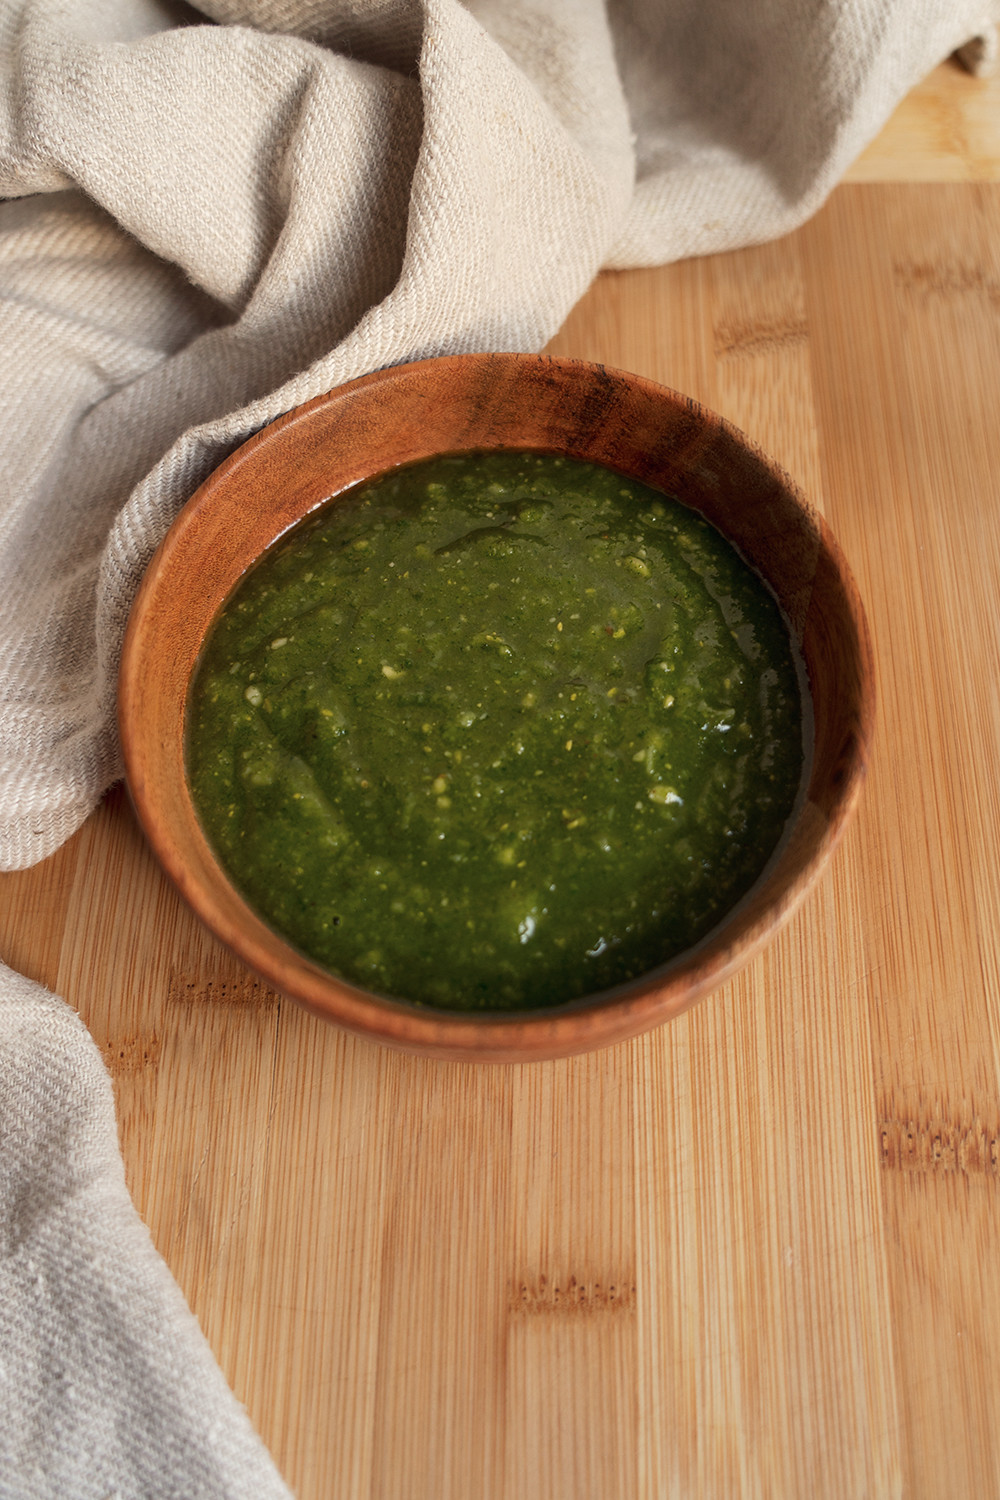
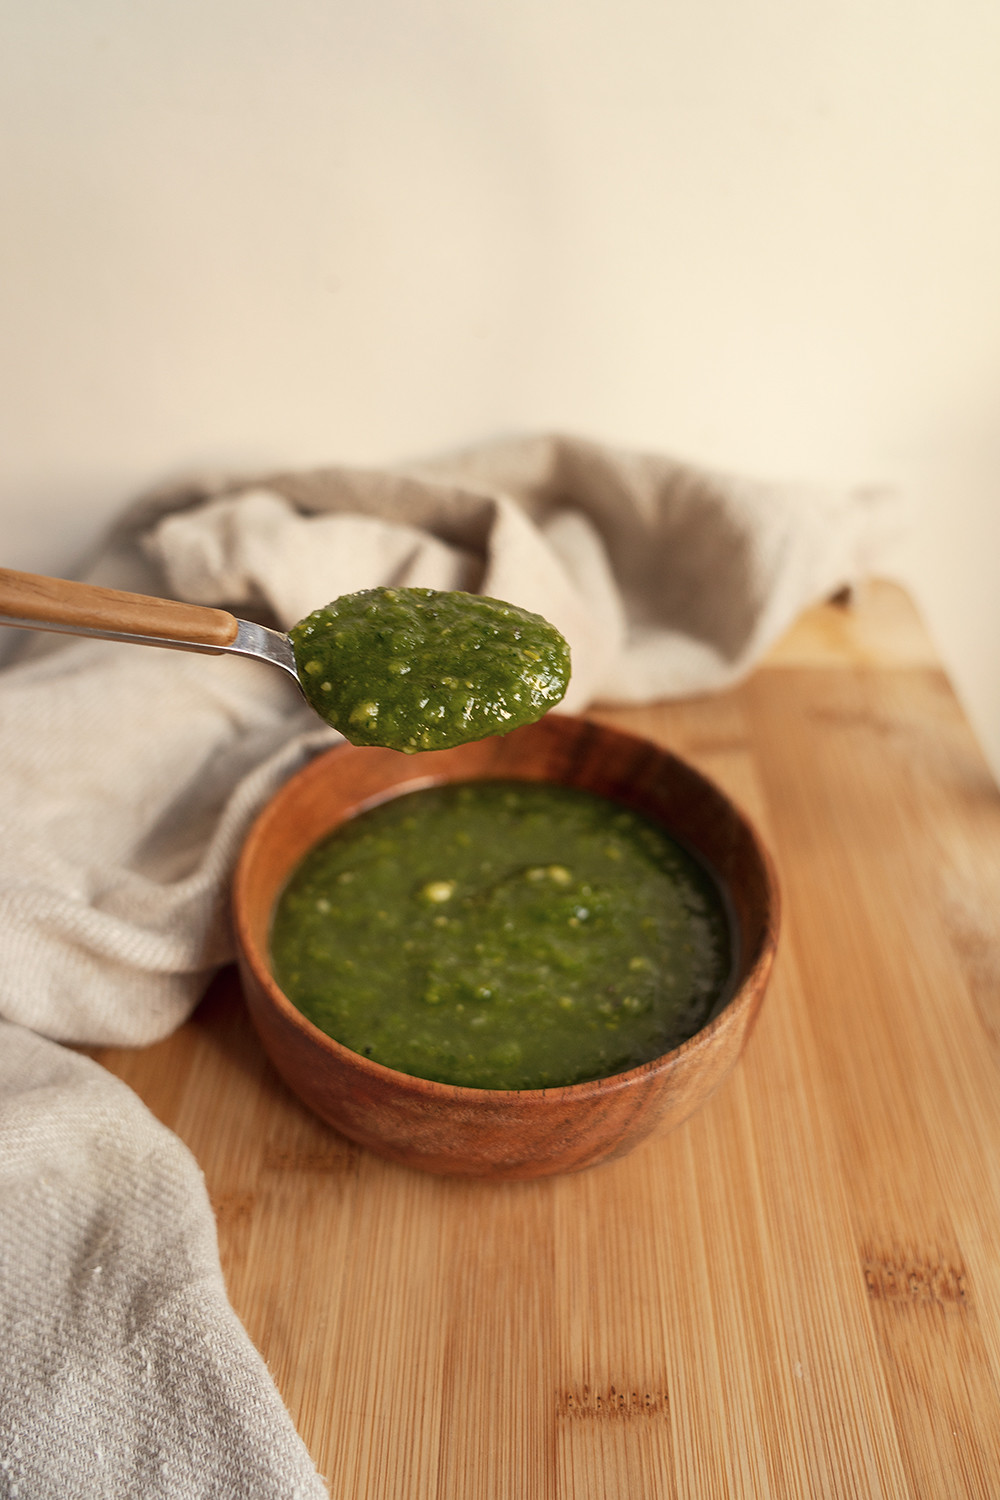

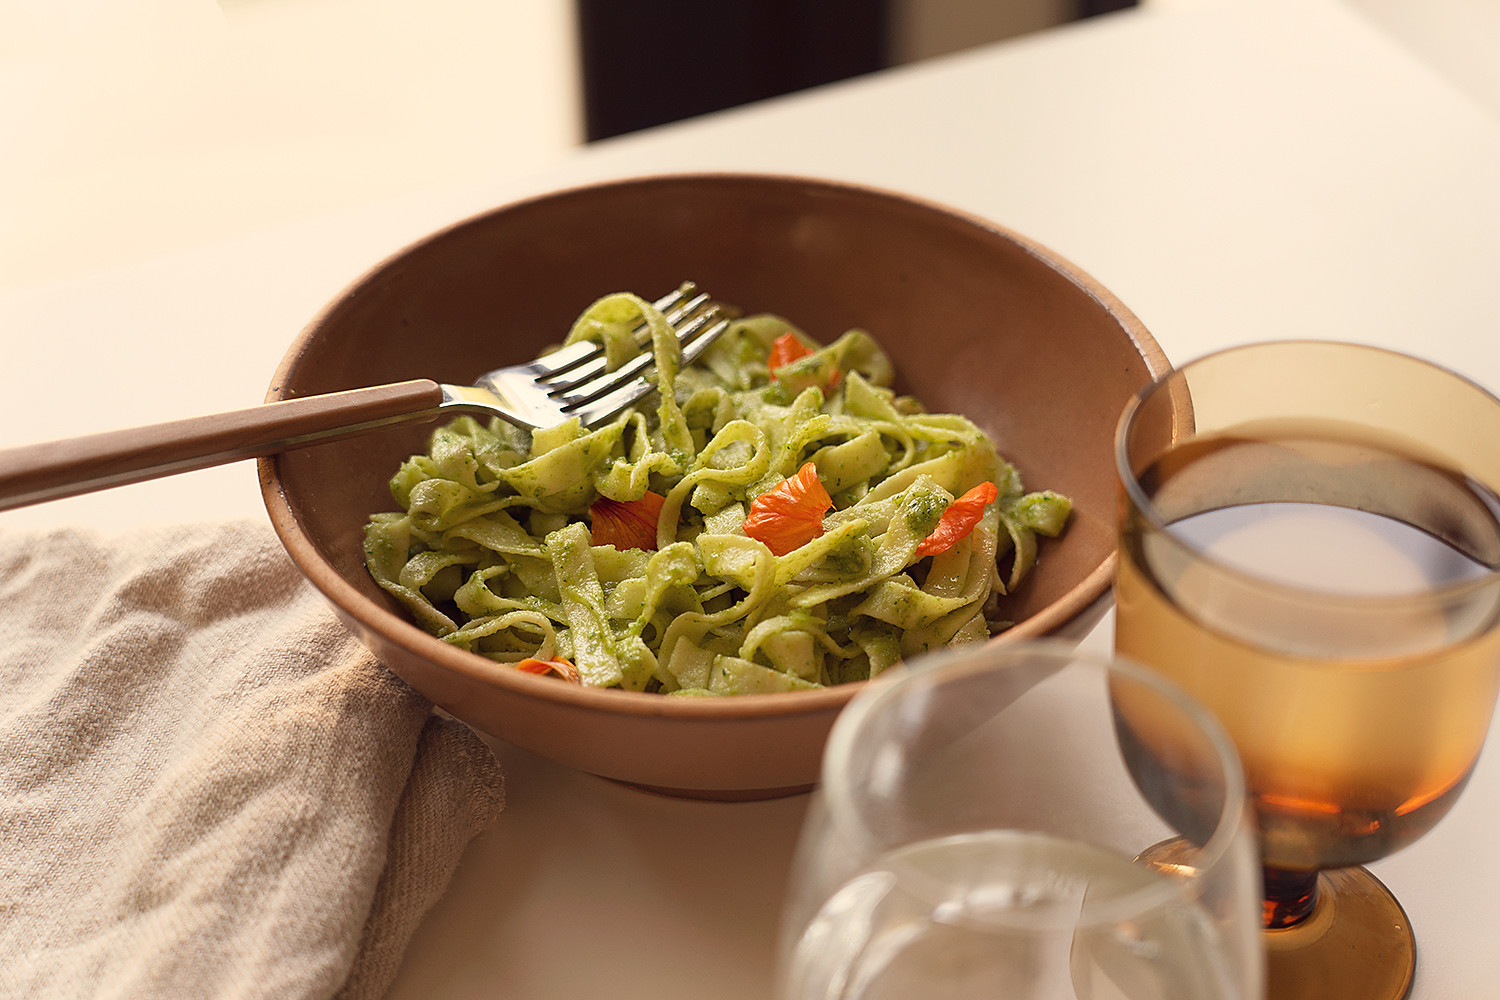
Recipe: Nasturtium Pesto
July 1, 2021
What is Nasturtium? I, too, was unfamiliar with this name until just a few months ago. As soon as I discovered it though, I immediately went and got some for my backyard! Nasturtium is a very easily grown plant in which all the leaves, stems, and flowers are edible. Honestly, before I knew this, I just thought it looks super cute... with its perfectly rounded leaves resembling mini lily pads, beautiful vibrant flowers in shades of marigold, orange and red, and some varieties even have variegated leaves! Not only is Nasturtium visually stunning, it is highly nutritious too. The leaves are high in vitamin C, iron and other minerals and the flowers are rich in vitamins B1, B2, B3 and C and also contain manganese, iron, phosphorus and calcium. Taste wise, it's peppery (kinda like arugula) and a little mustardy, perfect for salads and pesto. Speaking of pesto, that is what I'll be showing you how to make today on this recipe post!
Ingredients:
- 2 cups Nasturtium leaves and flowers
- 1 cup pine nuts
- 1 cup shredded parmesan cheese
- 4 cloves of garlic
- 1 cup olive oil
- Pinch of salt
Directions:
1. Soak leaves and flowers in a bowl of cold water and wash them thoroughly.
2. Put all ingredients in a blender and blend until smooth.
* Drizzle more olive oil if the mixture is too thick. Add more pine nuts or cheese if it's too thin.
* Serve pesto over pasta, sandwiches, or omelettes!
* Pesto can be stored in the fridge for up to a week!

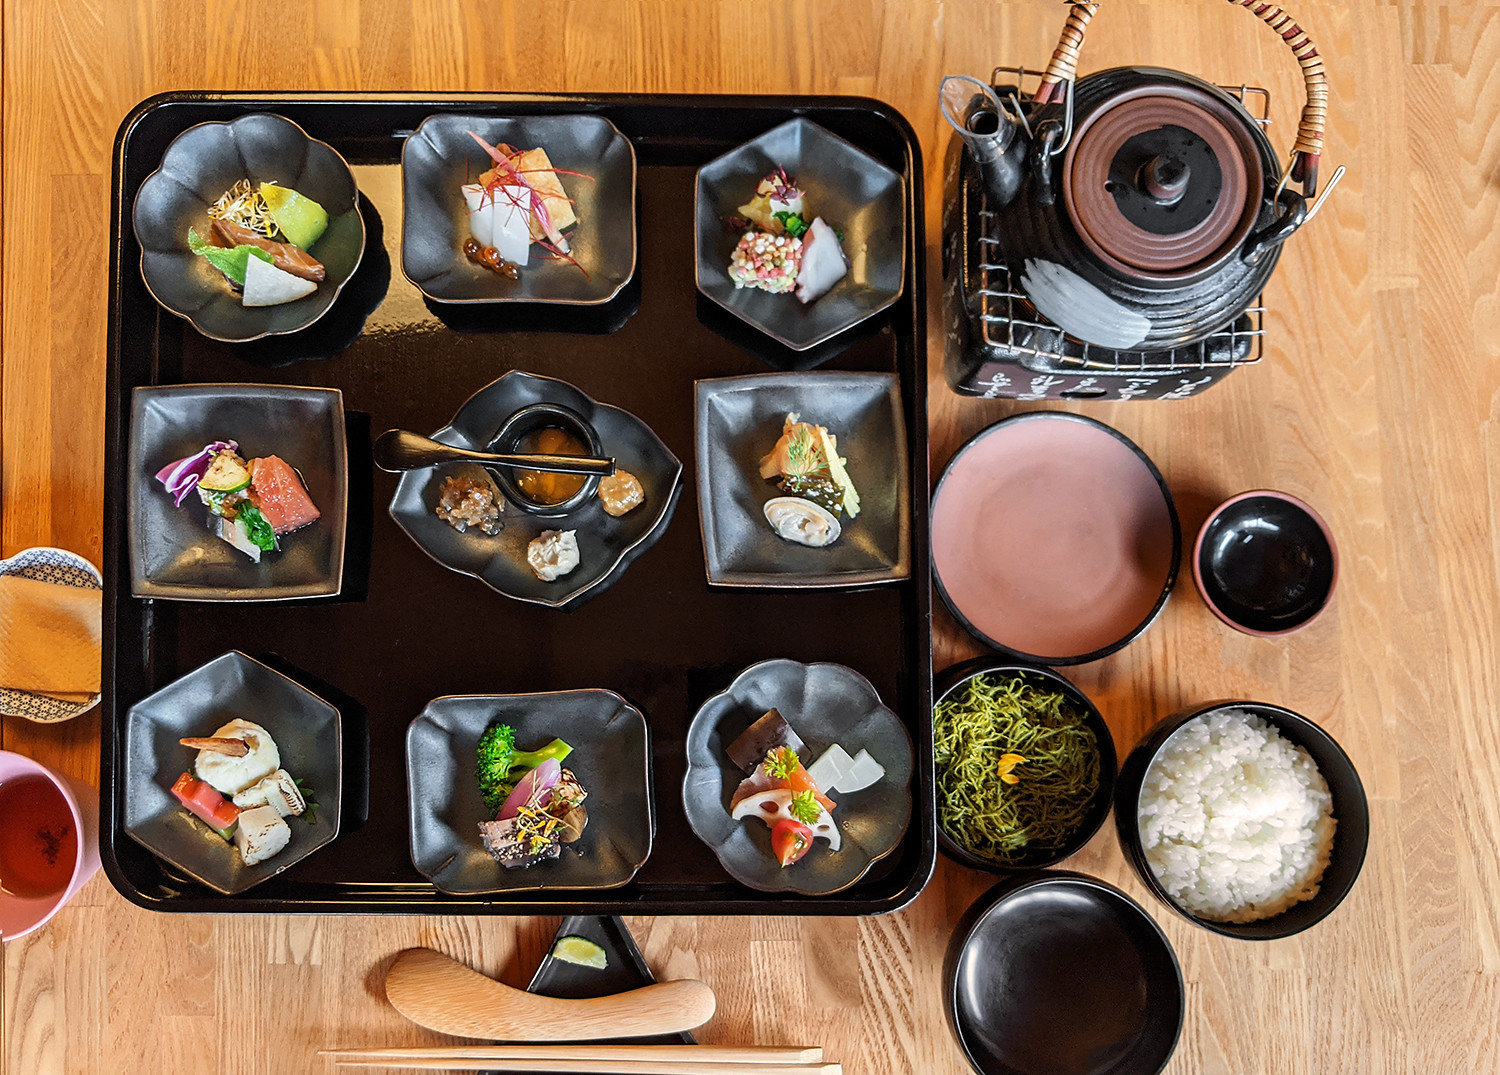
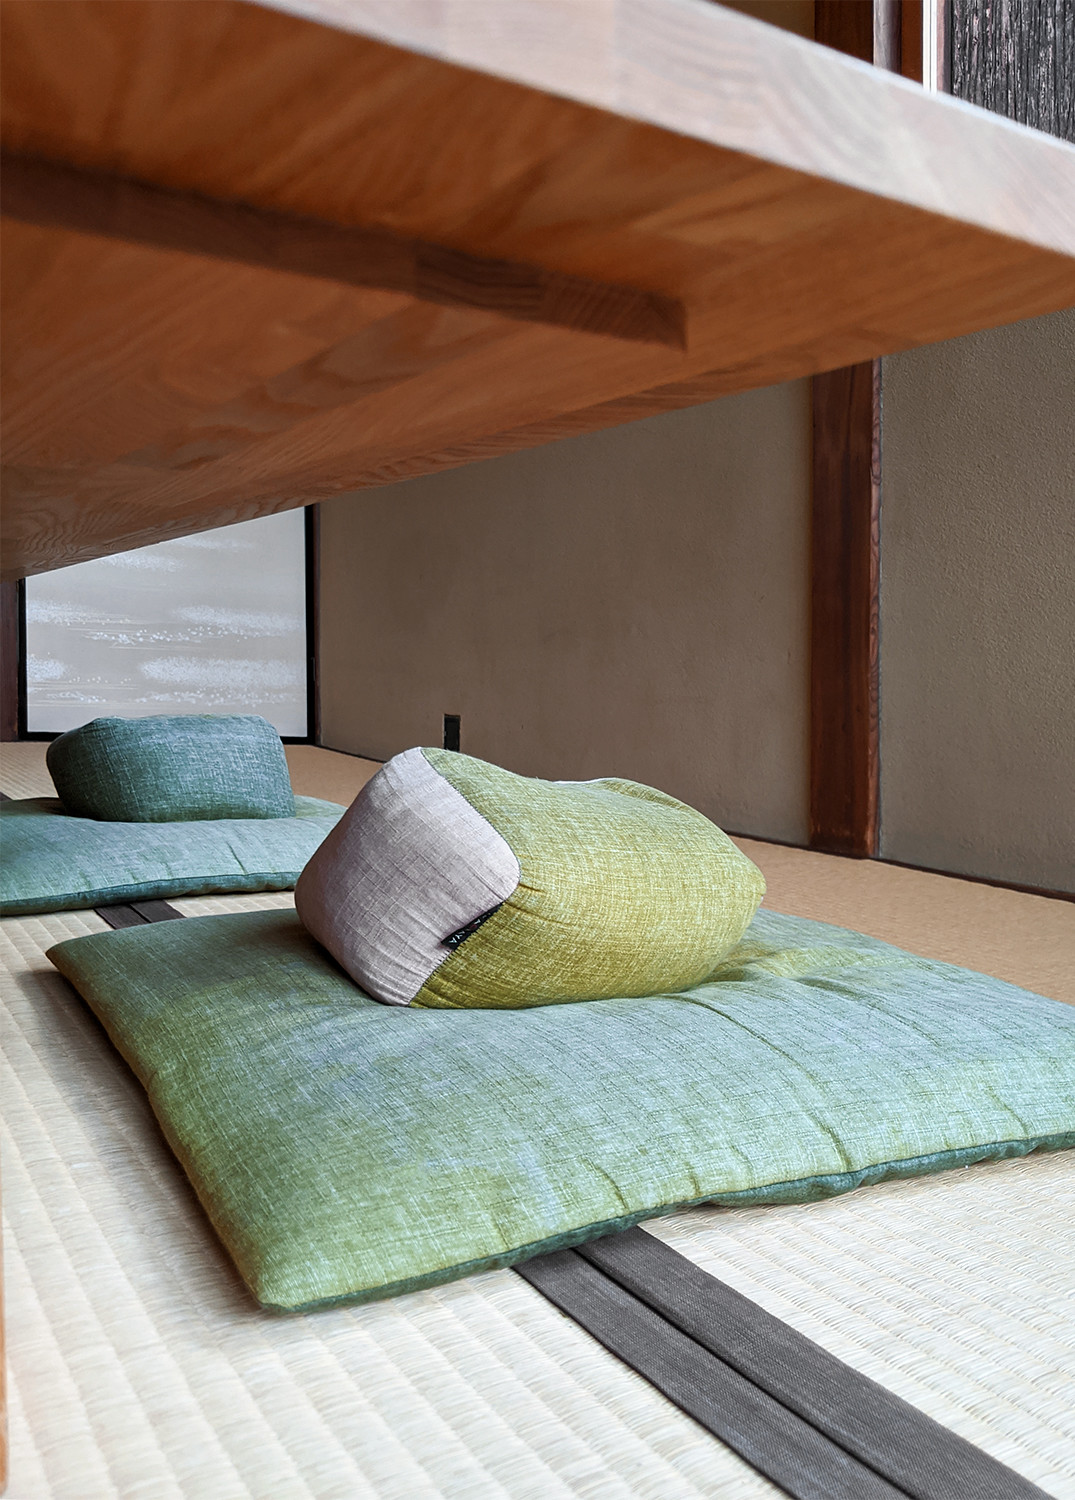
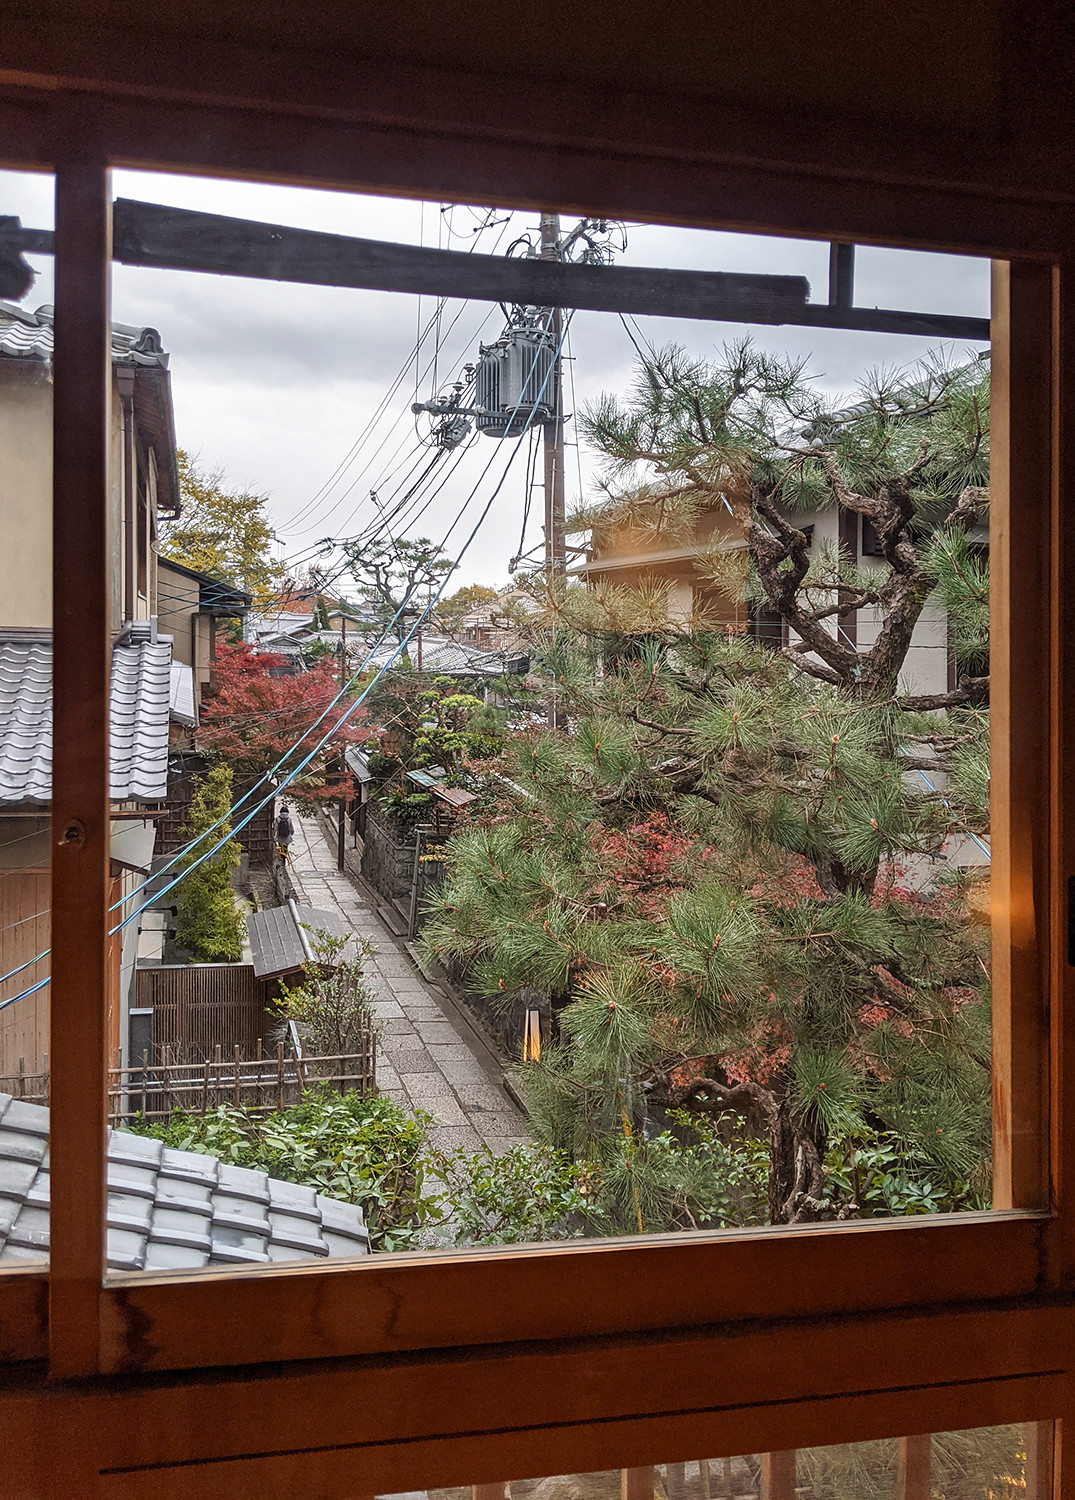
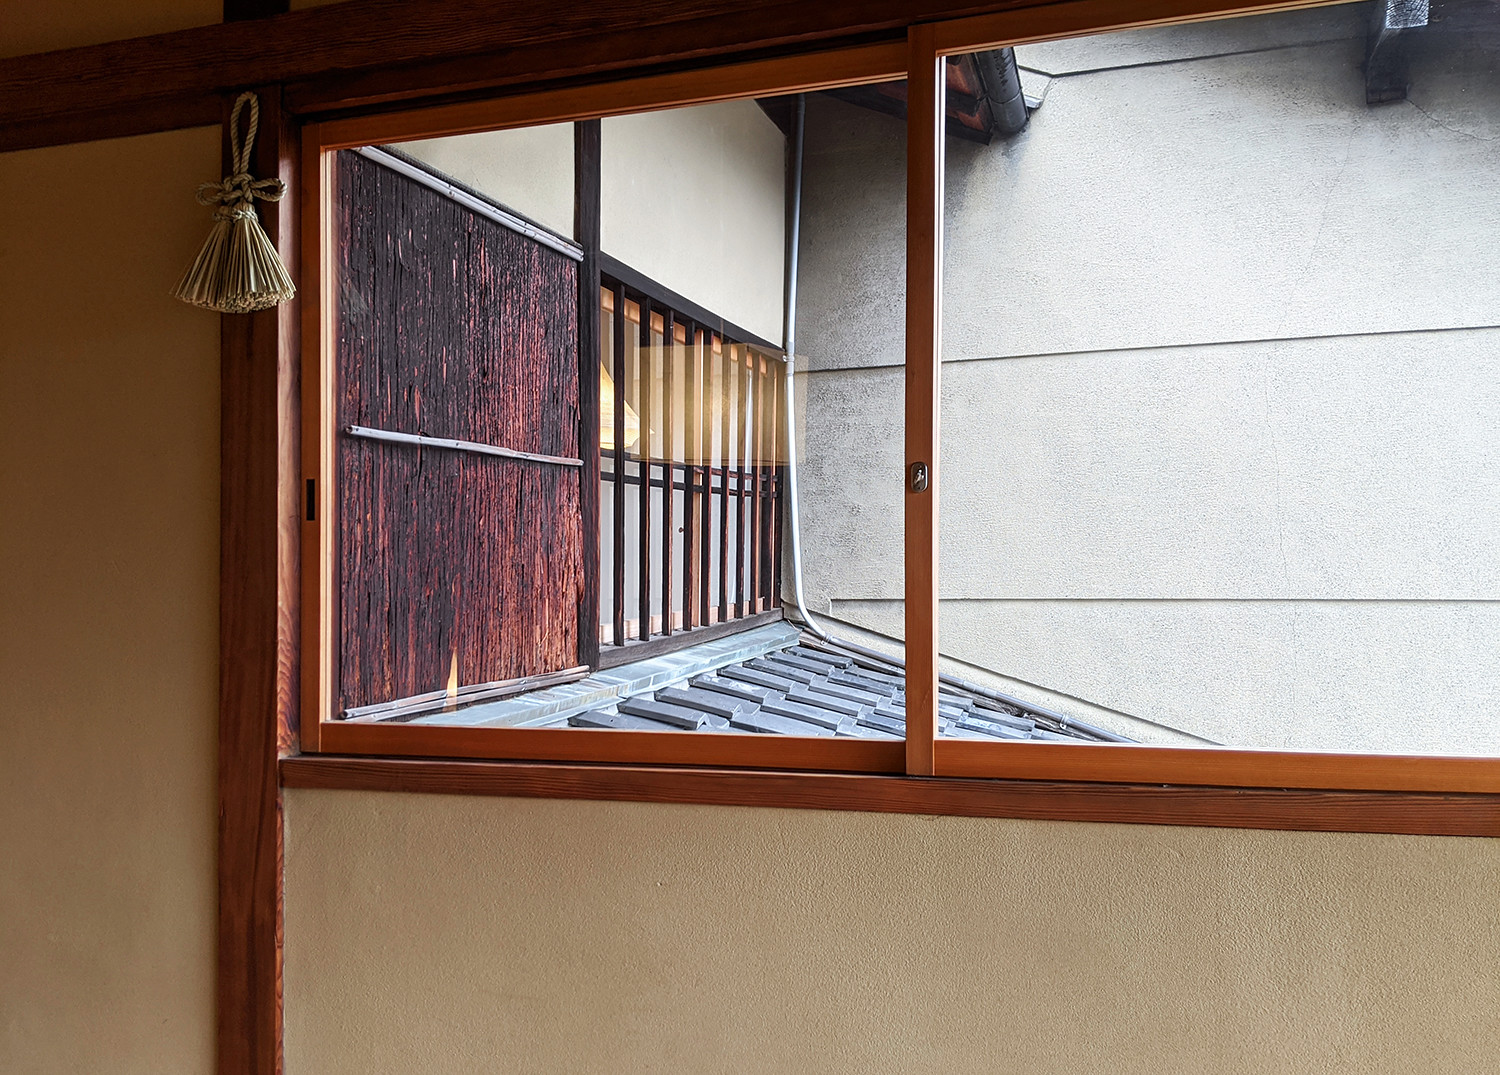
I've been thinking about AWOMB in Kyoto ever since I visited there back in November. It's a dining experience I've never had before! Most tourists are unaware of this place, hence we were the only foreigners and everyone else was local when we went. Part of me want to keep this a secret... but here I am, sharing with you this hidden gem. Let's see, I am not even sure how to explain what "teae sushi" is. I read all about it before going but I was still a bit lost when I got there even after looking at their cute little illustration/instruction. Basically for each of the little dishes, you mix it with different condiments and you can choose to mix it with matcha shredded eggs and/or rice as well. There's also a tea soup which you can drink alone or pour into the rice. This tea soup!!! I've been dreaming about it since, the broth is just so delicious, so light yet flavorful. Where can I get it? How do I make it? That's all I wanna know! You can tell that everything was thoughtful curated and everything tasted so fresh and incredible. I really enjoyed AWOMB for so many reasons. Obviously I loved the food. I also really appreciate the fact that this restaurant was basically in/structured as a house. We even sat traditionally on tatami. I loved it! I hope that when you go to Kyoto, you'll have a chance to eat at AWOMB. I went to the one in Gion district but I believe there are two other locations in Kyoto as well. Also, please note that it is reservation only.

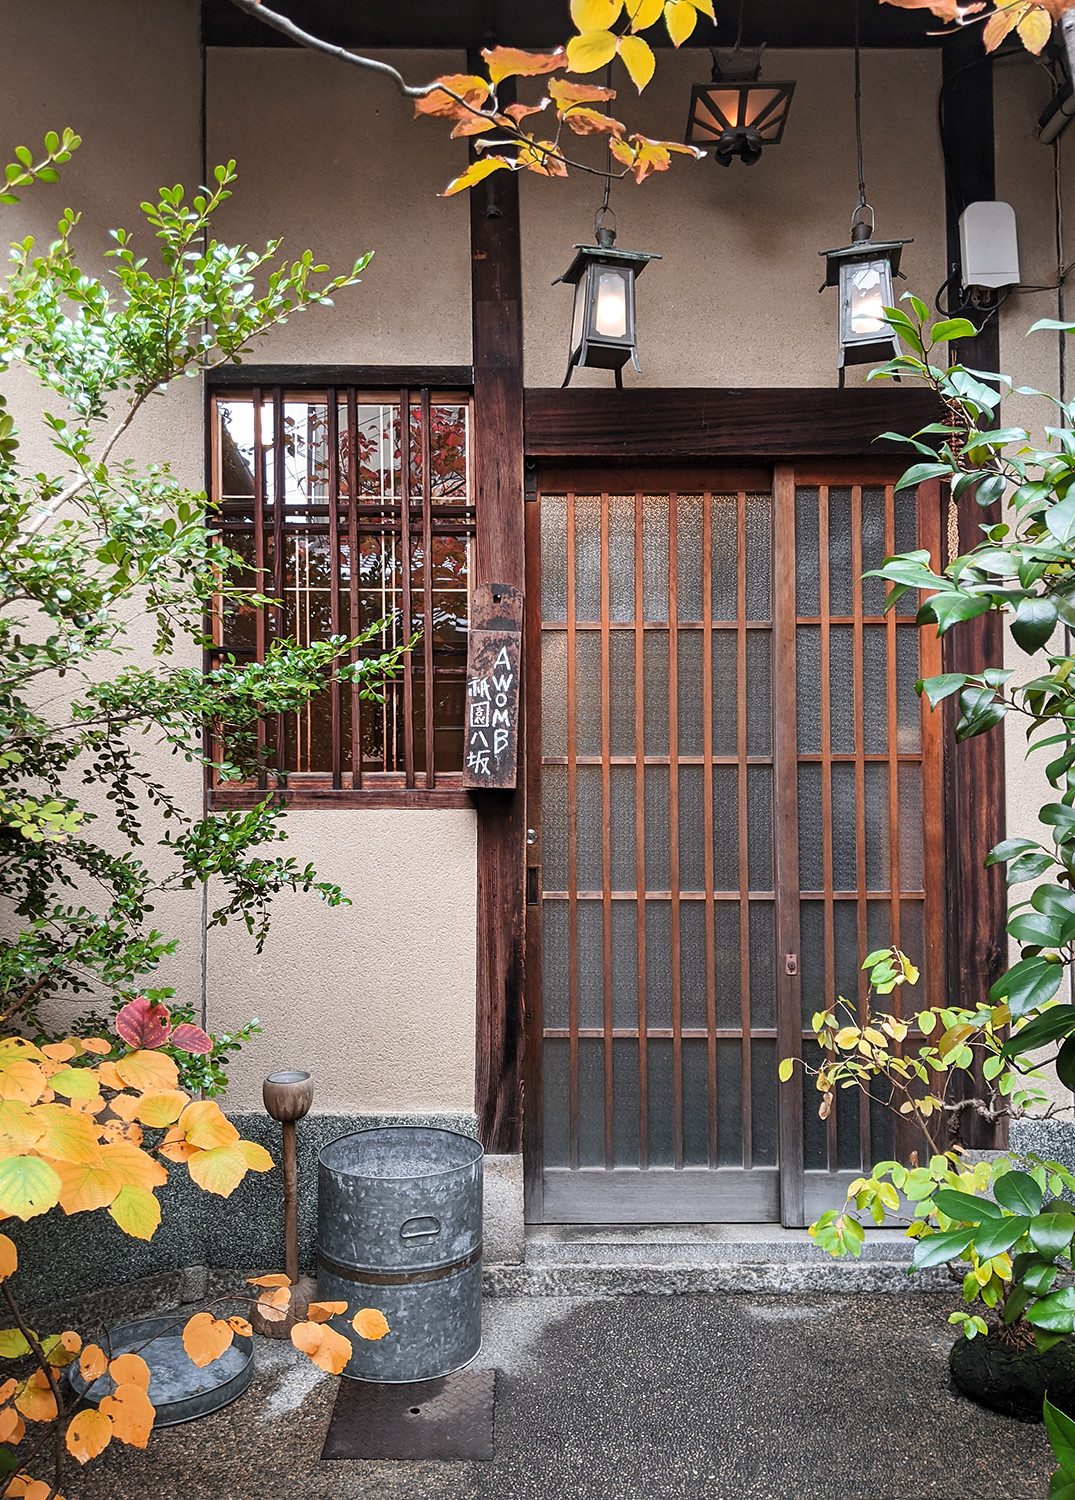

AWOMB, Kyoto, Japan
March 24, 2020
I've been thinking about AWOMB in Kyoto ever since I visited there back in November. It's a dining experience I've never had before! Most tourists are unaware of this place, hence we were the only foreigners and everyone else was local when we went. Part of me want to keep this a secret... but here I am, sharing with you this hidden gem. Let's see, I am not even sure how to explain what "teae sushi" is. I read all about it before going but I was still a bit lost when I got there even after looking at their cute little illustration/instruction. Basically for each of the little dishes, you mix it with different condiments and you can choose to mix it with matcha shredded eggs and/or rice as well. There's also a tea soup which you can drink alone or pour into the rice. This tea soup!!! I've been dreaming about it since, the broth is just so delicious, so light yet flavorful. Where can I get it? How do I make it? That's all I wanna know! You can tell that everything was thoughtful curated and everything tasted so fresh and incredible. I really enjoyed AWOMB for so many reasons. Obviously I loved the food. I also really appreciate the fact that this restaurant was basically in/structured as a house. We even sat traditionally on tatami. I loved it! I hope that when you go to Kyoto, you'll have a chance to eat at AWOMB. I went to the one in Gion district but I believe there are two other locations in Kyoto as well. Also, please note that it is reservation only.
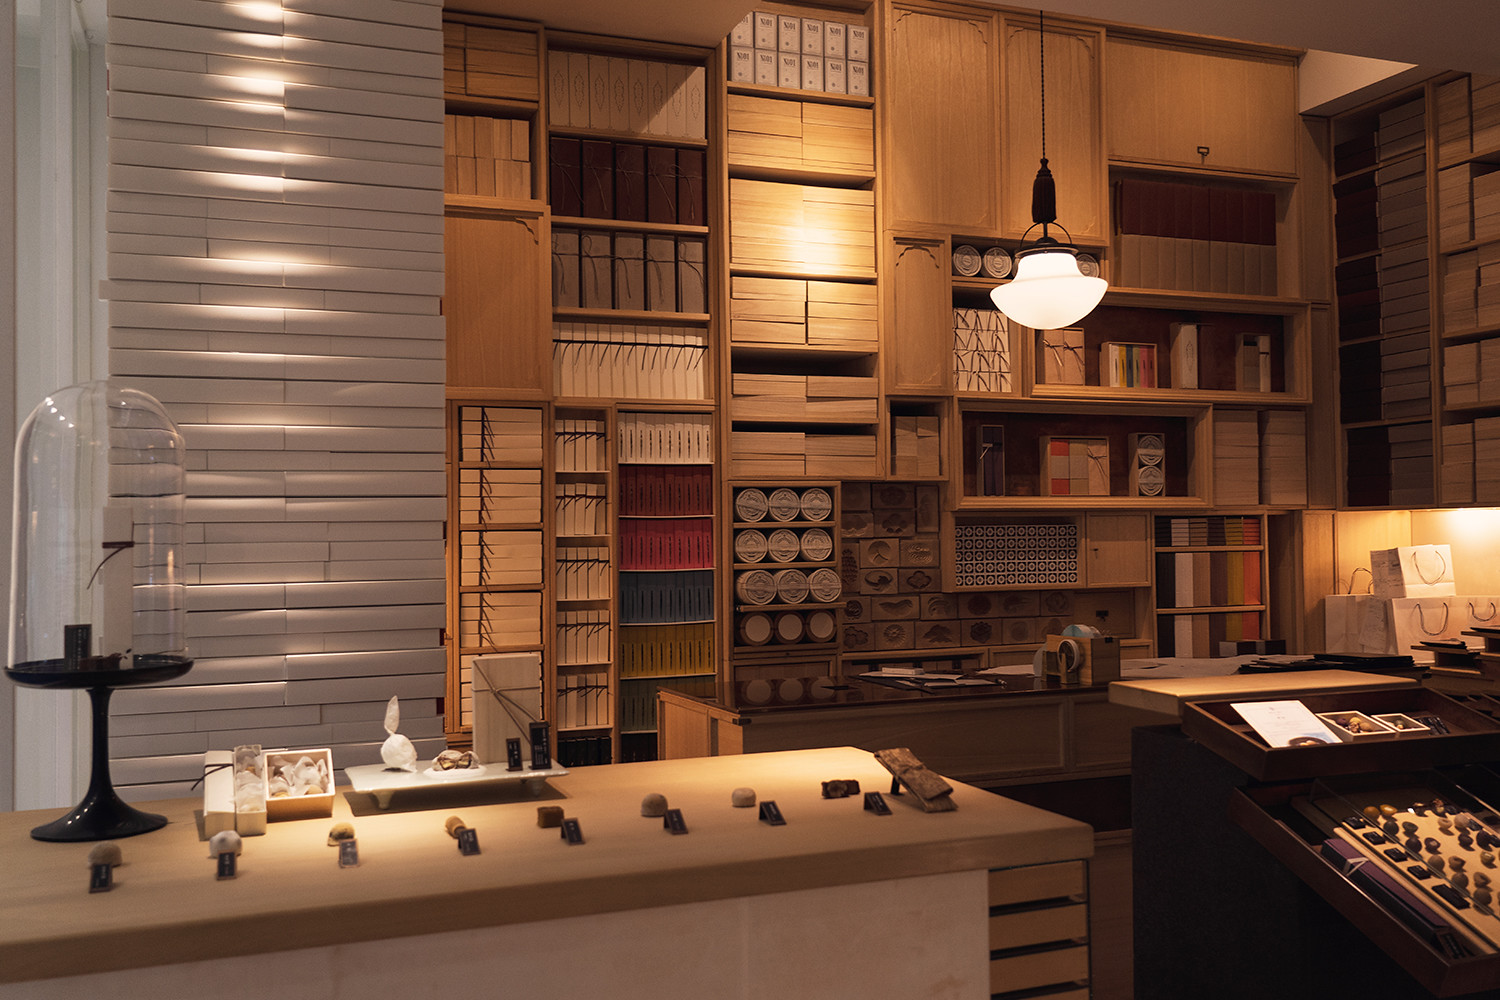
Japanese cares a lot about details and that is exactly what you'll get at Higashiya. A hidden gem above the busy street of Ginza, Higashiya is a green tea and wagashi (confectionery) shop and cafe where you can slow down and experience tea drinking in the most respectable level. I am not doing an individual write-up on every place I ate during my Japan trip, but I wanted to highlight Higashiya because it was such a memorable experience and I highly recommend visiting if you are ever in Ginza. I opted for the tea and wagashi pairing, but if you're a sake lover, you can do the same pairing but with sake instead of tea instead! What I love most about this experience is that it forces you to slow down and truly enjoy and appreciate your tea and wagashi. Each tea is roasted/prepared and poured right in front of you to ensure its freshness. It was also lovely to watch how the staff carefully handles everything!
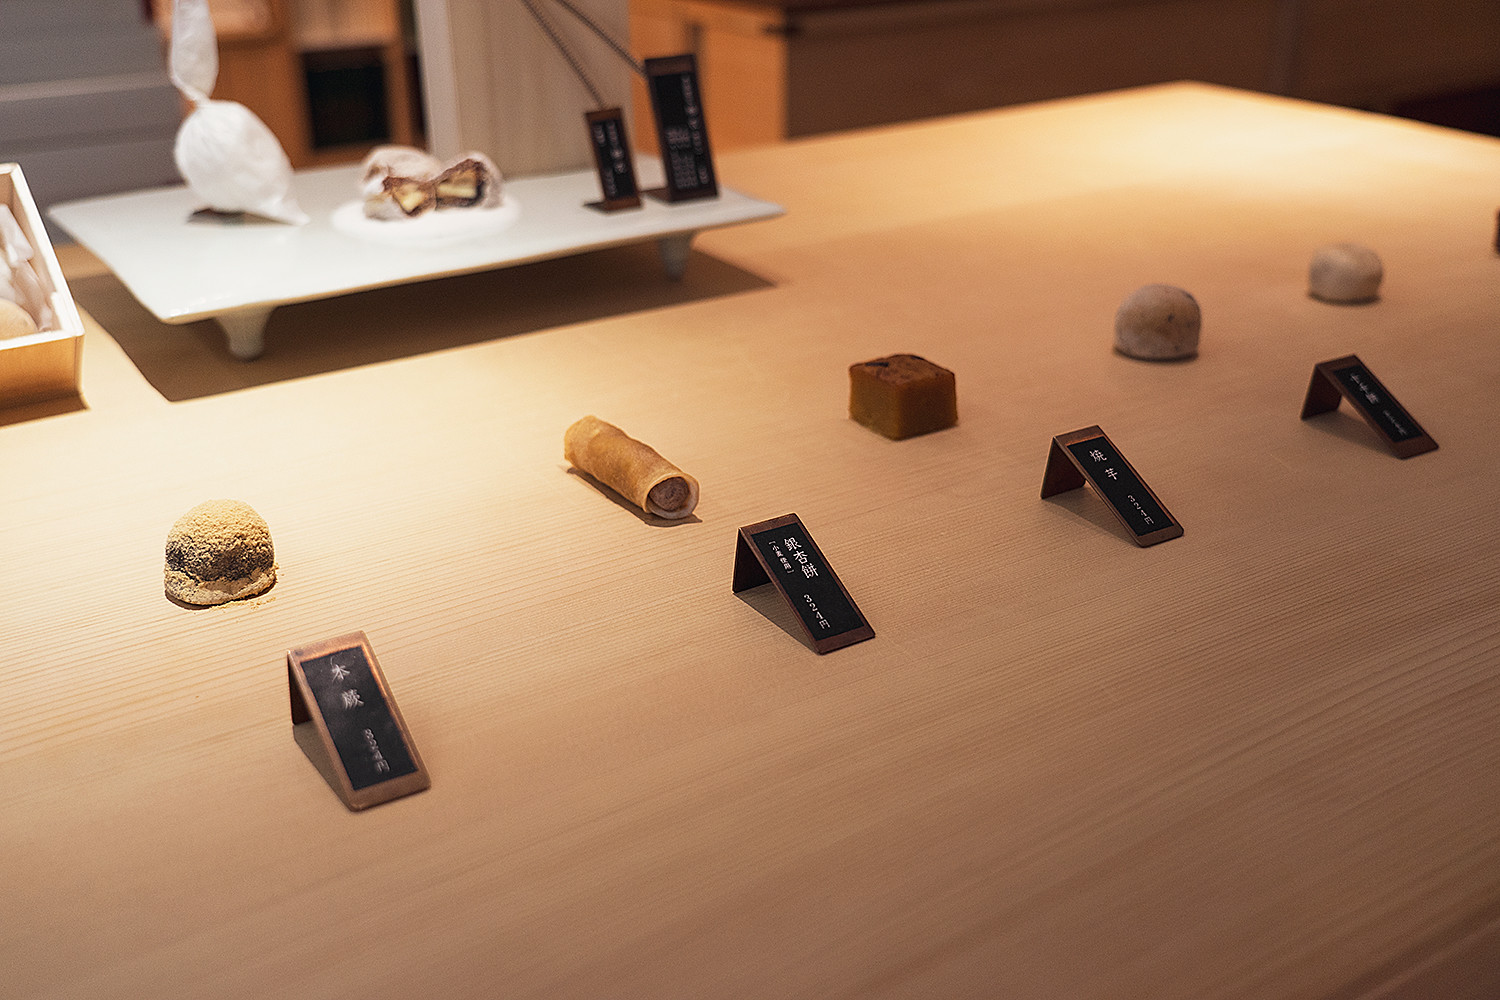
1. Make a reservation. Although this was on my list, I didn't have time to squeeze everything in on my itinerary so when my day opened up, I hopped over to Ginza to see if there was any opening and luckily, they told me to come back in an hour! But I would definitely make a reservation as this place is becoming very popular.
2. When I say hidden, I mean really hidden. When you get to the address, it looks like an office building or something. Take the elevator on your right to the second level and ta da!
Higashiya, Ginza, Japan
March 12, 2020
Japanese cares a lot about details and that is exactly what you'll get at Higashiya. A hidden gem above the busy street of Ginza, Higashiya is a green tea and wagashi (confectionery) shop and cafe where you can slow down and experience tea drinking in the most respectable level. I am not doing an individual write-up on every place I ate during my Japan trip, but I wanted to highlight Higashiya because it was such a memorable experience and I highly recommend visiting if you are ever in Ginza. I opted for the tea and wagashi pairing, but if you're a sake lover, you can do the same pairing but with sake instead of tea instead! What I love most about this experience is that it forces you to slow down and truly enjoy and appreciate your tea and wagashi. Each tea is roasted/prepared and poured right in front of you to ensure its freshness. It was also lovely to watch how the staff carefully handles everything!
1. Make a reservation. Although this was on my list, I didn't have time to squeeze everything in on my itinerary so when my day opened up, I hopped over to Ginza to see if there was any opening and luckily, they told me to come back in an hour! But I would definitely make a reservation as this place is becoming very popular.
2. When I say hidden, I mean really hidden. When you get to the address, it looks like an office building or something. Take the elevator on your right to the second level and ta da!
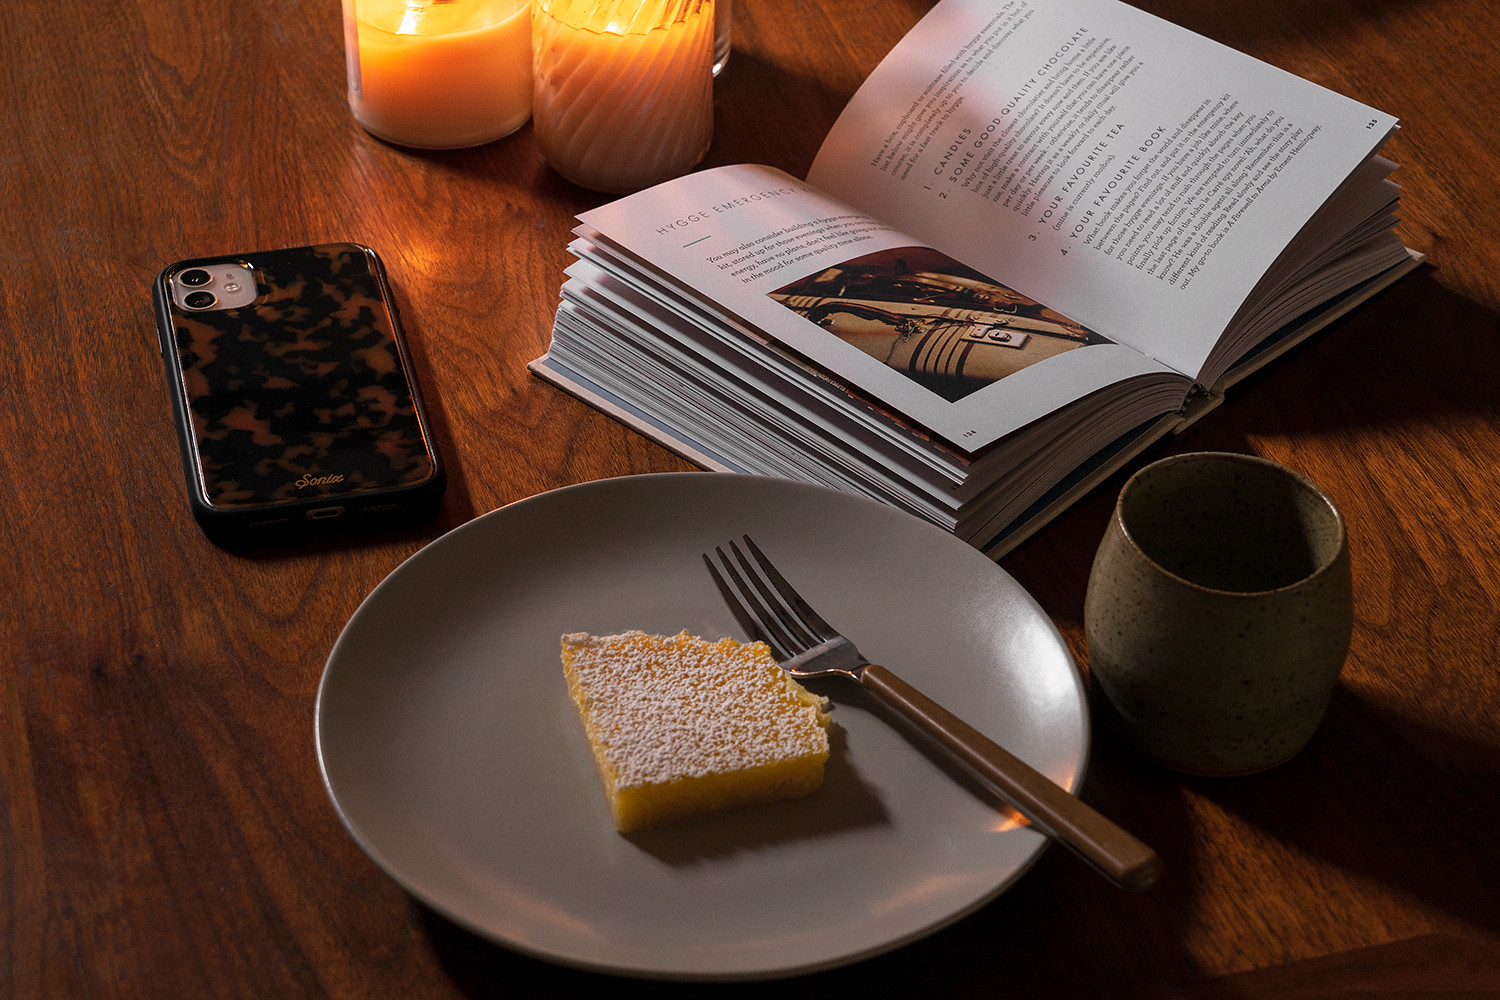
December is in full force, have you done any holiday baking yet? If not, I've got a delicious recipe for you to try! Forget the typical holiday baked goods like gingerbread cookies and peppermint barks, make lemon bars instead! I cook quiet often but I'm not much of a baker, however I can't stop baking lately. Perhaps the cooler weather makes me want to use the oven more. I really love the lemon bars from Viktor Benes Bakery (buttery shortbread crust and lemon zests) and the lemon bites from Trader Joe's (chewy and tart) so I decided to make my own! I researched and read through several recipes, combined and tweaked them, to give you the best lemon bars ever!

Shortbread crust ingredients:
- 1 cup unsalted butter (melted)
- 1/2 cup granulated sugar
- 2 tsp vanilla extract
- 1/2 tsp salt
- 2 cups all-purpose flour
Lemon filling ingredients:
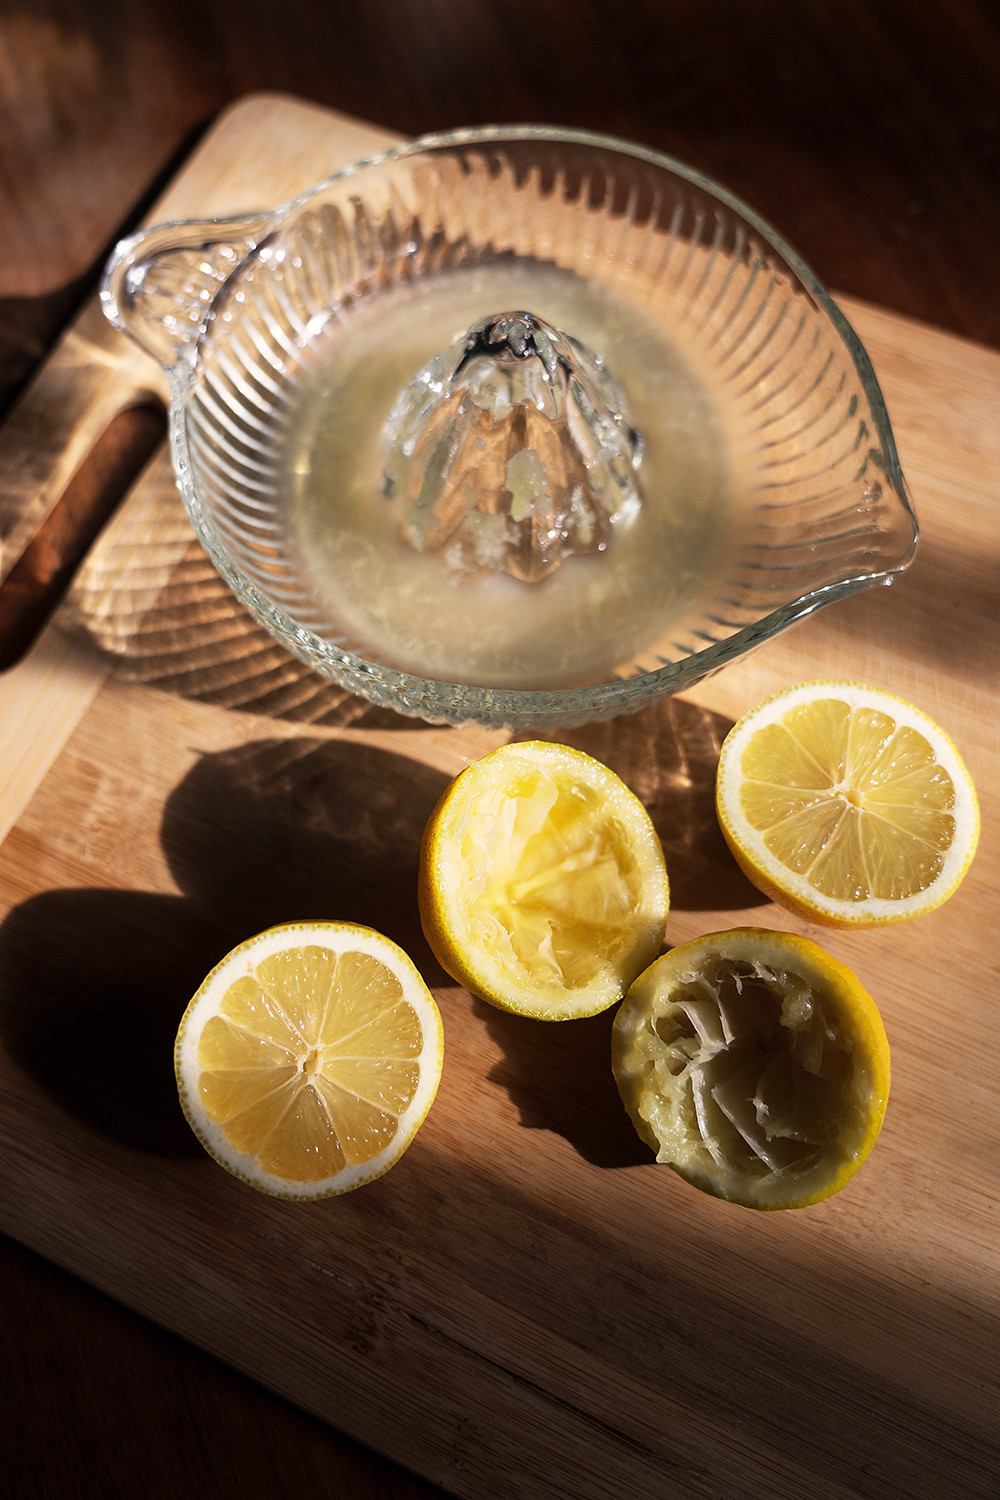
- 5 lemons (juiced)
- 1 tbsp lemon zest
- 6 eggs
- 2 cup granulated sugar
- 6 tbsp all-purpose flour
Additional ingredient:
- Powder sugar
Directions:
1. Preheat oven to 325°F.
2. Line a 9"x13" baking dish/pan with parchment paper and set aside.
3. First, let's make the crust!
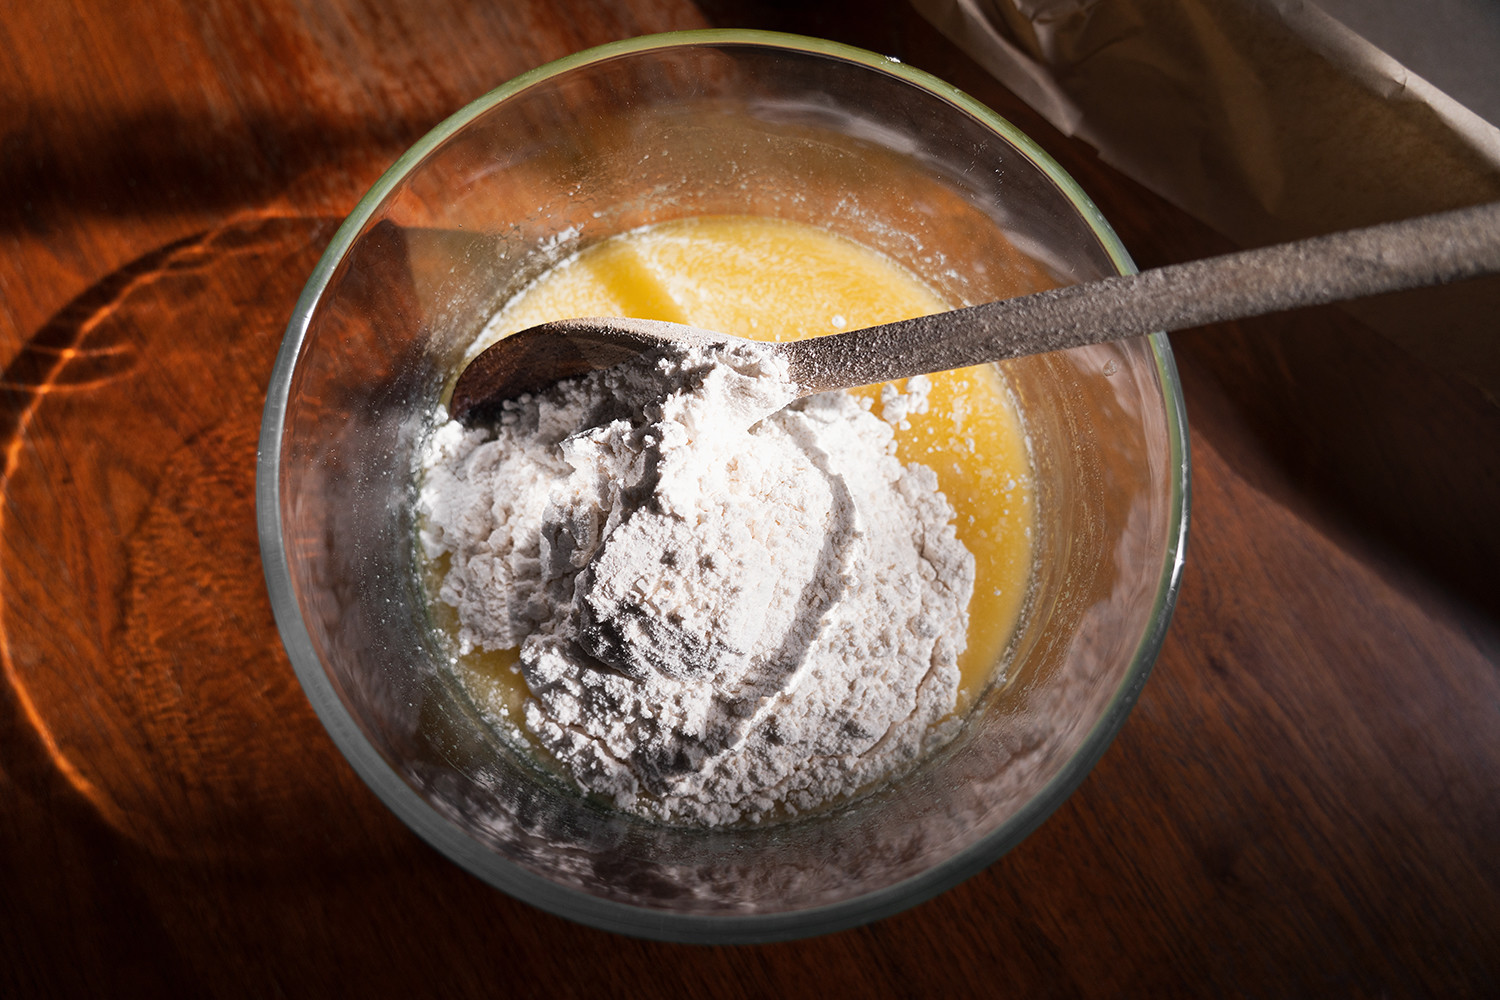
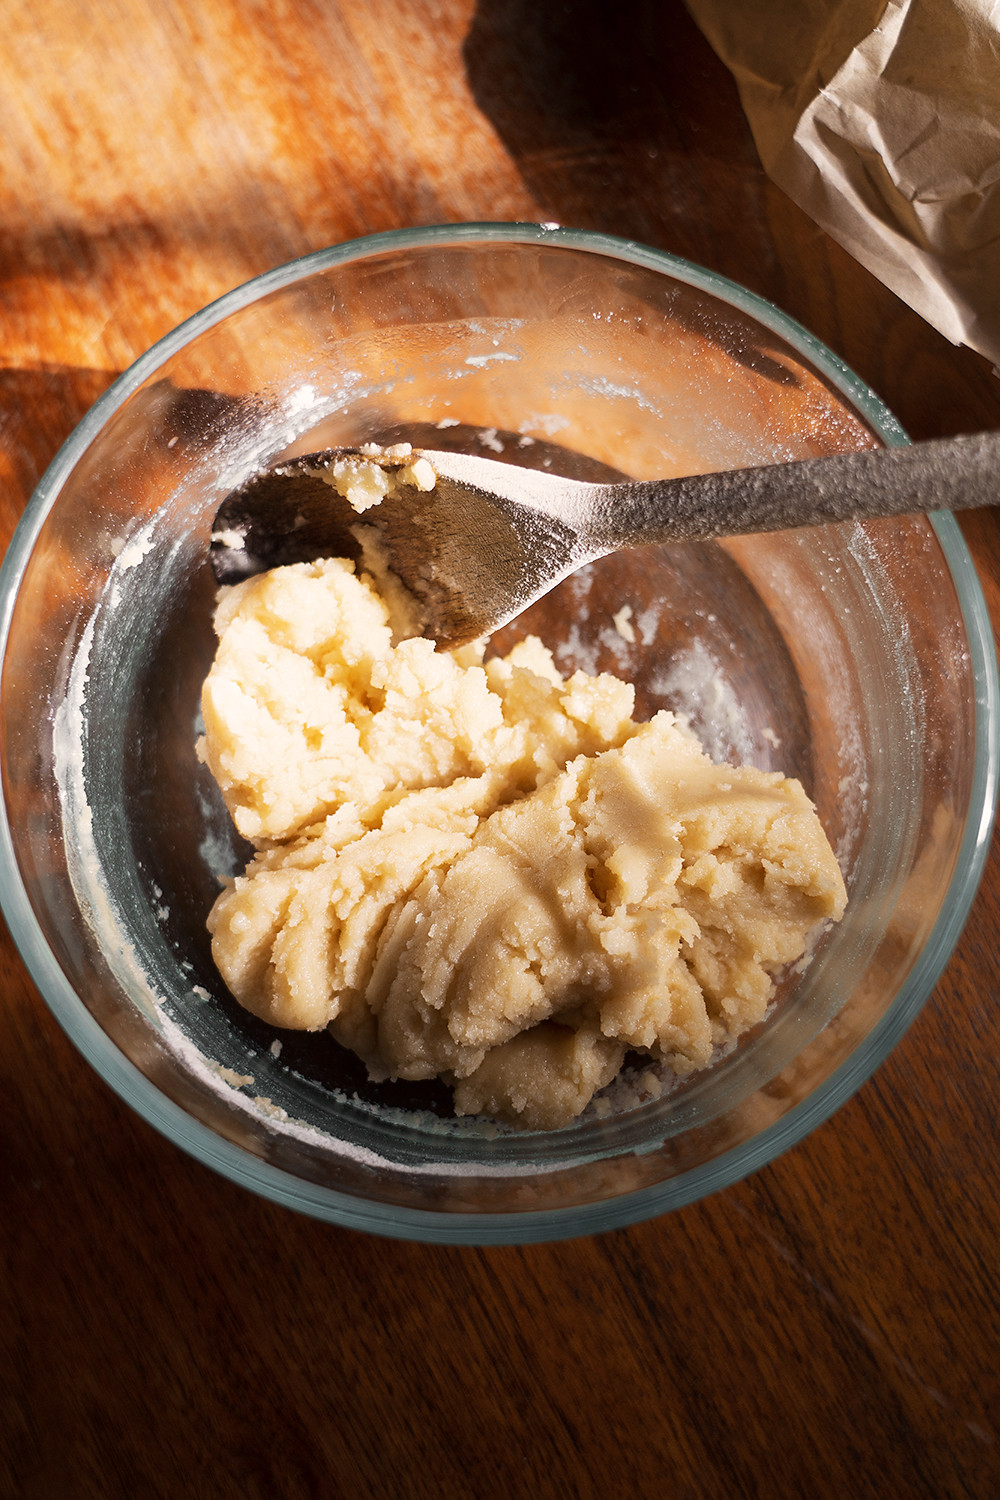
4. Mix the melted butter, sugar, vanilla extract, and salt in a bowl.
5. Add the flour and stir to completely combine.
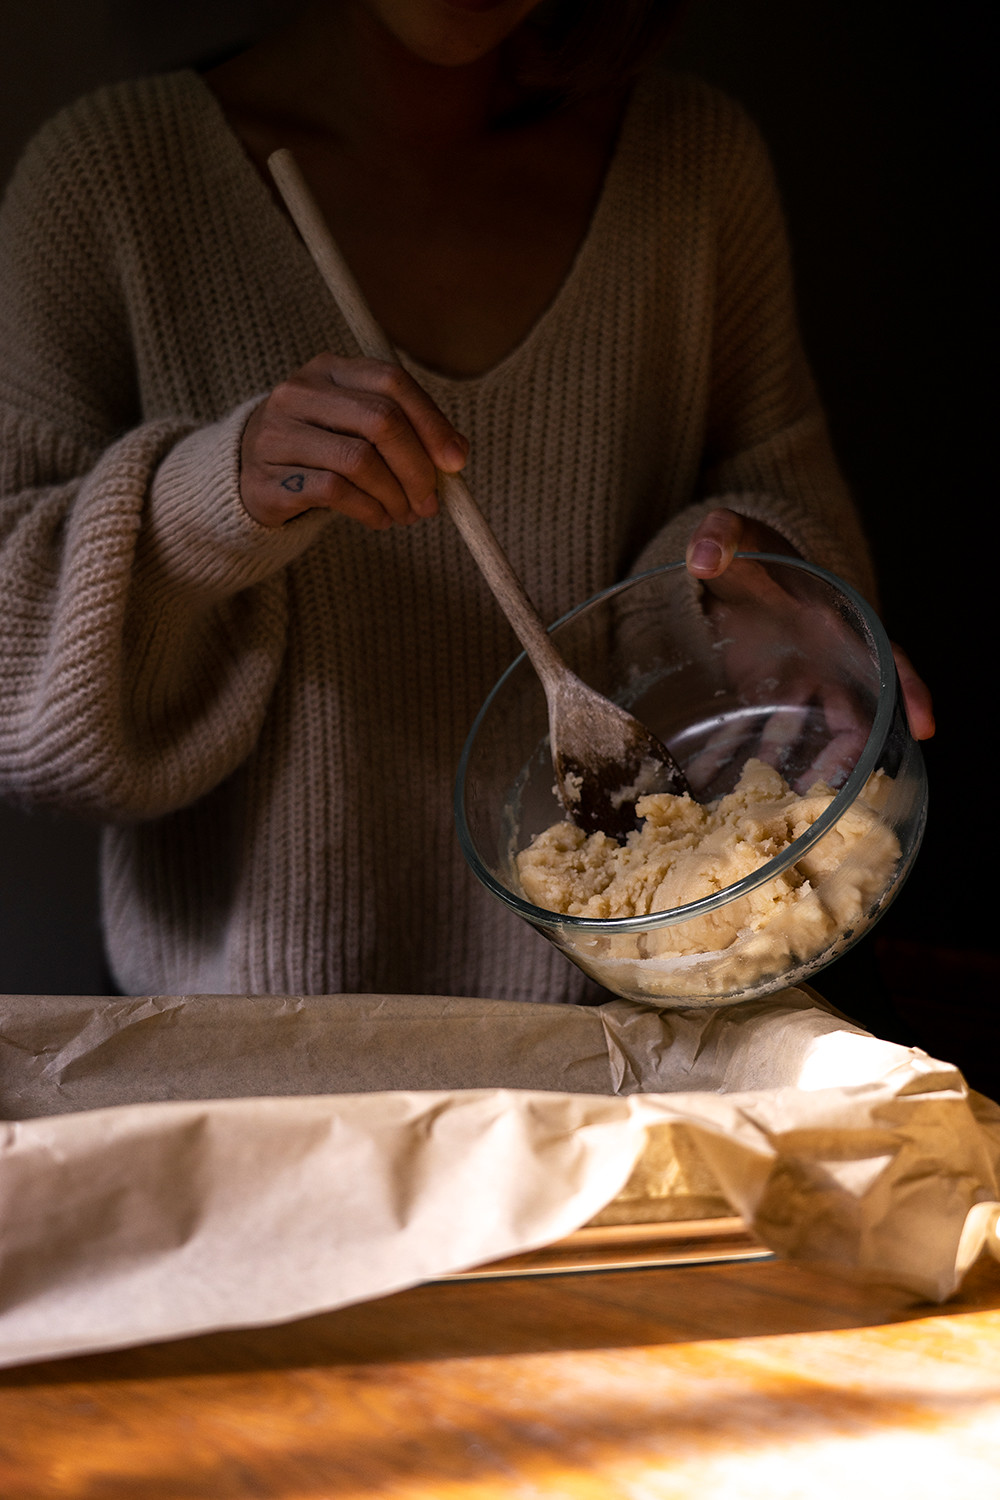
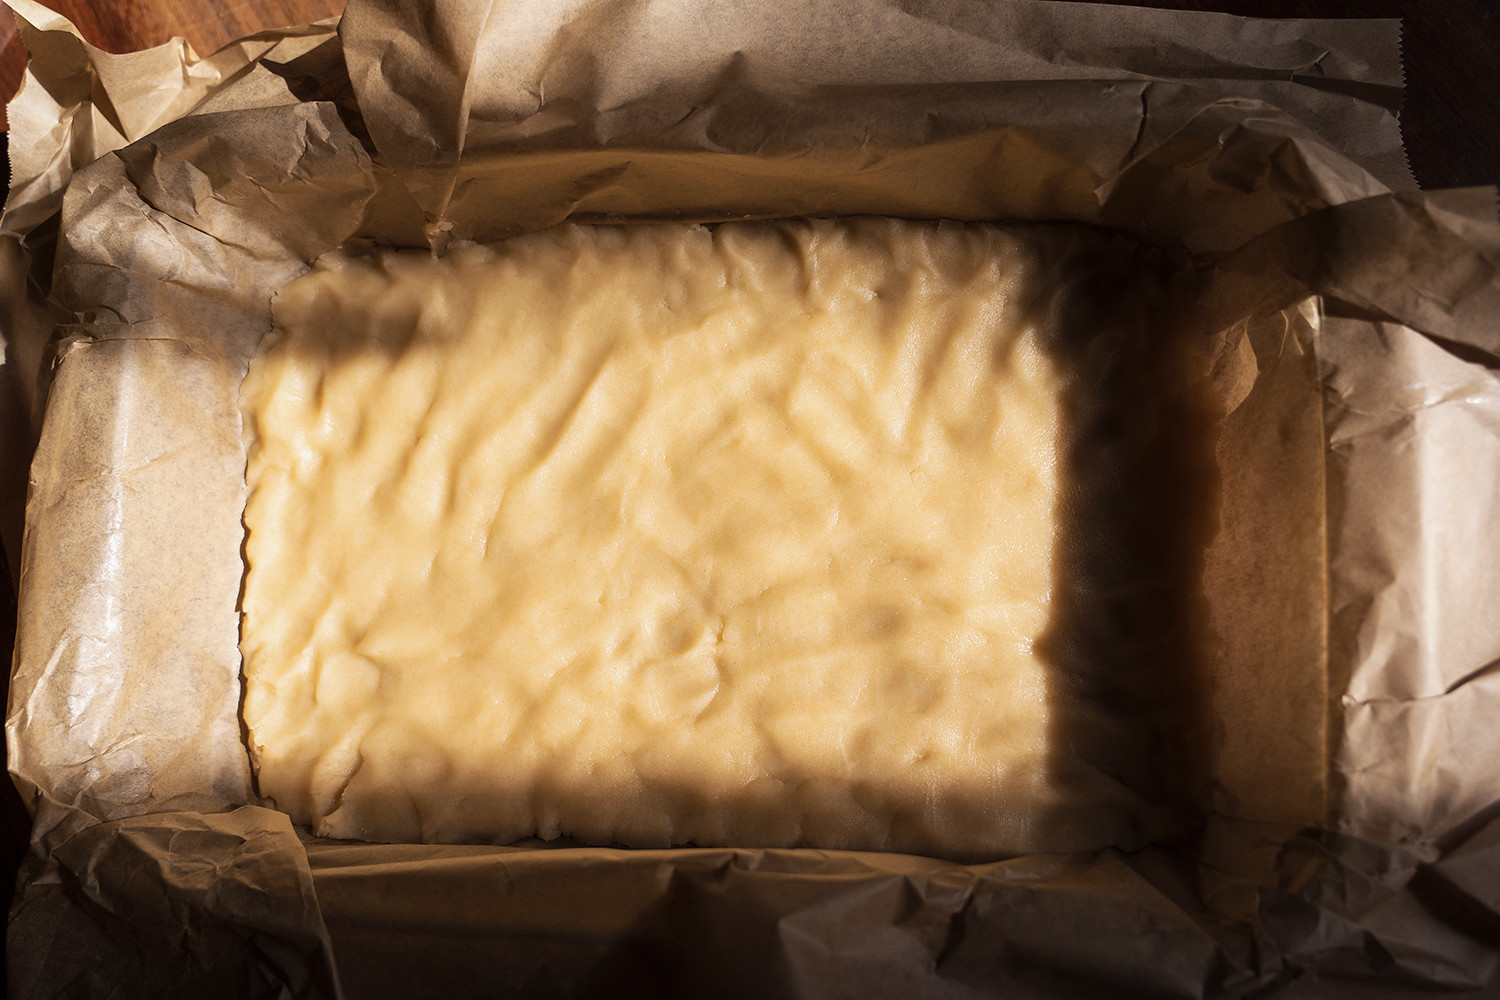
6. Press firmly into the dish/pan with parchment paper, making sure the layer of crust is even.
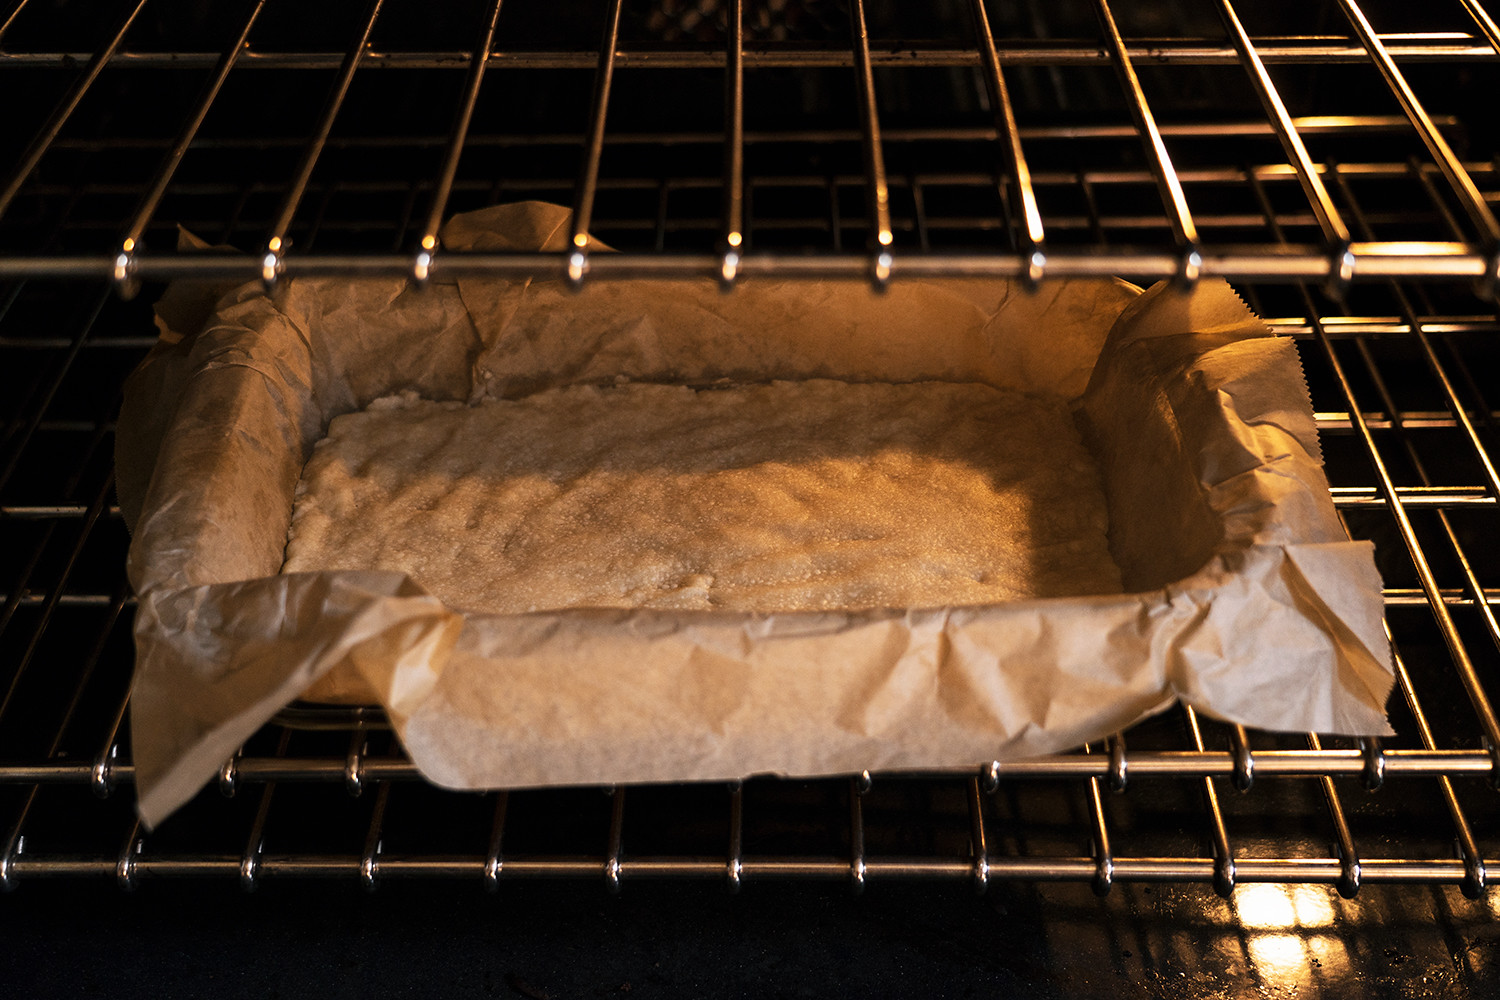
7. Bake for 20 minutes.
8. While the crust is in the oven, prepare the filling!
9. Juice and zest the lemons and set aside.
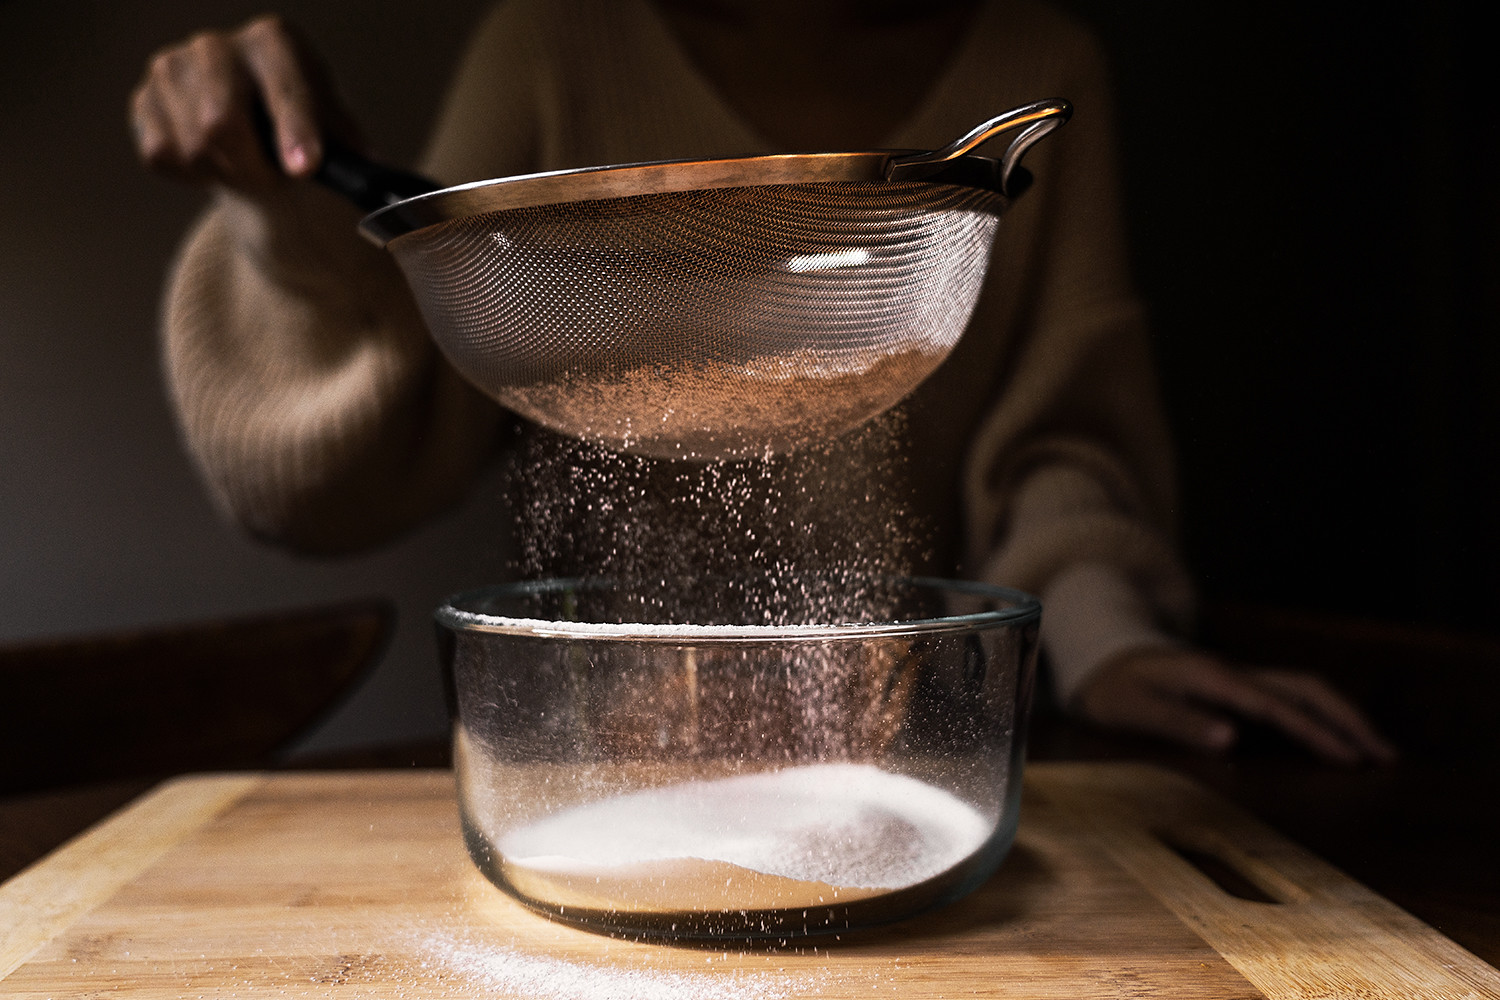
10. Sift (sifting is important to avoid clumps) the sugar and flour in a bowl.
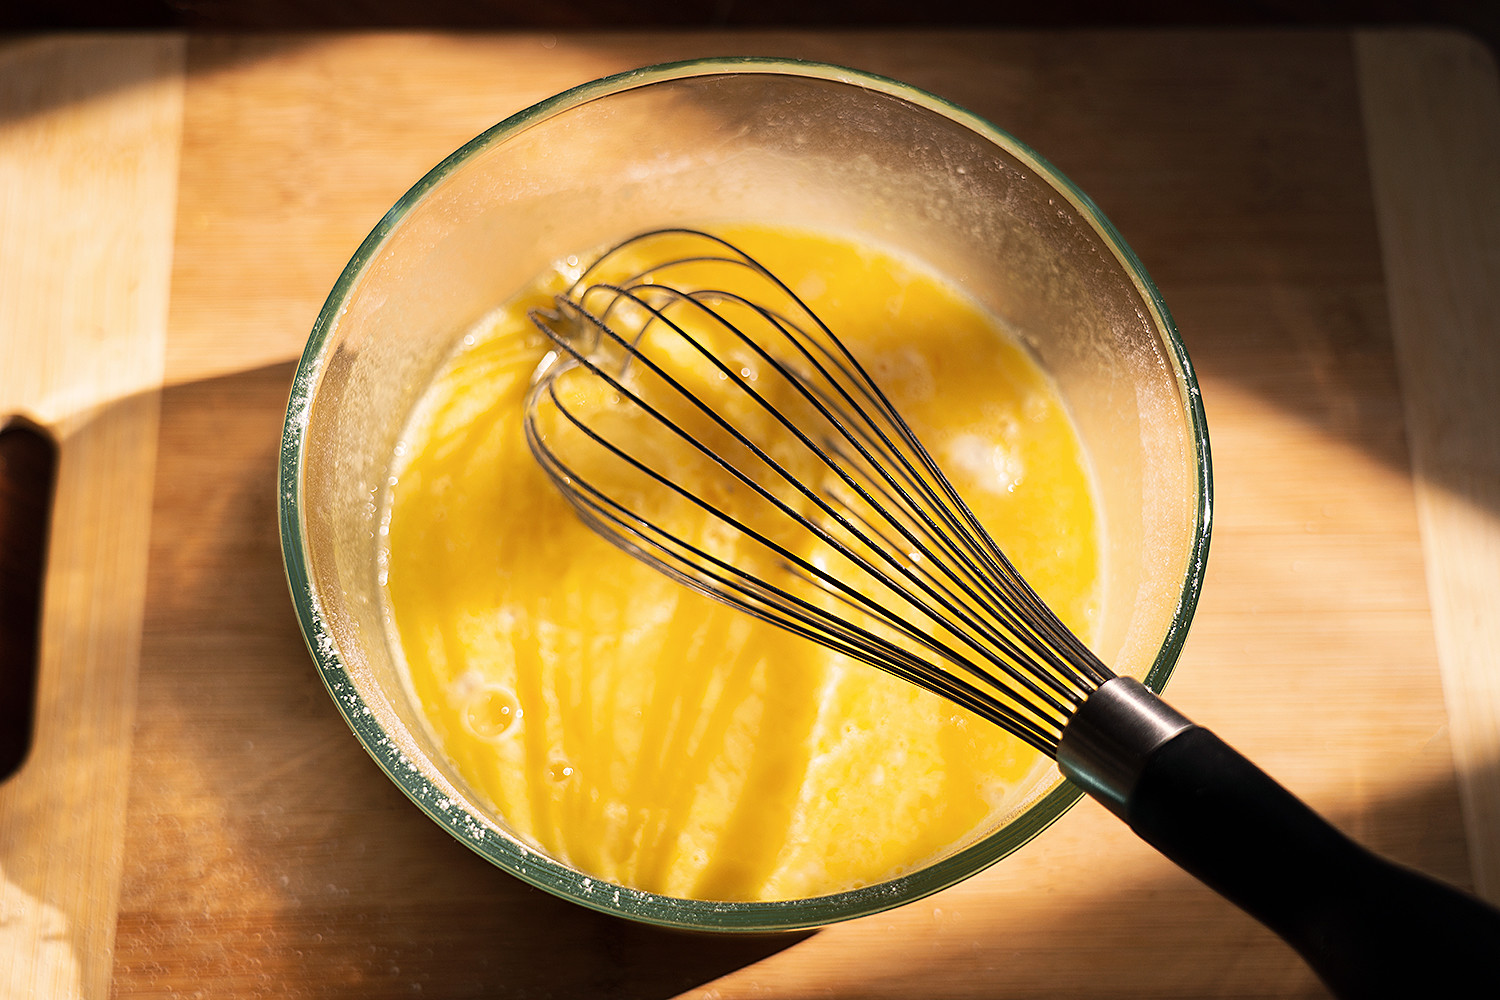
11. Add the eggs, lemon juice, and lemon zest, and whisk until combined.
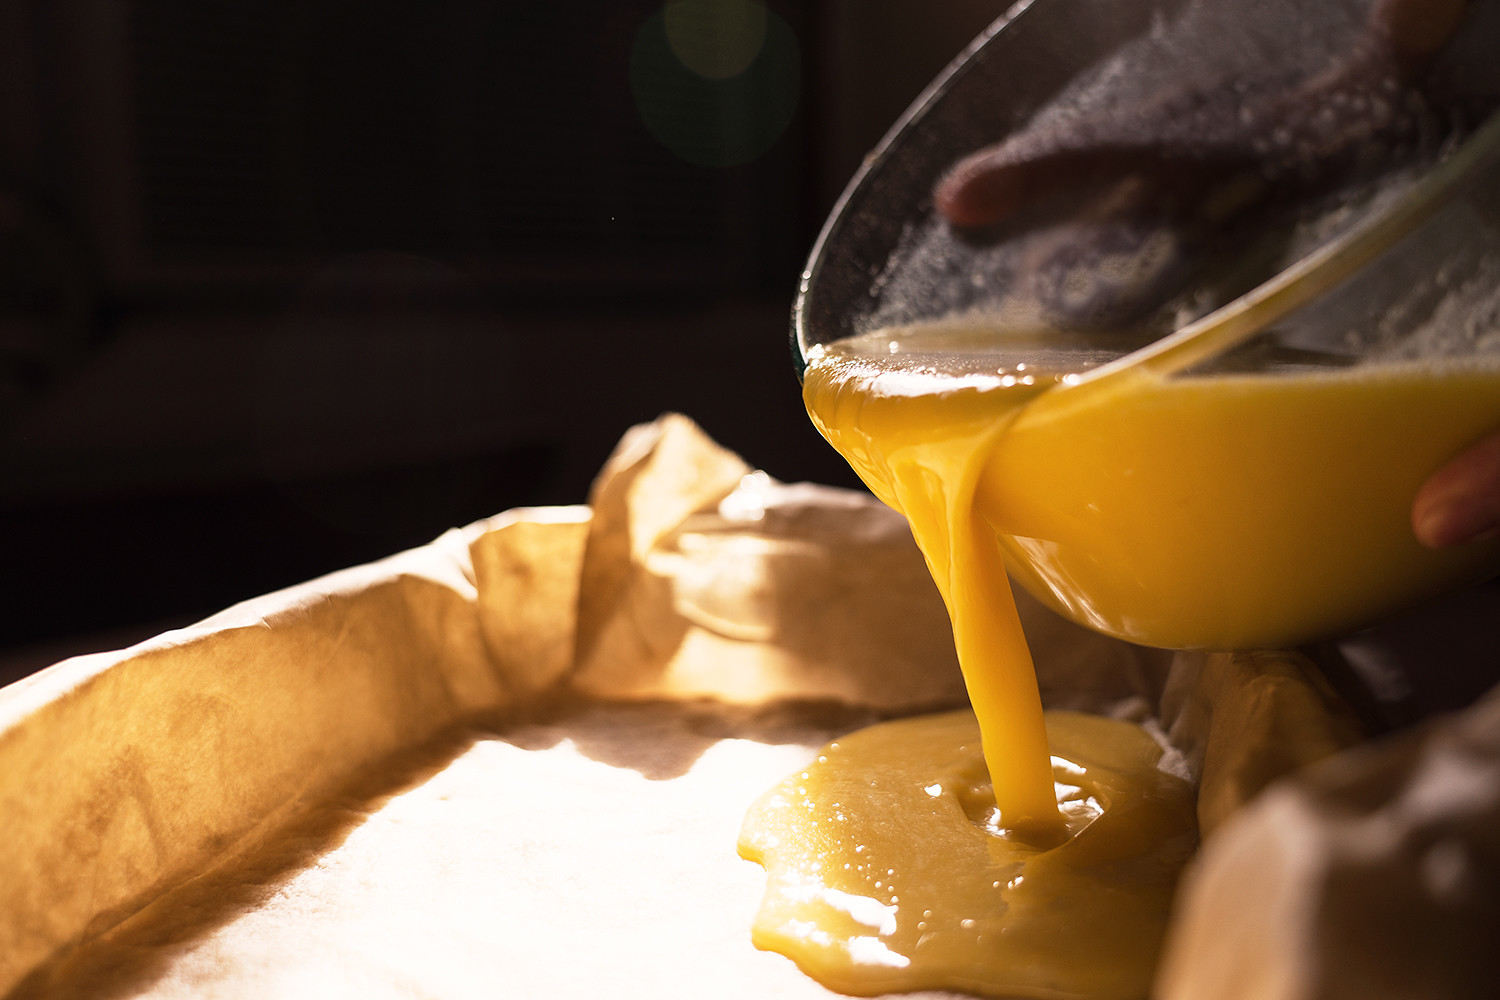
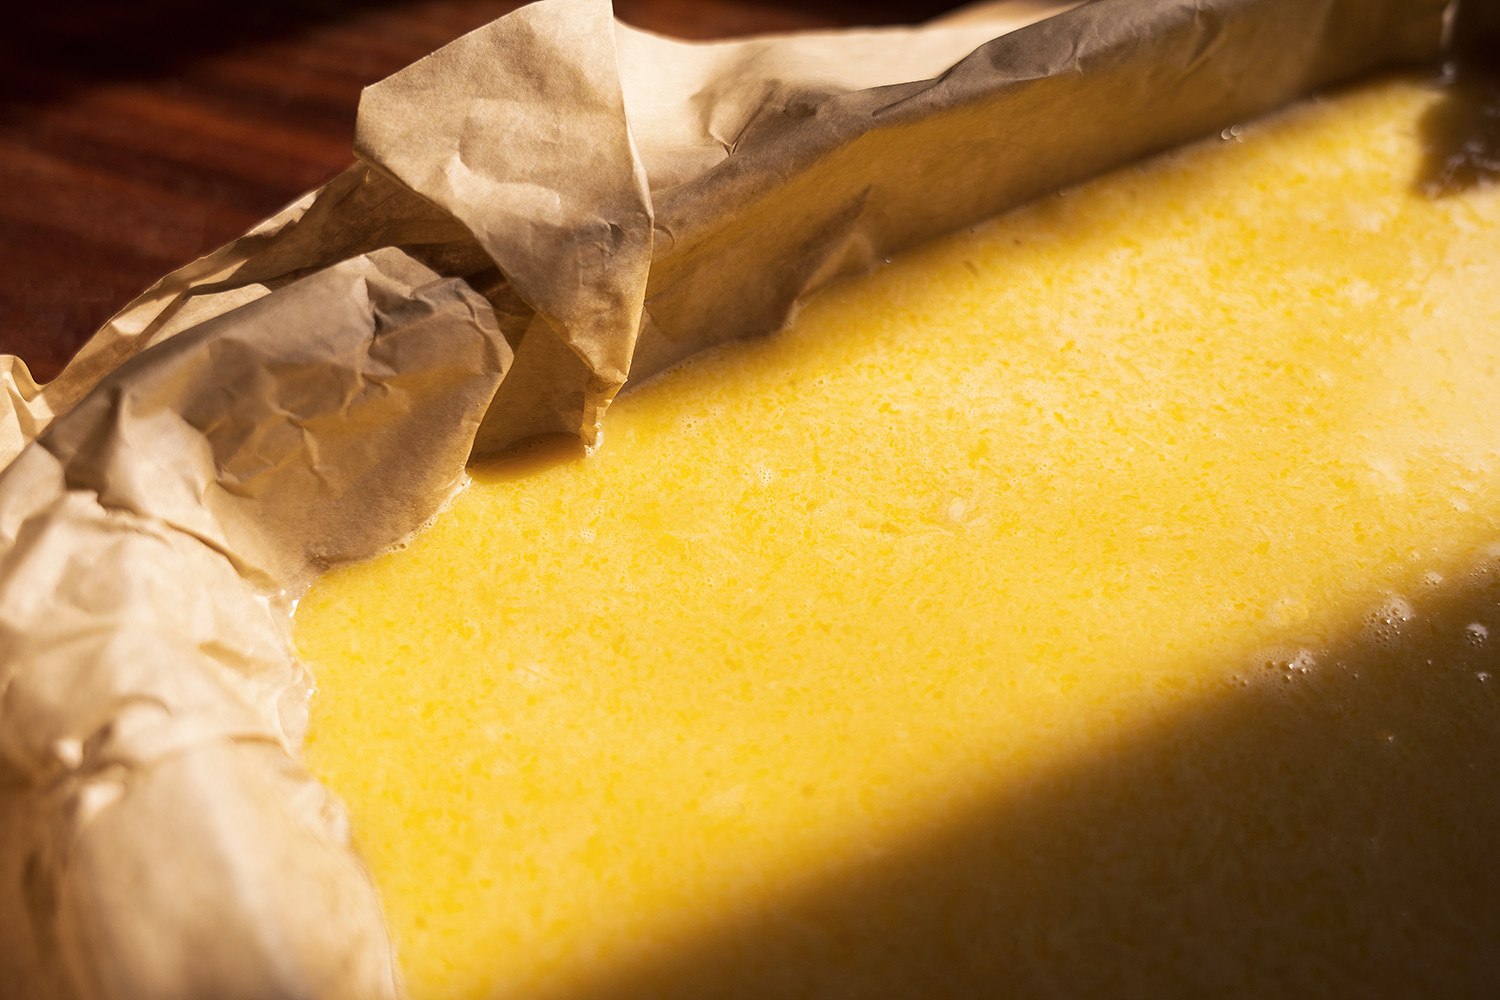
12. Once the crust is done, pour the filling over the warm crust.
13. Bake for 25 minutes (until the center is set and not jiggly).
14. Cool at room temperature for 2 hours.
15. Once cool, lift the parchment paper out of the dish/pan.
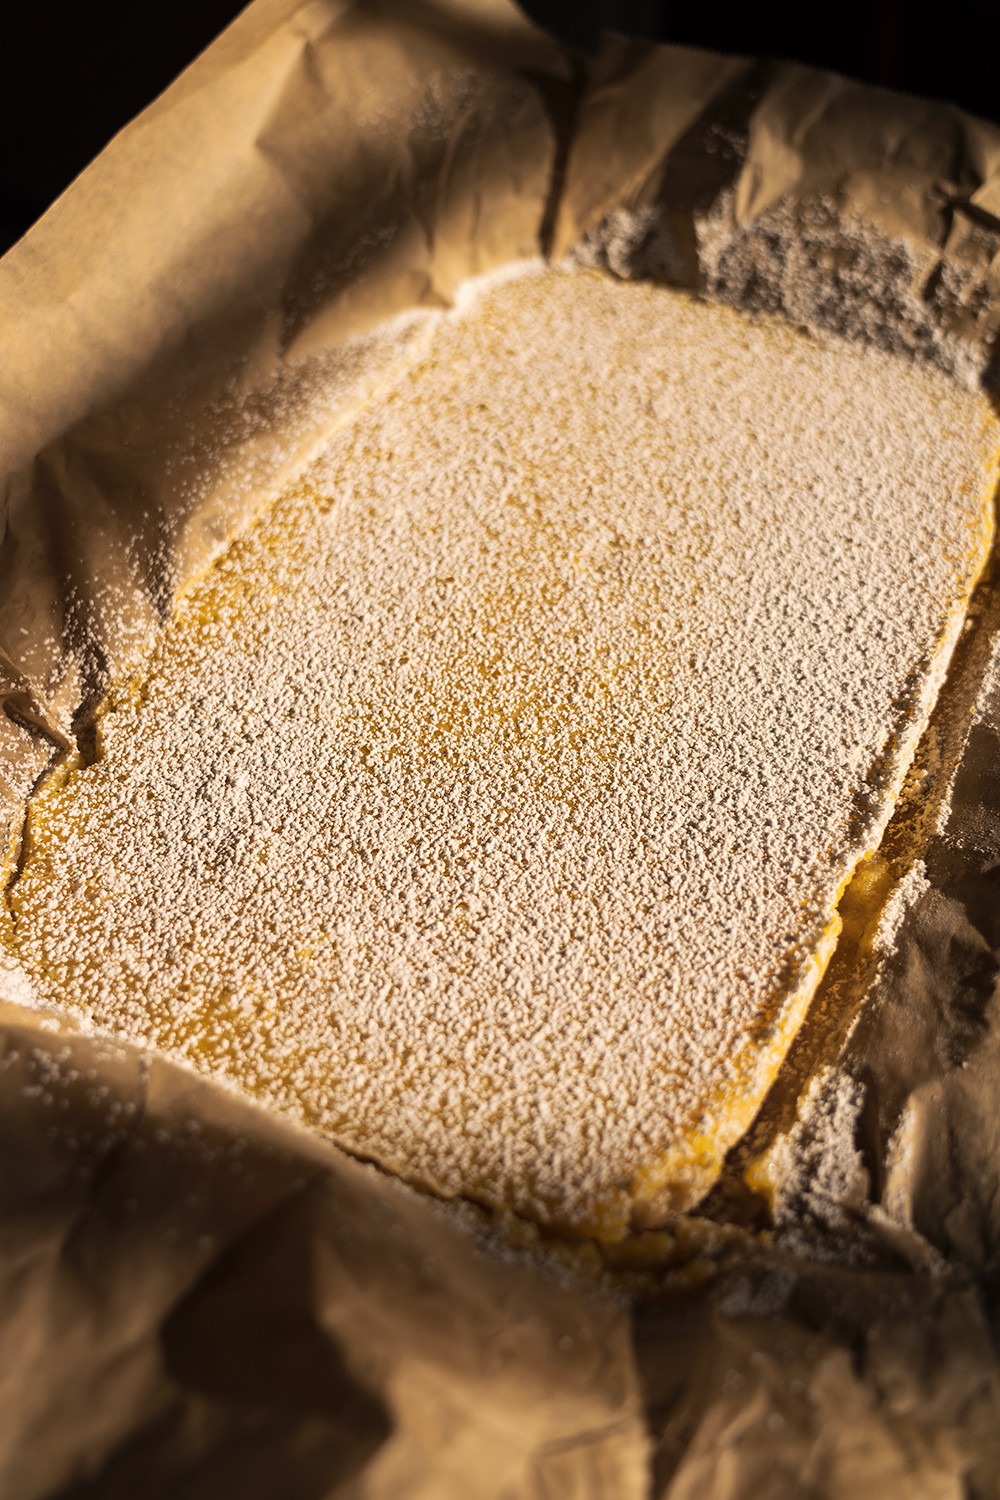
16. Sift and dust powder sugar on top.
17. Cut into squares and serve!




Holiday Recipe: Shortbread Crusted Lemon Bars
December 24, 2019
December is in full force, have you done any holiday baking yet? If not, I've got a delicious recipe for you to try! Forget the typical holiday baked goods like gingerbread cookies and peppermint barks, make lemon bars instead! I cook quiet often but I'm not much of a baker, however I can't stop baking lately. Perhaps the cooler weather makes me want to use the oven more. I really love the lemon bars from Viktor Benes Bakery (buttery shortbread crust and lemon zests) and the lemon bites from Trader Joe's (chewy and tart) so I decided to make my own! I researched and read through several recipes, combined and tweaked them, to give you the best lemon bars ever!
Shortbread crust ingredients:
- 1 cup unsalted butter (melted)
- 1/2 cup granulated sugar
- 2 tsp vanilla extract
- 1/2 tsp salt
- 2 cups all-purpose flour
Lemon filling ingredients:
- 5 lemons (juiced)
- 1 tbsp lemon zest
- 6 eggs
- 2 cup granulated sugar
- 6 tbsp all-purpose flour
Additional ingredient:
- Powder sugar
Directions:
1. Preheat oven to 325°F.
2. Line a 9"x13" baking dish/pan with parchment paper and set aside.
3. First, let's make the crust!
4. Mix the melted butter, sugar, vanilla extract, and salt in a bowl.
5. Add the flour and stir to completely combine.
6. Press firmly into the dish/pan with parchment paper, making sure the layer of crust is even.
7. Bake for 20 minutes.
8. While the crust is in the oven, prepare the filling!
9. Juice and zest the lemons and set aside.
10. Sift (sifting is important to avoid clumps) the sugar and flour in a bowl.
11. Add the eggs, lemon juice, and lemon zest, and whisk until combined.
12. Once the crust is done, pour the filling over the warm crust.
13. Bake for 25 minutes (until the center is set and not jiggly).
14. Cool at room temperature for 2 hours.
15. Once cool, lift the parchment paper out of the dish/pan.
16. Sift and dust powder sugar on top.
17. Cut into squares and serve!
I wasn't going to write a separate blog post about Noma but the more I think about this meal and experience, the more I feel like it deserves a dedicated post. So, here we are. Noma, "nordisk" (Nordic) and "mad" (food), is a two Michelin-star restaurant by chef René Redzepi in Copenhagen, Denmark. It was ranked as the #1 Restaurant in the world in 2010, 2011, 2012 and 2014 and is currently ranked 2nd. I had the honor to experience and dine at Noma during my visit to Copenhagen and let me tell you, it was nothing like I've ever seen (and tasted)!
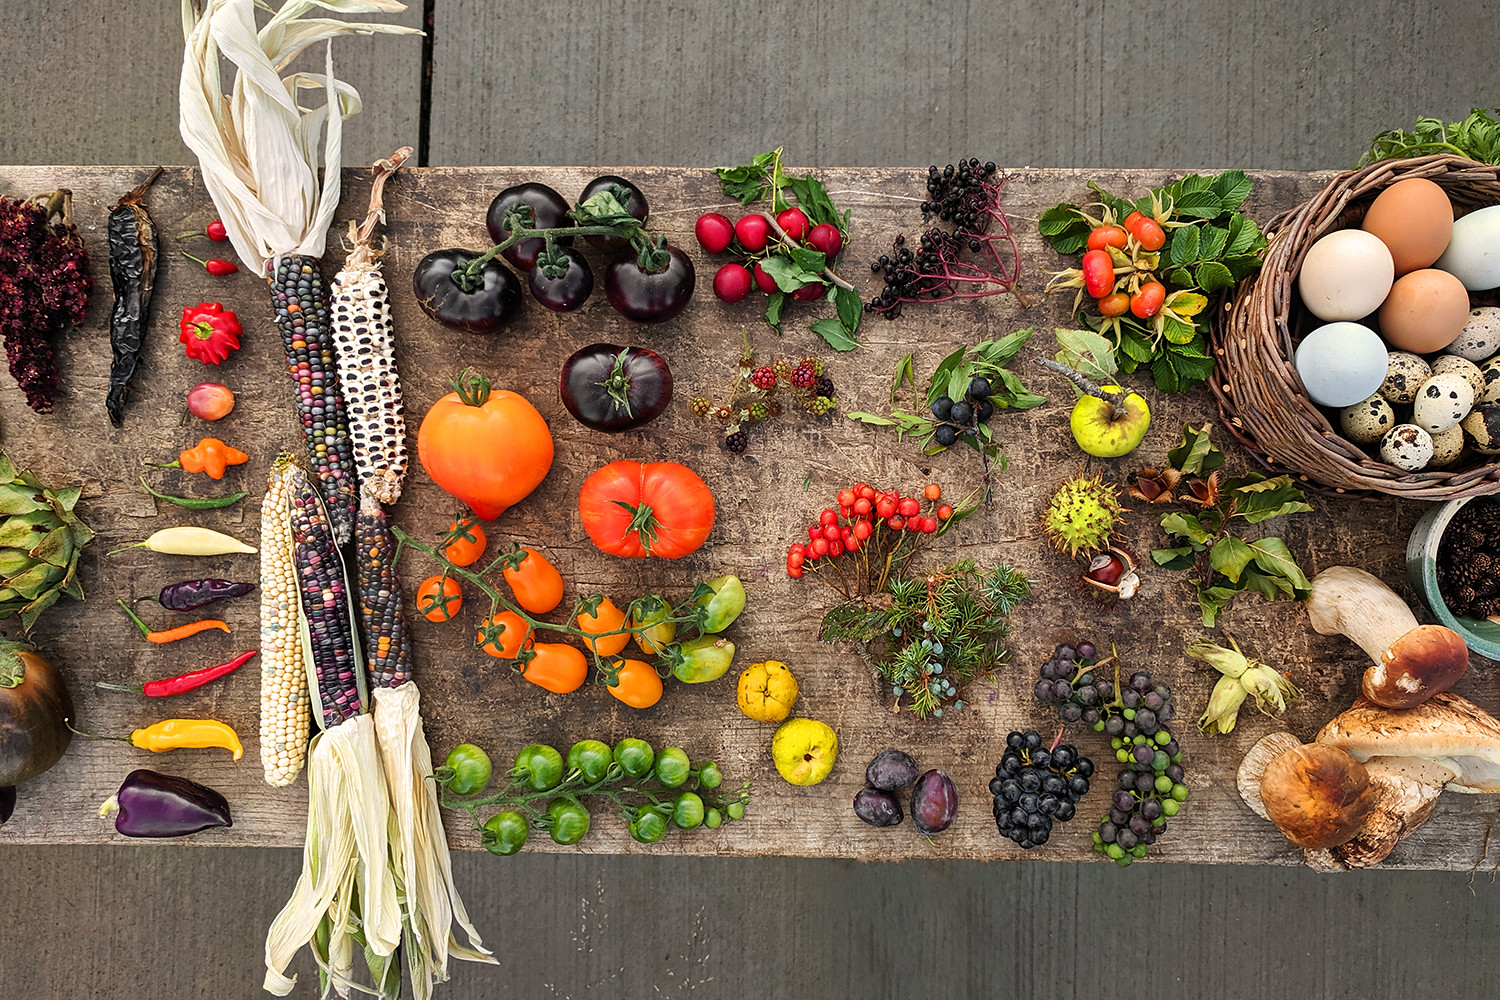
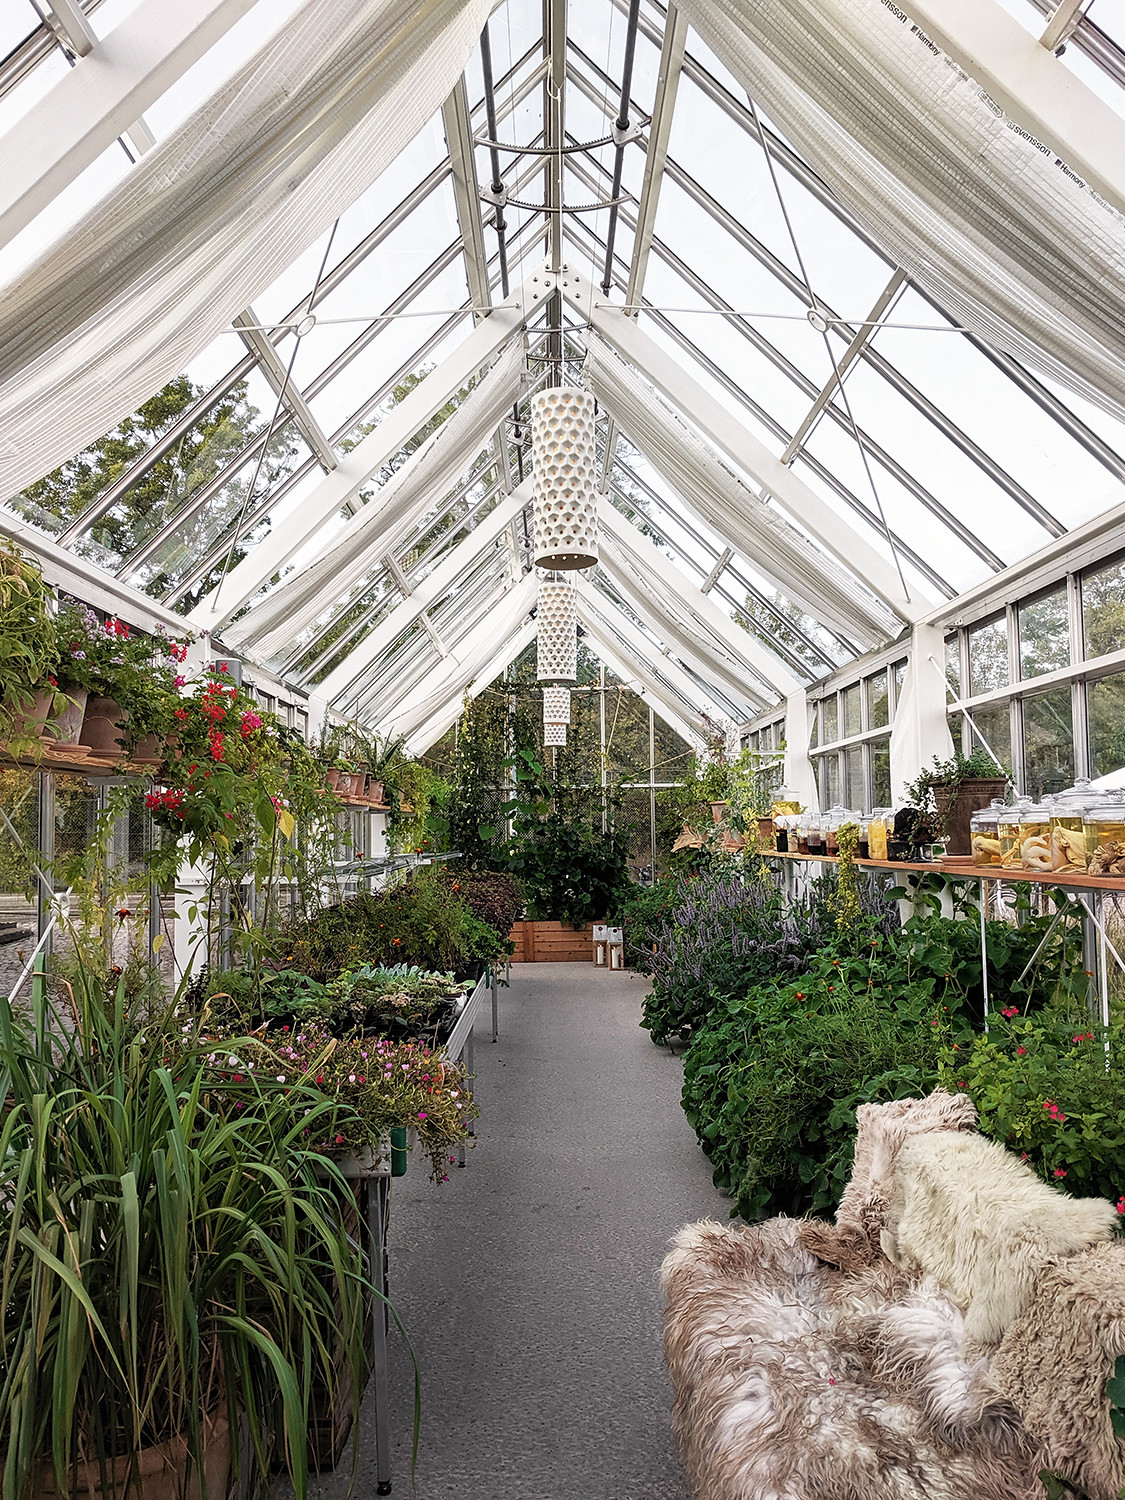
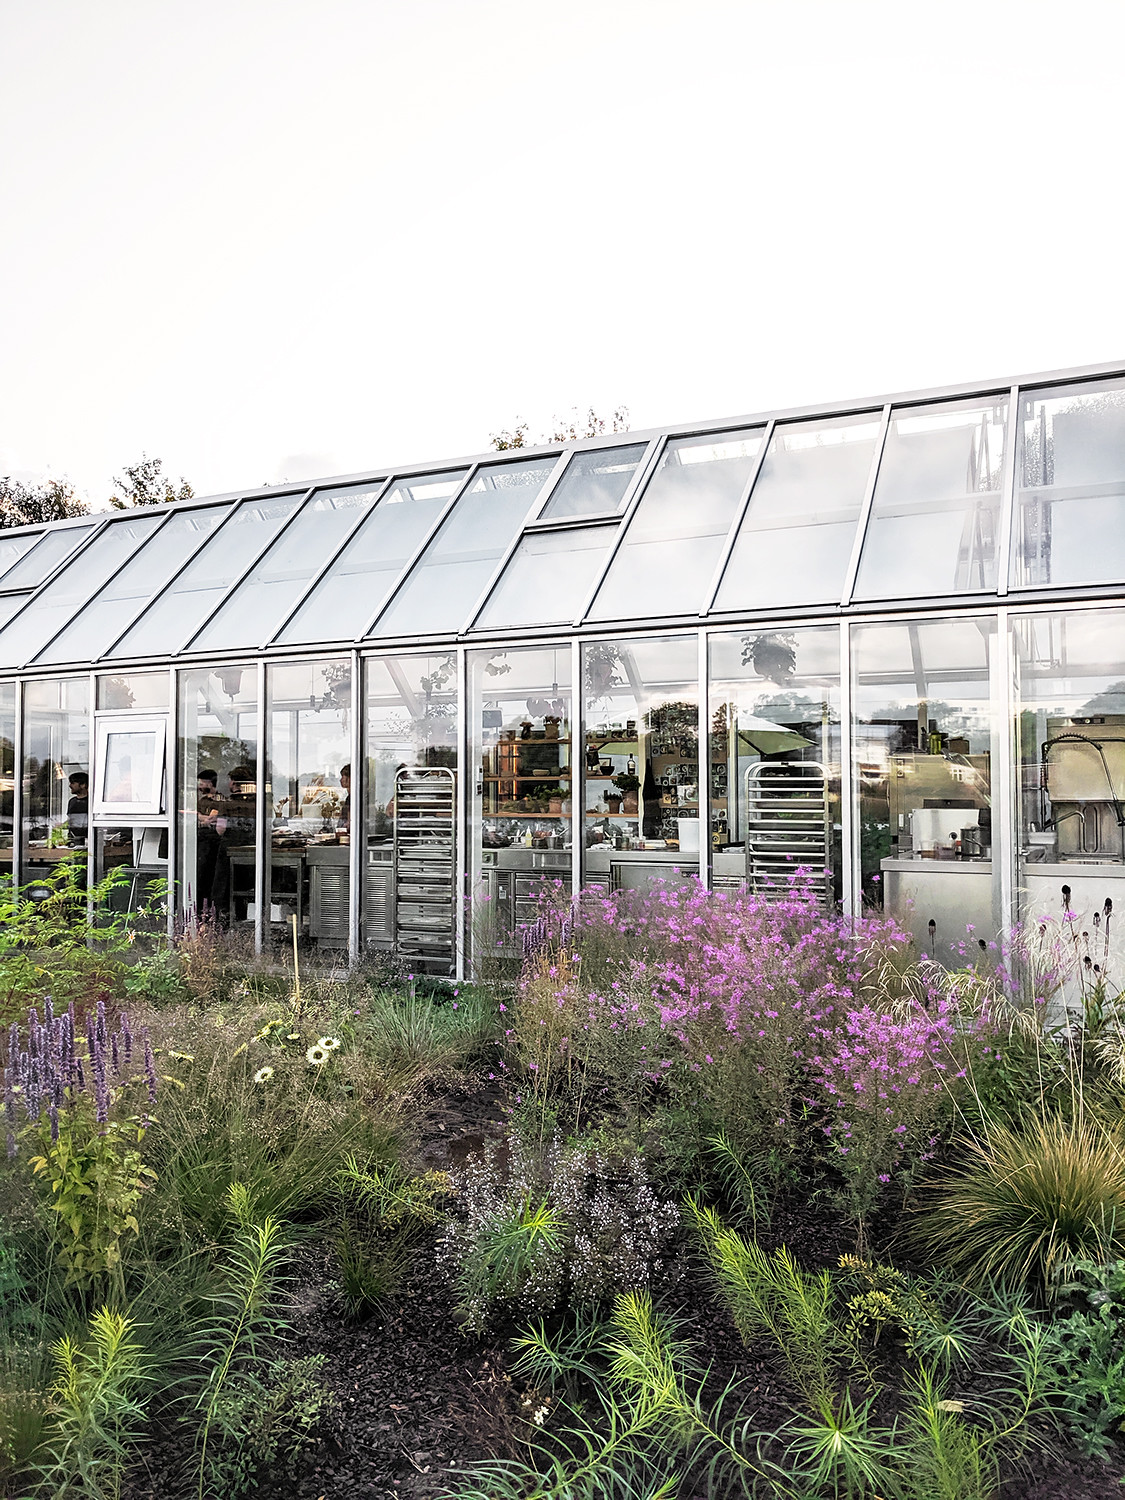
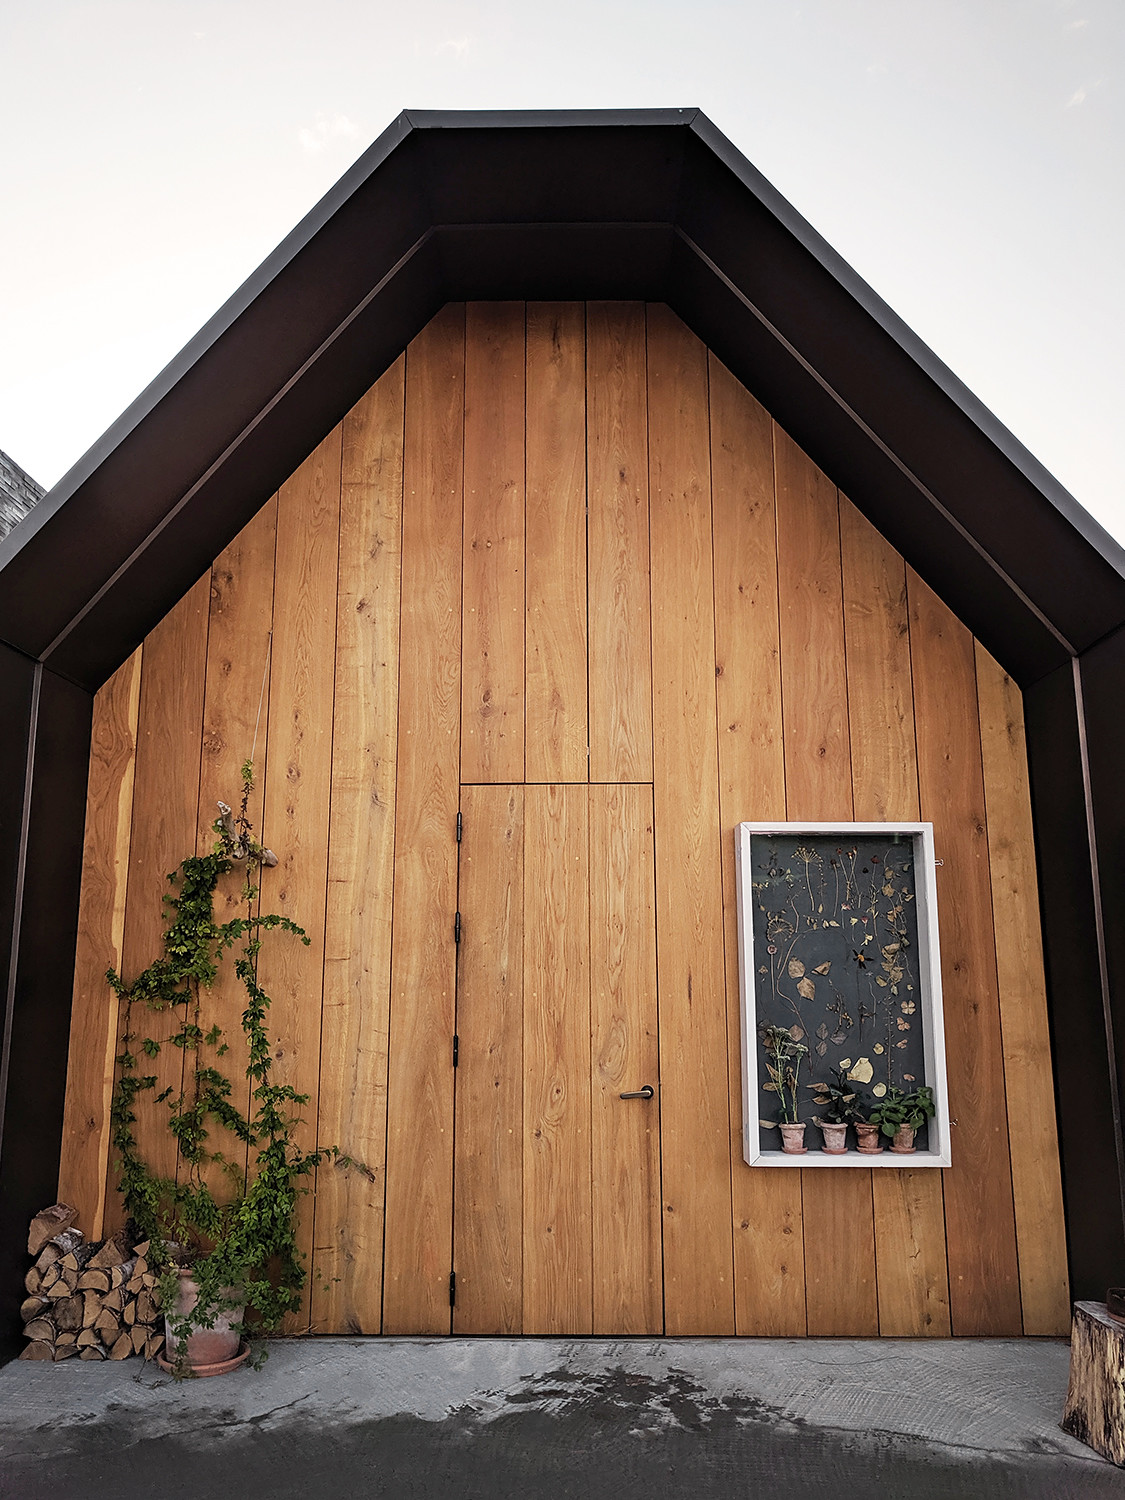
Upon arriving to Noma's newest location on an urban farm, we were led to a beautiful glasshouse where the staff greeted us. Soon after, we walked through the farm and passed by a beautifully curated table full of ingredients which were being used in the meal we were about to eat. It was full of colorful vegetables, plants, and honeycombs! Each season Noma curates a new menu and for June thru September, it was Vegetable Season.
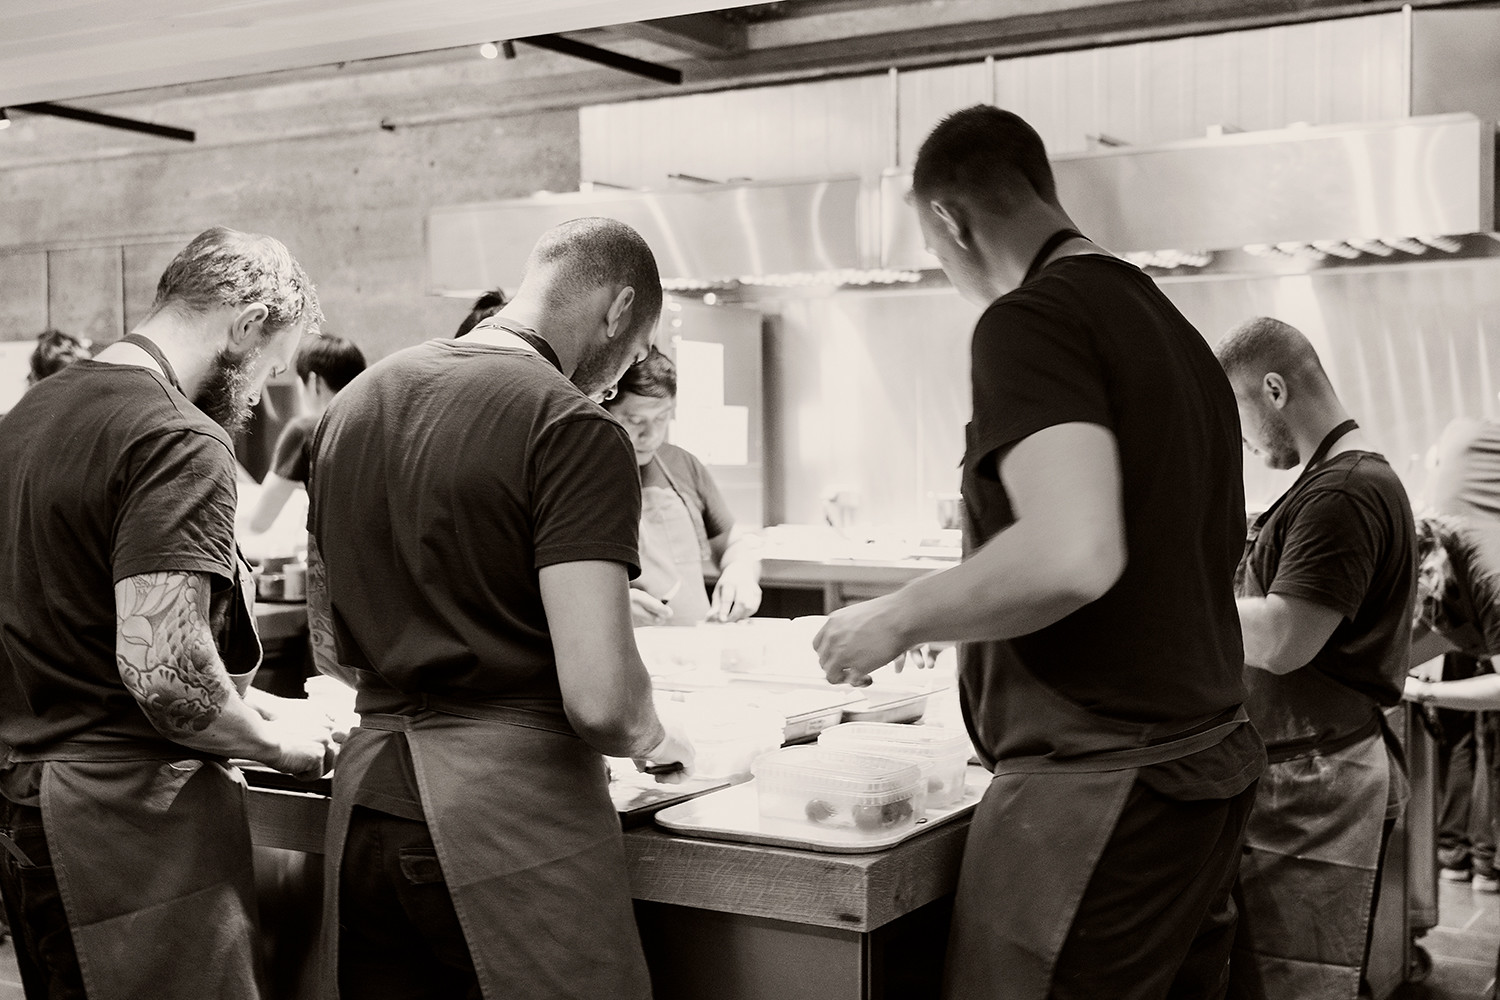
The dining hall was rustic yet modern, with mostly wood details and unique architectural elements. I love that it has an open kitchen where one can observe all the culinary actions. The food... honestly, I don't even know where to begin or how to describe to you. It's something you have to experience yourself because words simply can't explain what I tasted. Every dish was prepared in such a way that elevates every one of your senses. First you see, second you smell, and then you taste, and then taste again with your beverage pairing (wine or juice). I had the juice pairing and that on its own was so incredible! Anyways, hope you enjoy the beautiful dishes in photo form...
Noma, Copenhagen, Denmark
December 9, 2019
I wasn't going to write a separate blog post about Noma but the more I think about this meal and experience, the more I feel like it deserves a dedicated post. So, here we are. Noma, "nordisk" (Nordic) and "mad" (food), is a two Michelin-star restaurant by chef René Redzepi in Copenhagen, Denmark. It was ranked as the #1 Restaurant in the world in 2010, 2011, 2012 and 2014 and is currently ranked 2nd. I had the honor to experience and dine at Noma during my visit to Copenhagen and let me tell you, it was nothing like I've ever seen (and tasted)!
Upon arriving to Noma's newest location on an urban farm, we were led to a beautiful glasshouse where the staff greeted us. Soon after, we walked through the farm and passed by a beautifully curated table full of ingredients which were being used in the meal we were about to eat. It was full of colorful vegetables, plants, and honeycombs! Each season Noma curates a new menu and for June thru September, it was Vegetable Season.
The dining hall was rustic yet modern, with mostly wood details and unique architectural elements. I love that it has an open kitchen where one can observe all the culinary actions. The food... honestly, I don't even know where to begin or how to describe to you. It's something you have to experience yourself because words simply can't explain what I tasted. Every dish was prepared in such a way that elevates every one of your senses. First you see, second you smell, and then you taste, and then taste again with your beverage pairing (wine or juice). I had the juice pairing and that on its own was so incredible! Anyways, hope you enjoy the beautiful dishes in photo form...