Wearing sandals in the summertime is nothing groundbreaking, but that doesn't mean you can't shake things up a bit. What better way to stand out in a sea of sandals than DIY your own pair? It's not rocket science, all you need are some crafty items, a pair of scissors, glue, 10-15 minutes, and of course sandals. Shall we begin?
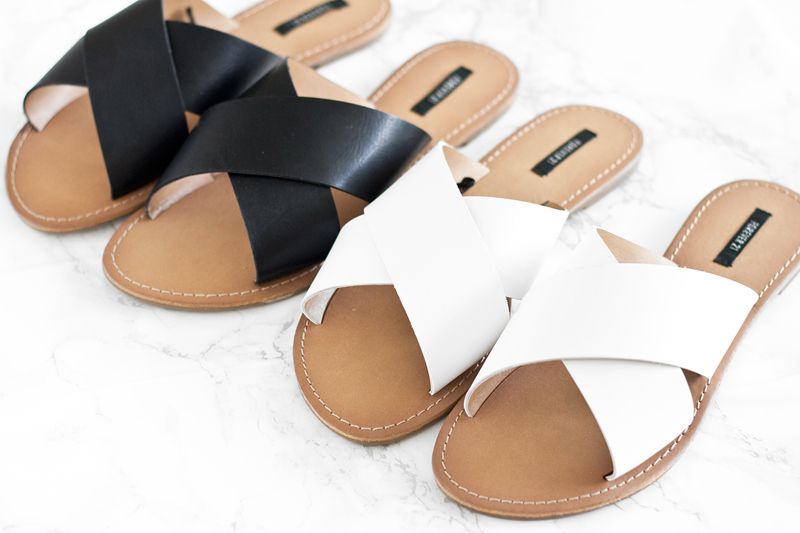
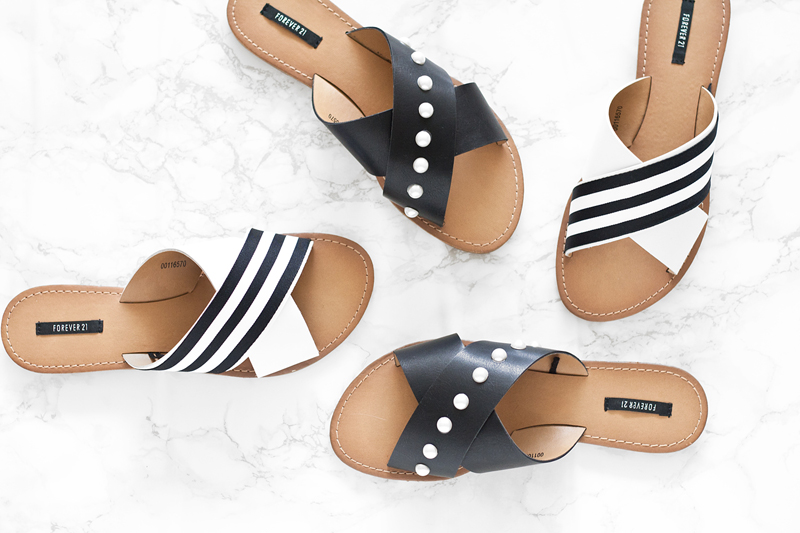
1. Grab a plain pair of sandals from the back of your closet that you want to jazz up or do what I did and get these
black and white ones from
F21. I love how simple they are and the wider strap makes it easier to work with.
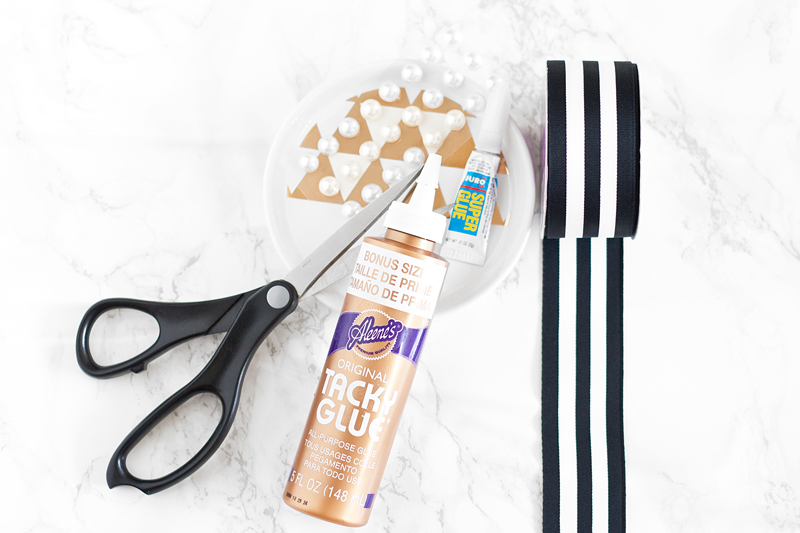
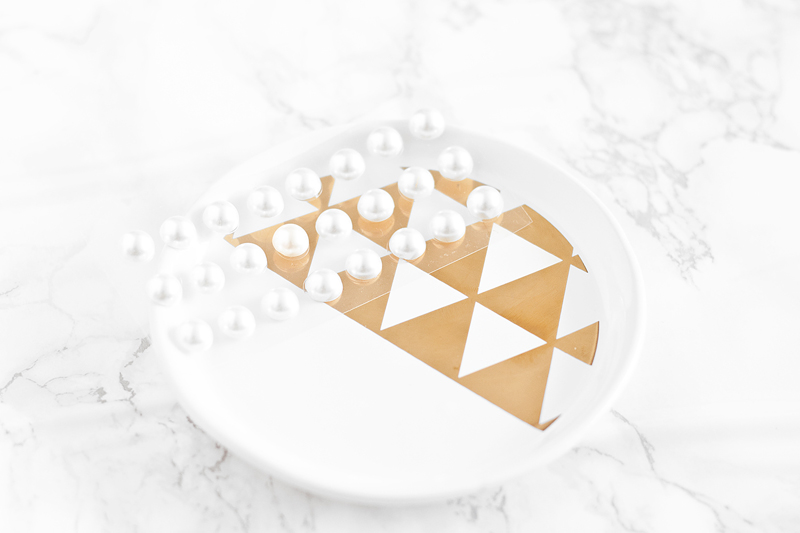
2. Gather your tools and embellishments. It really depends on what you want to do with your sandals... jewels, beads, studs, etc. The possibility is endless! For my DIY, I decided to use flat-back pearls and striped ribbon (both purchased from Michaels).
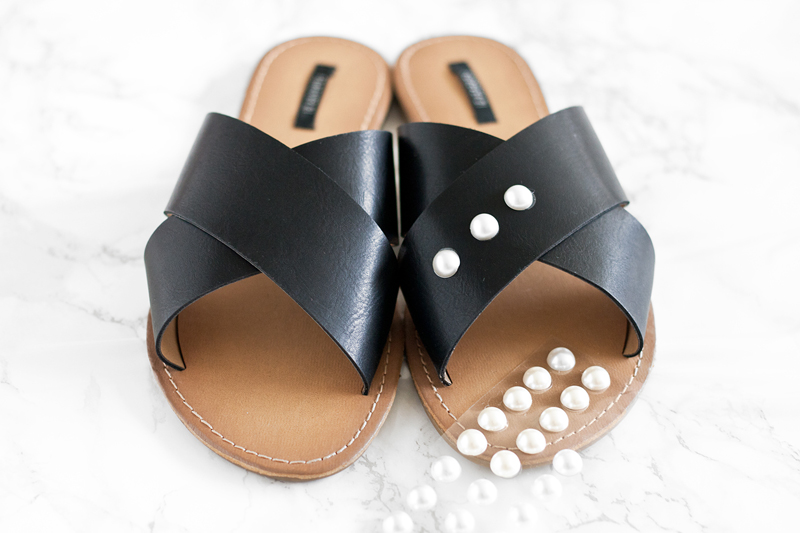
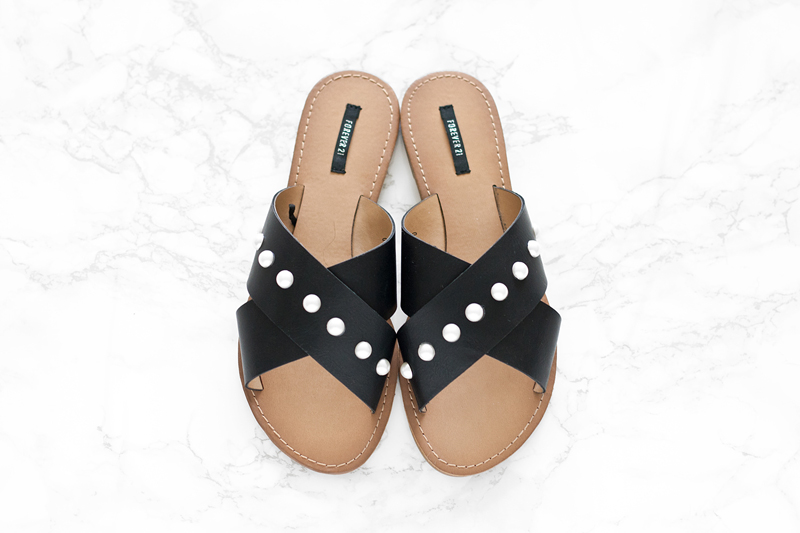
3. I started with the black pair and simply glued each pieces of pearls carefully onto the strap. Easy as that!
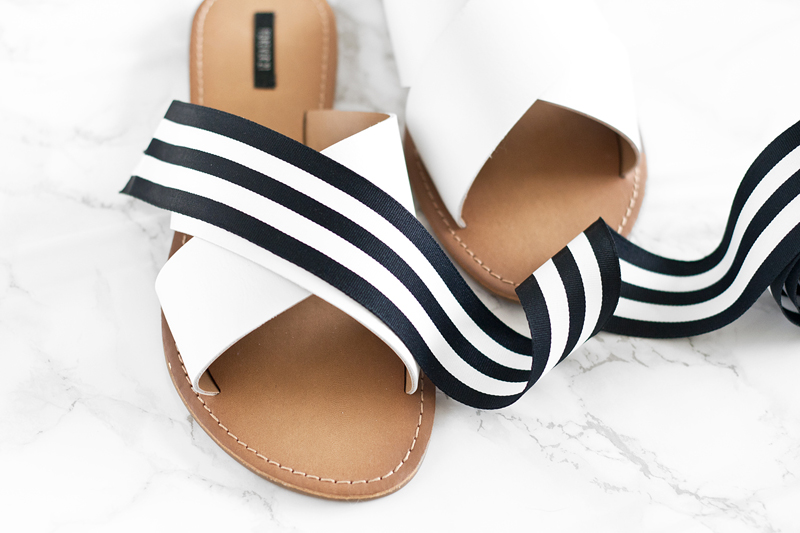
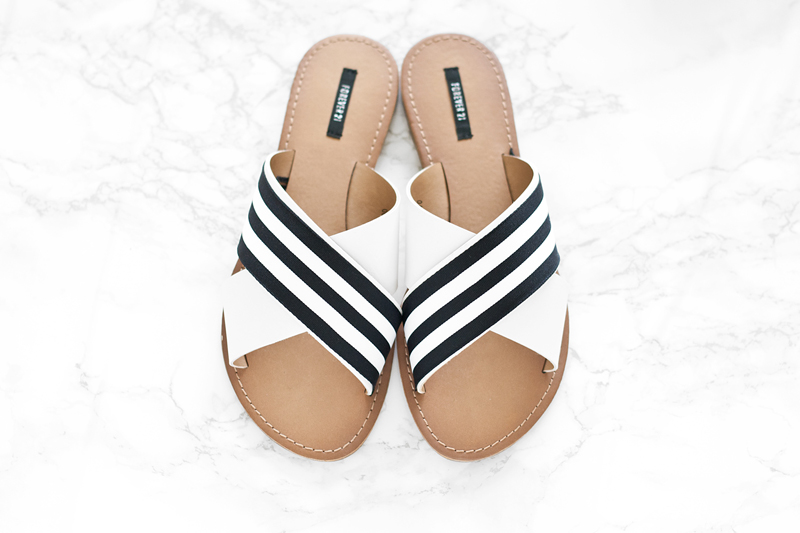
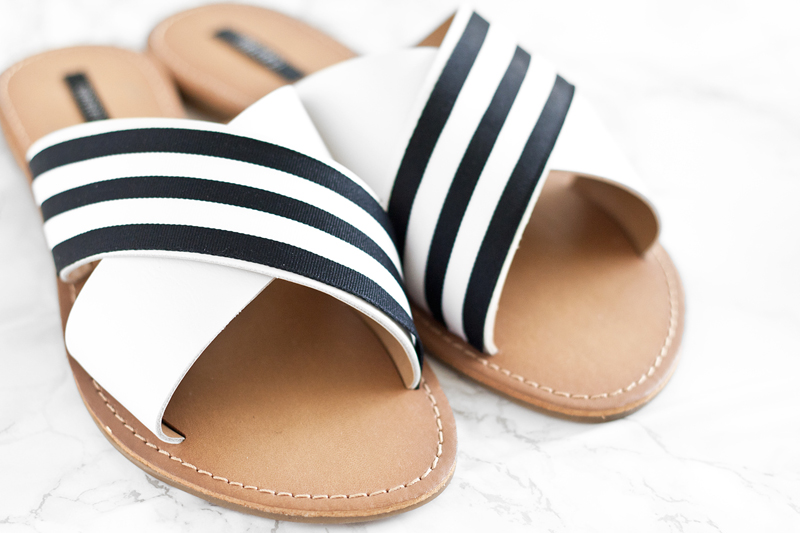
4. The white pair was a bit trickier since I had to measure and cut the exact amount of ribbon that is going to cover the entire strap. Once the ribbon is ready, I applied glue onto the back and carefully placed onto the strap.
Voila! Just like that and I've got my new sandals that no one else has!
*All product images styled, photographed and edited by me


These DIY projects are definitely easy to pick up! Thanks for sharing and the sandals look so chic with the embellishments!
ReplyDeletePrudence
www.prudencepetitestyle.com